Everyone needs a mom friend who casually suggests things like, “Want to take the babies on a five-day backpacking trip so we can all bask in the alpine sun?” For some people, that friend is me. And by “some people,” I mean Caitlin and Fred—who have said yes to a surprising number of my great (read: potentially awful) ideas.
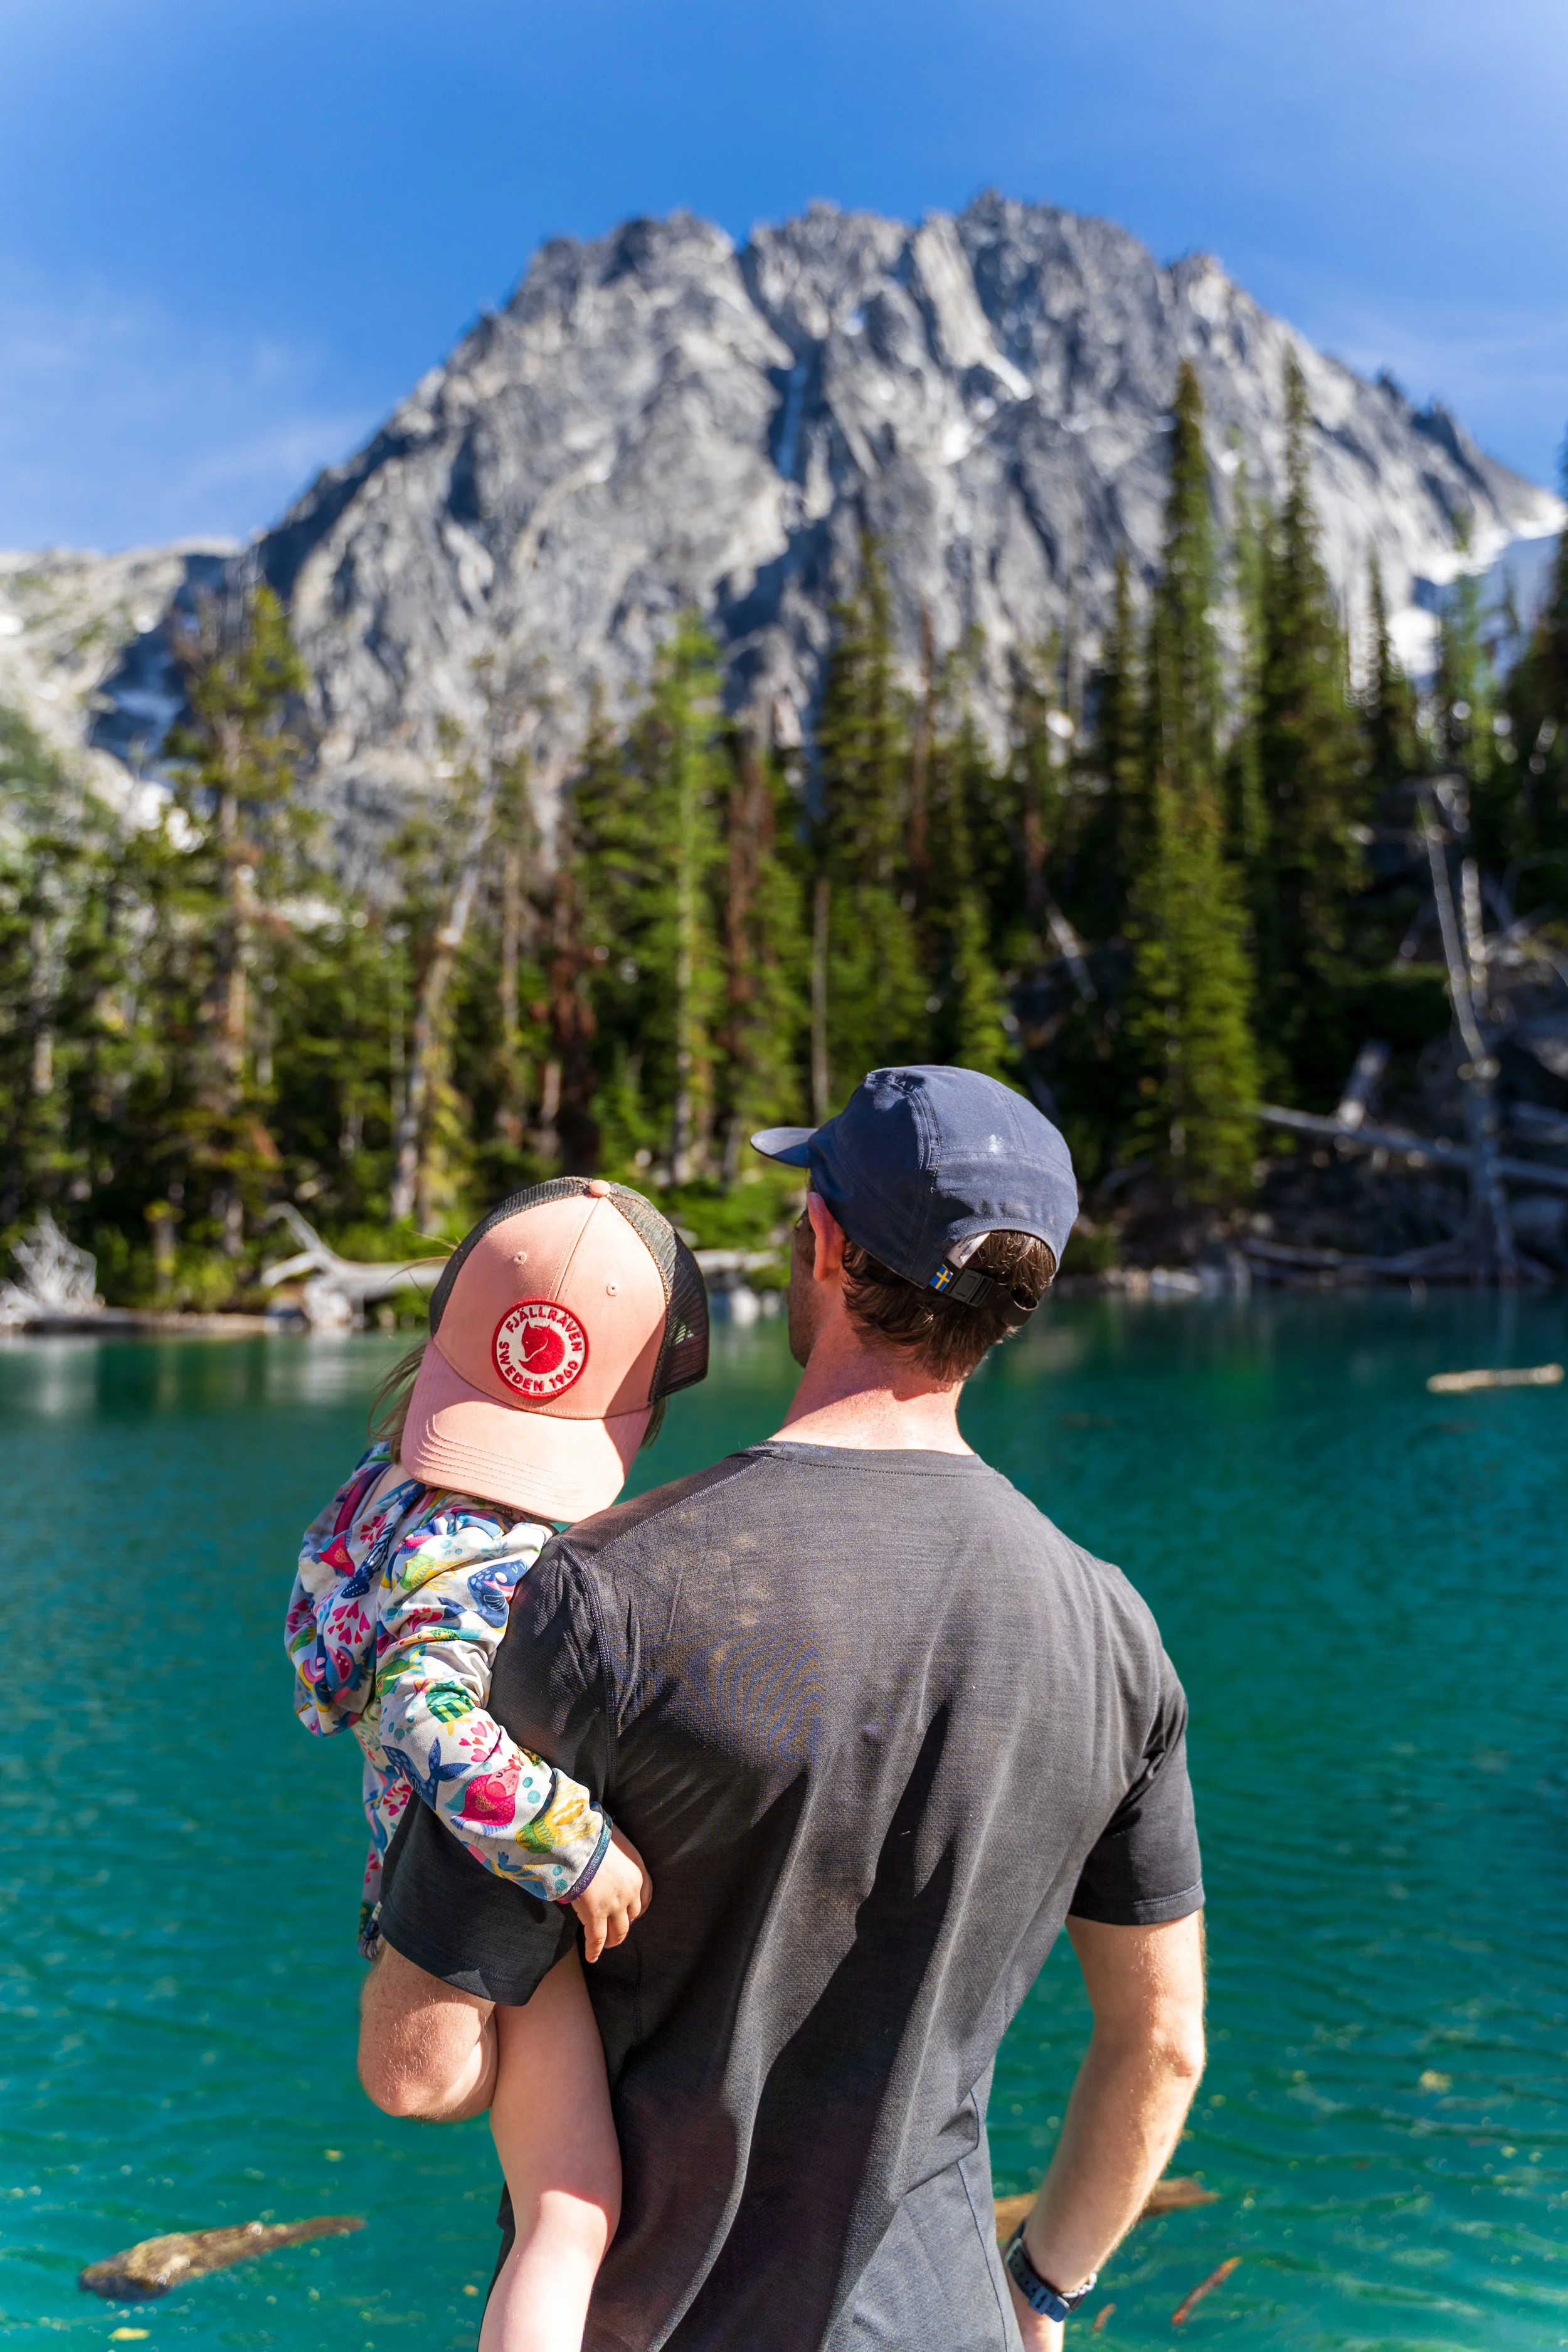
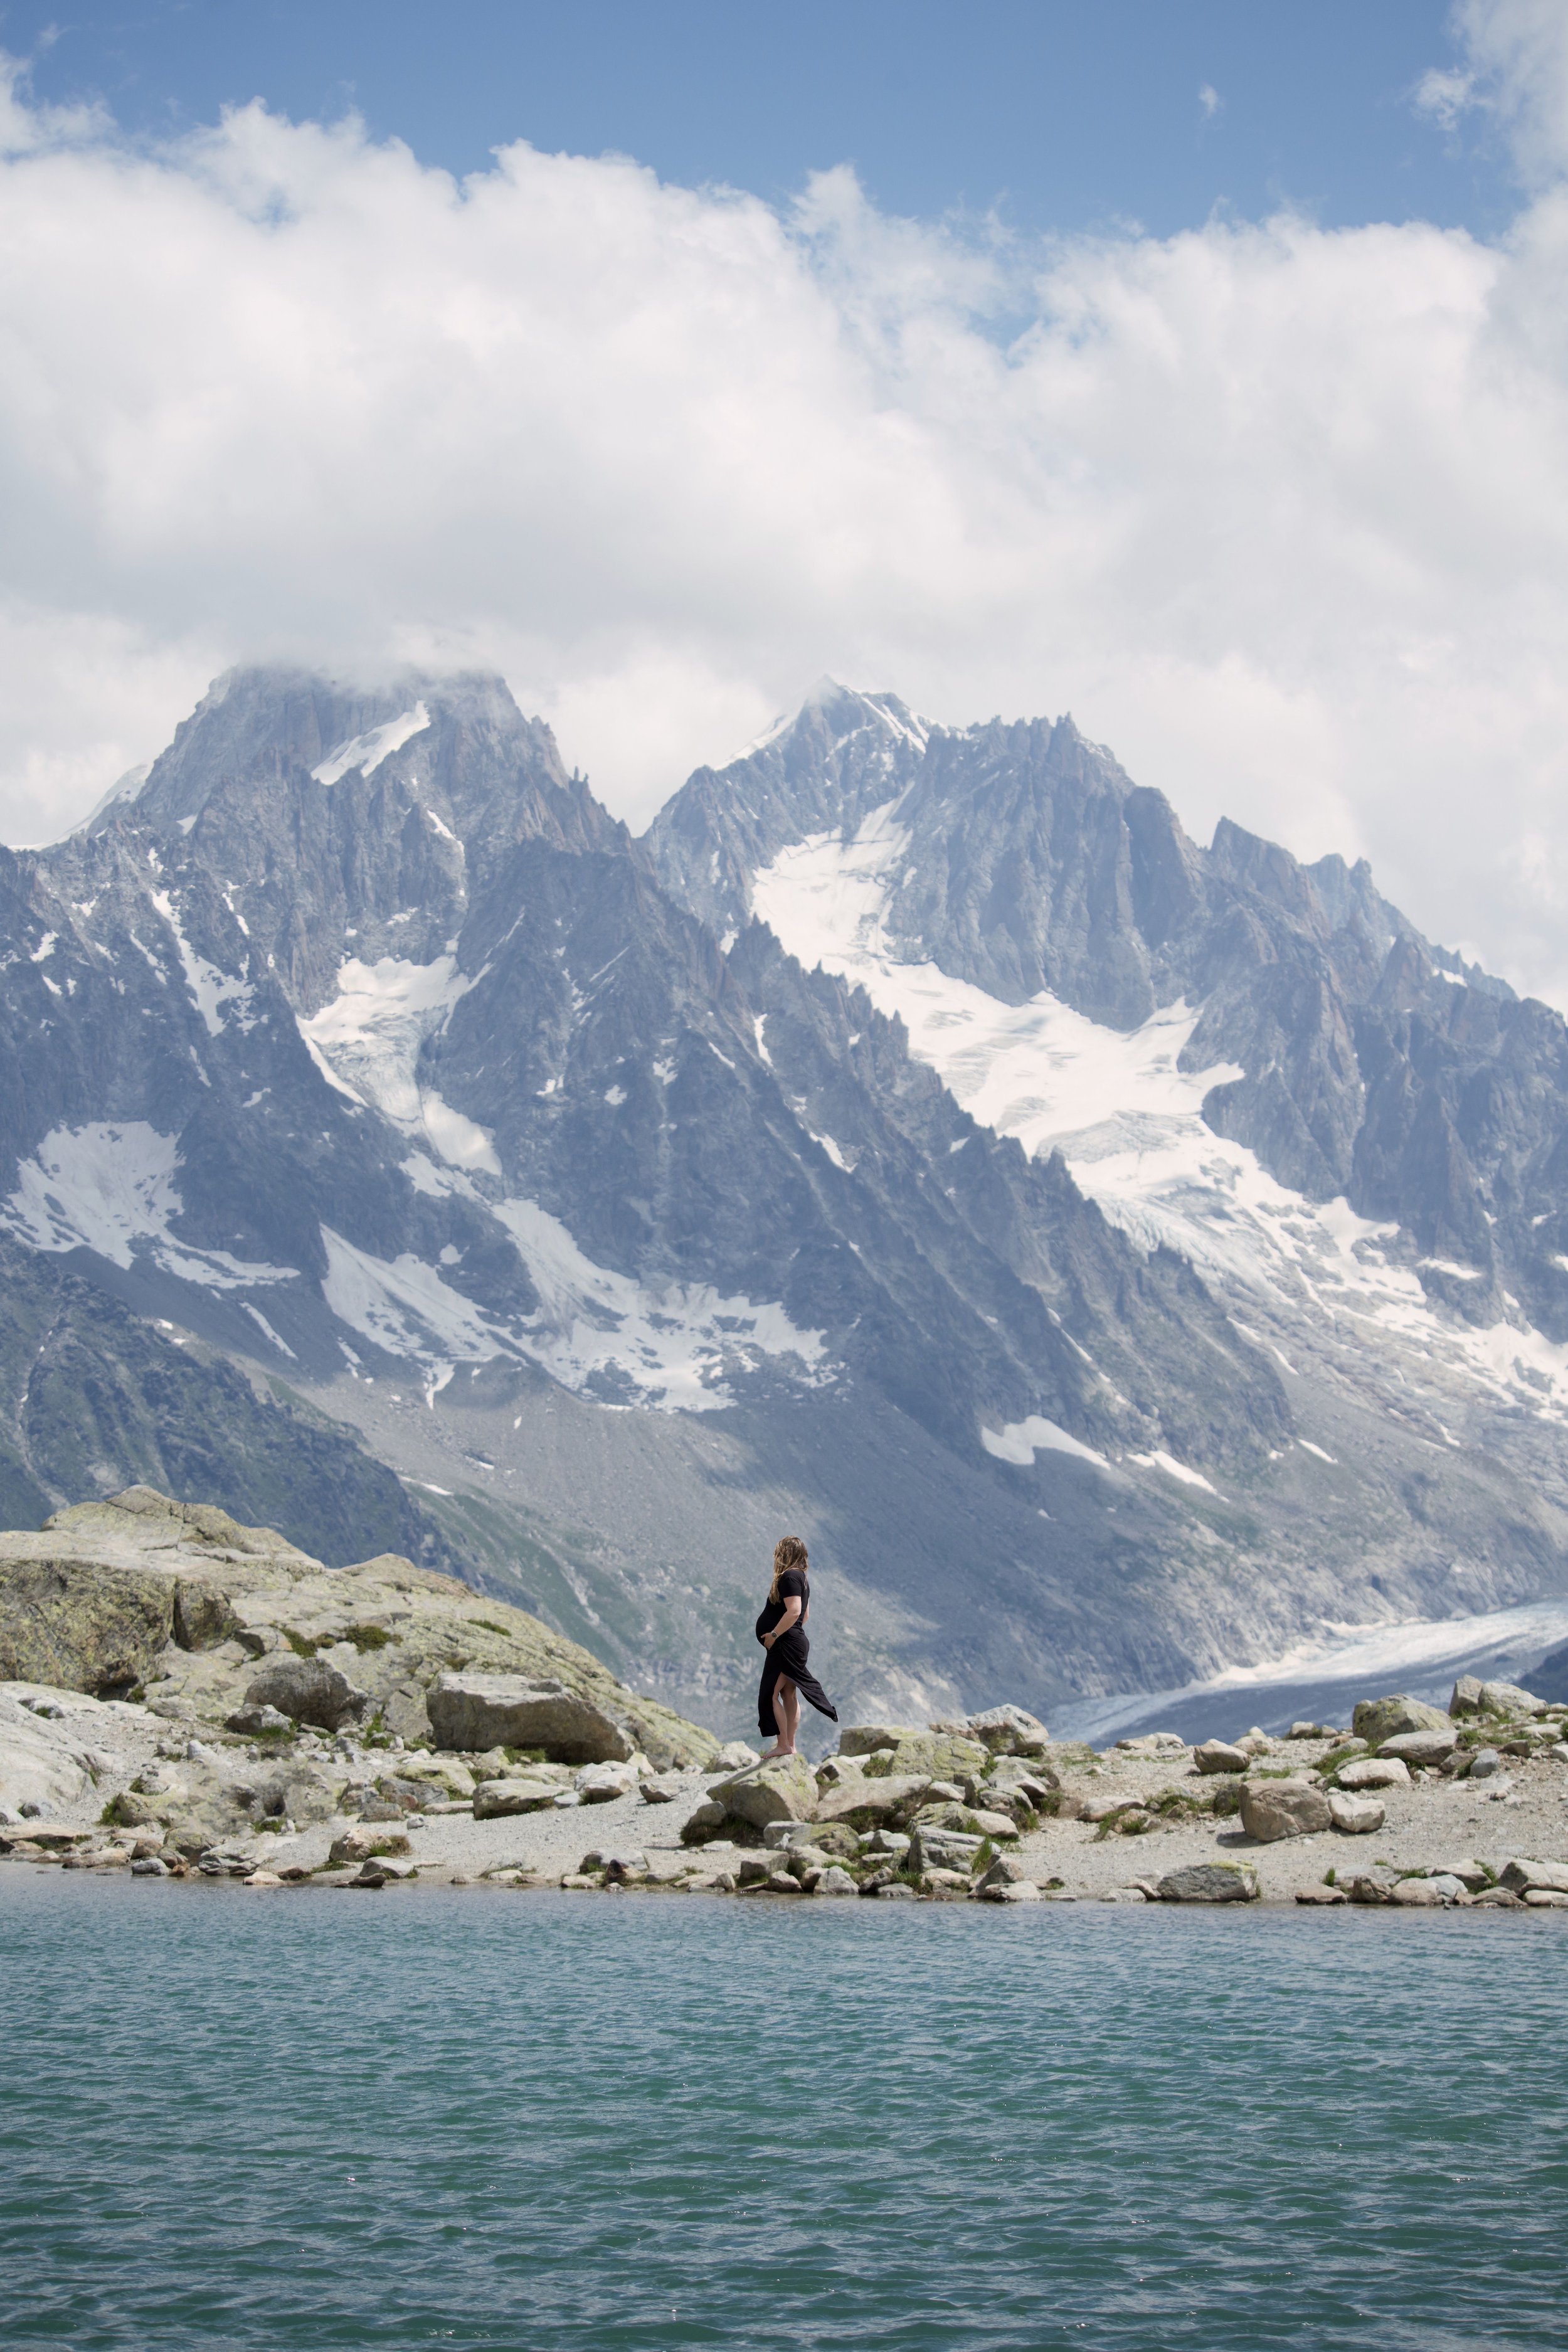
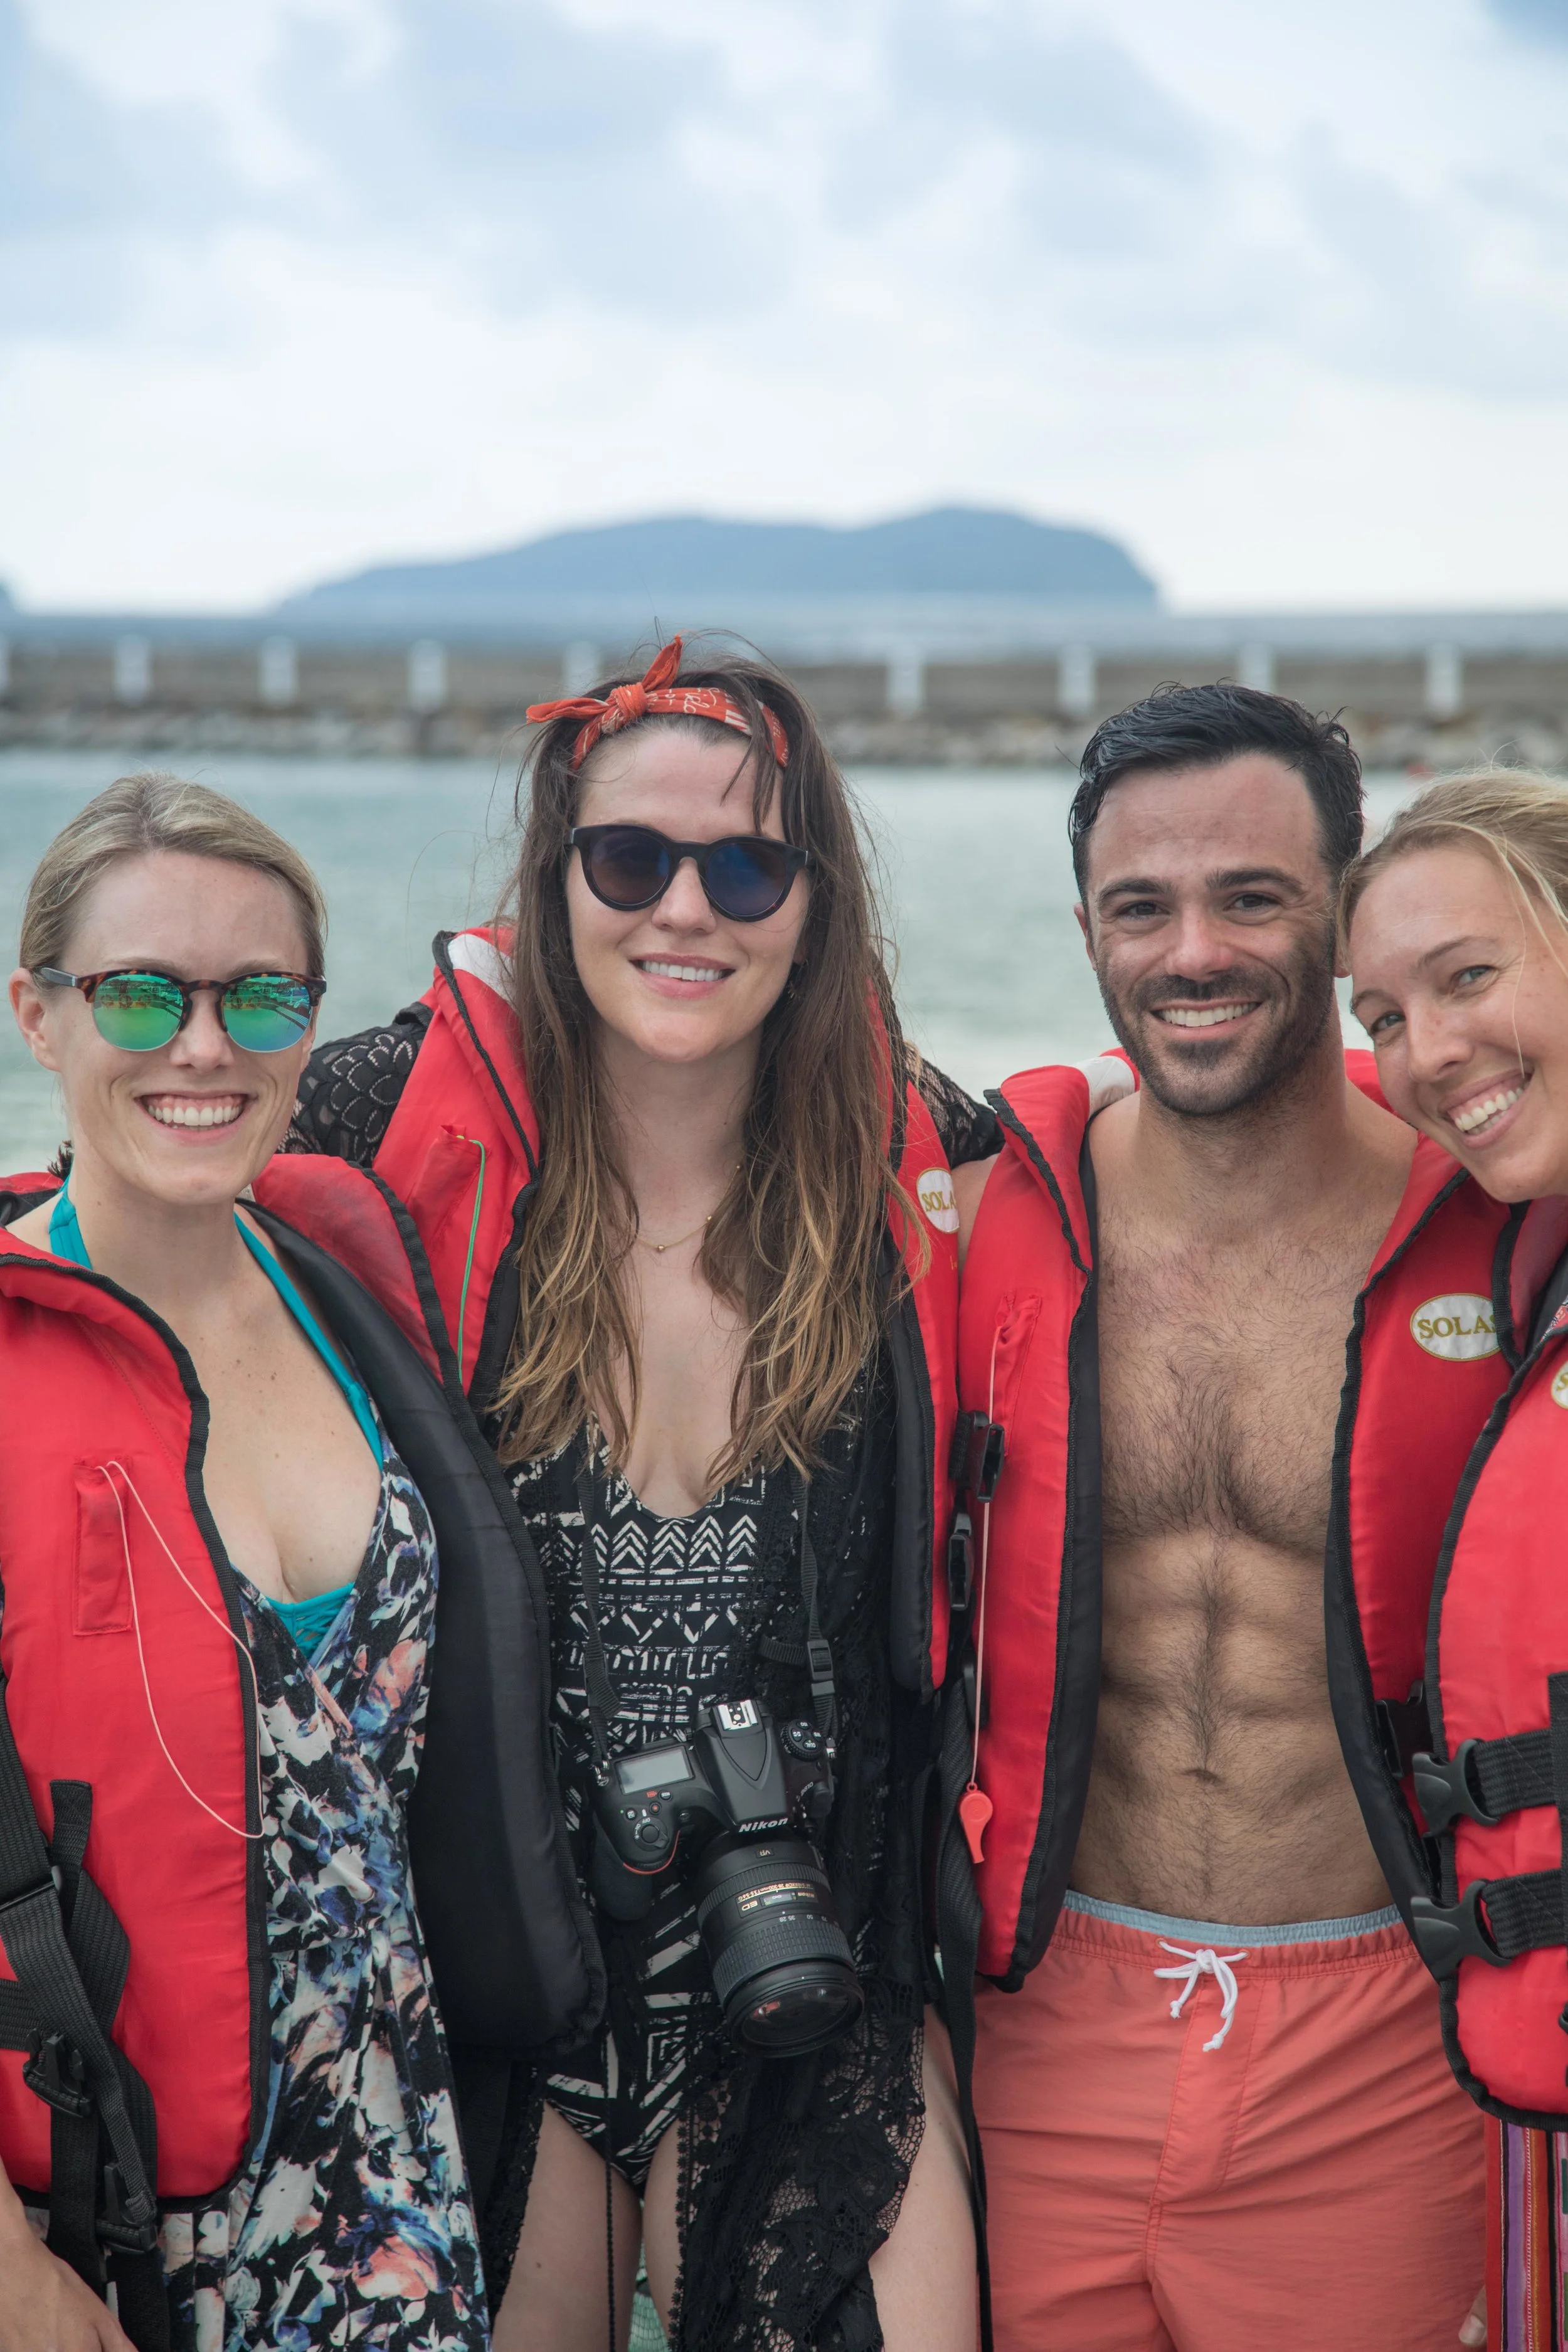
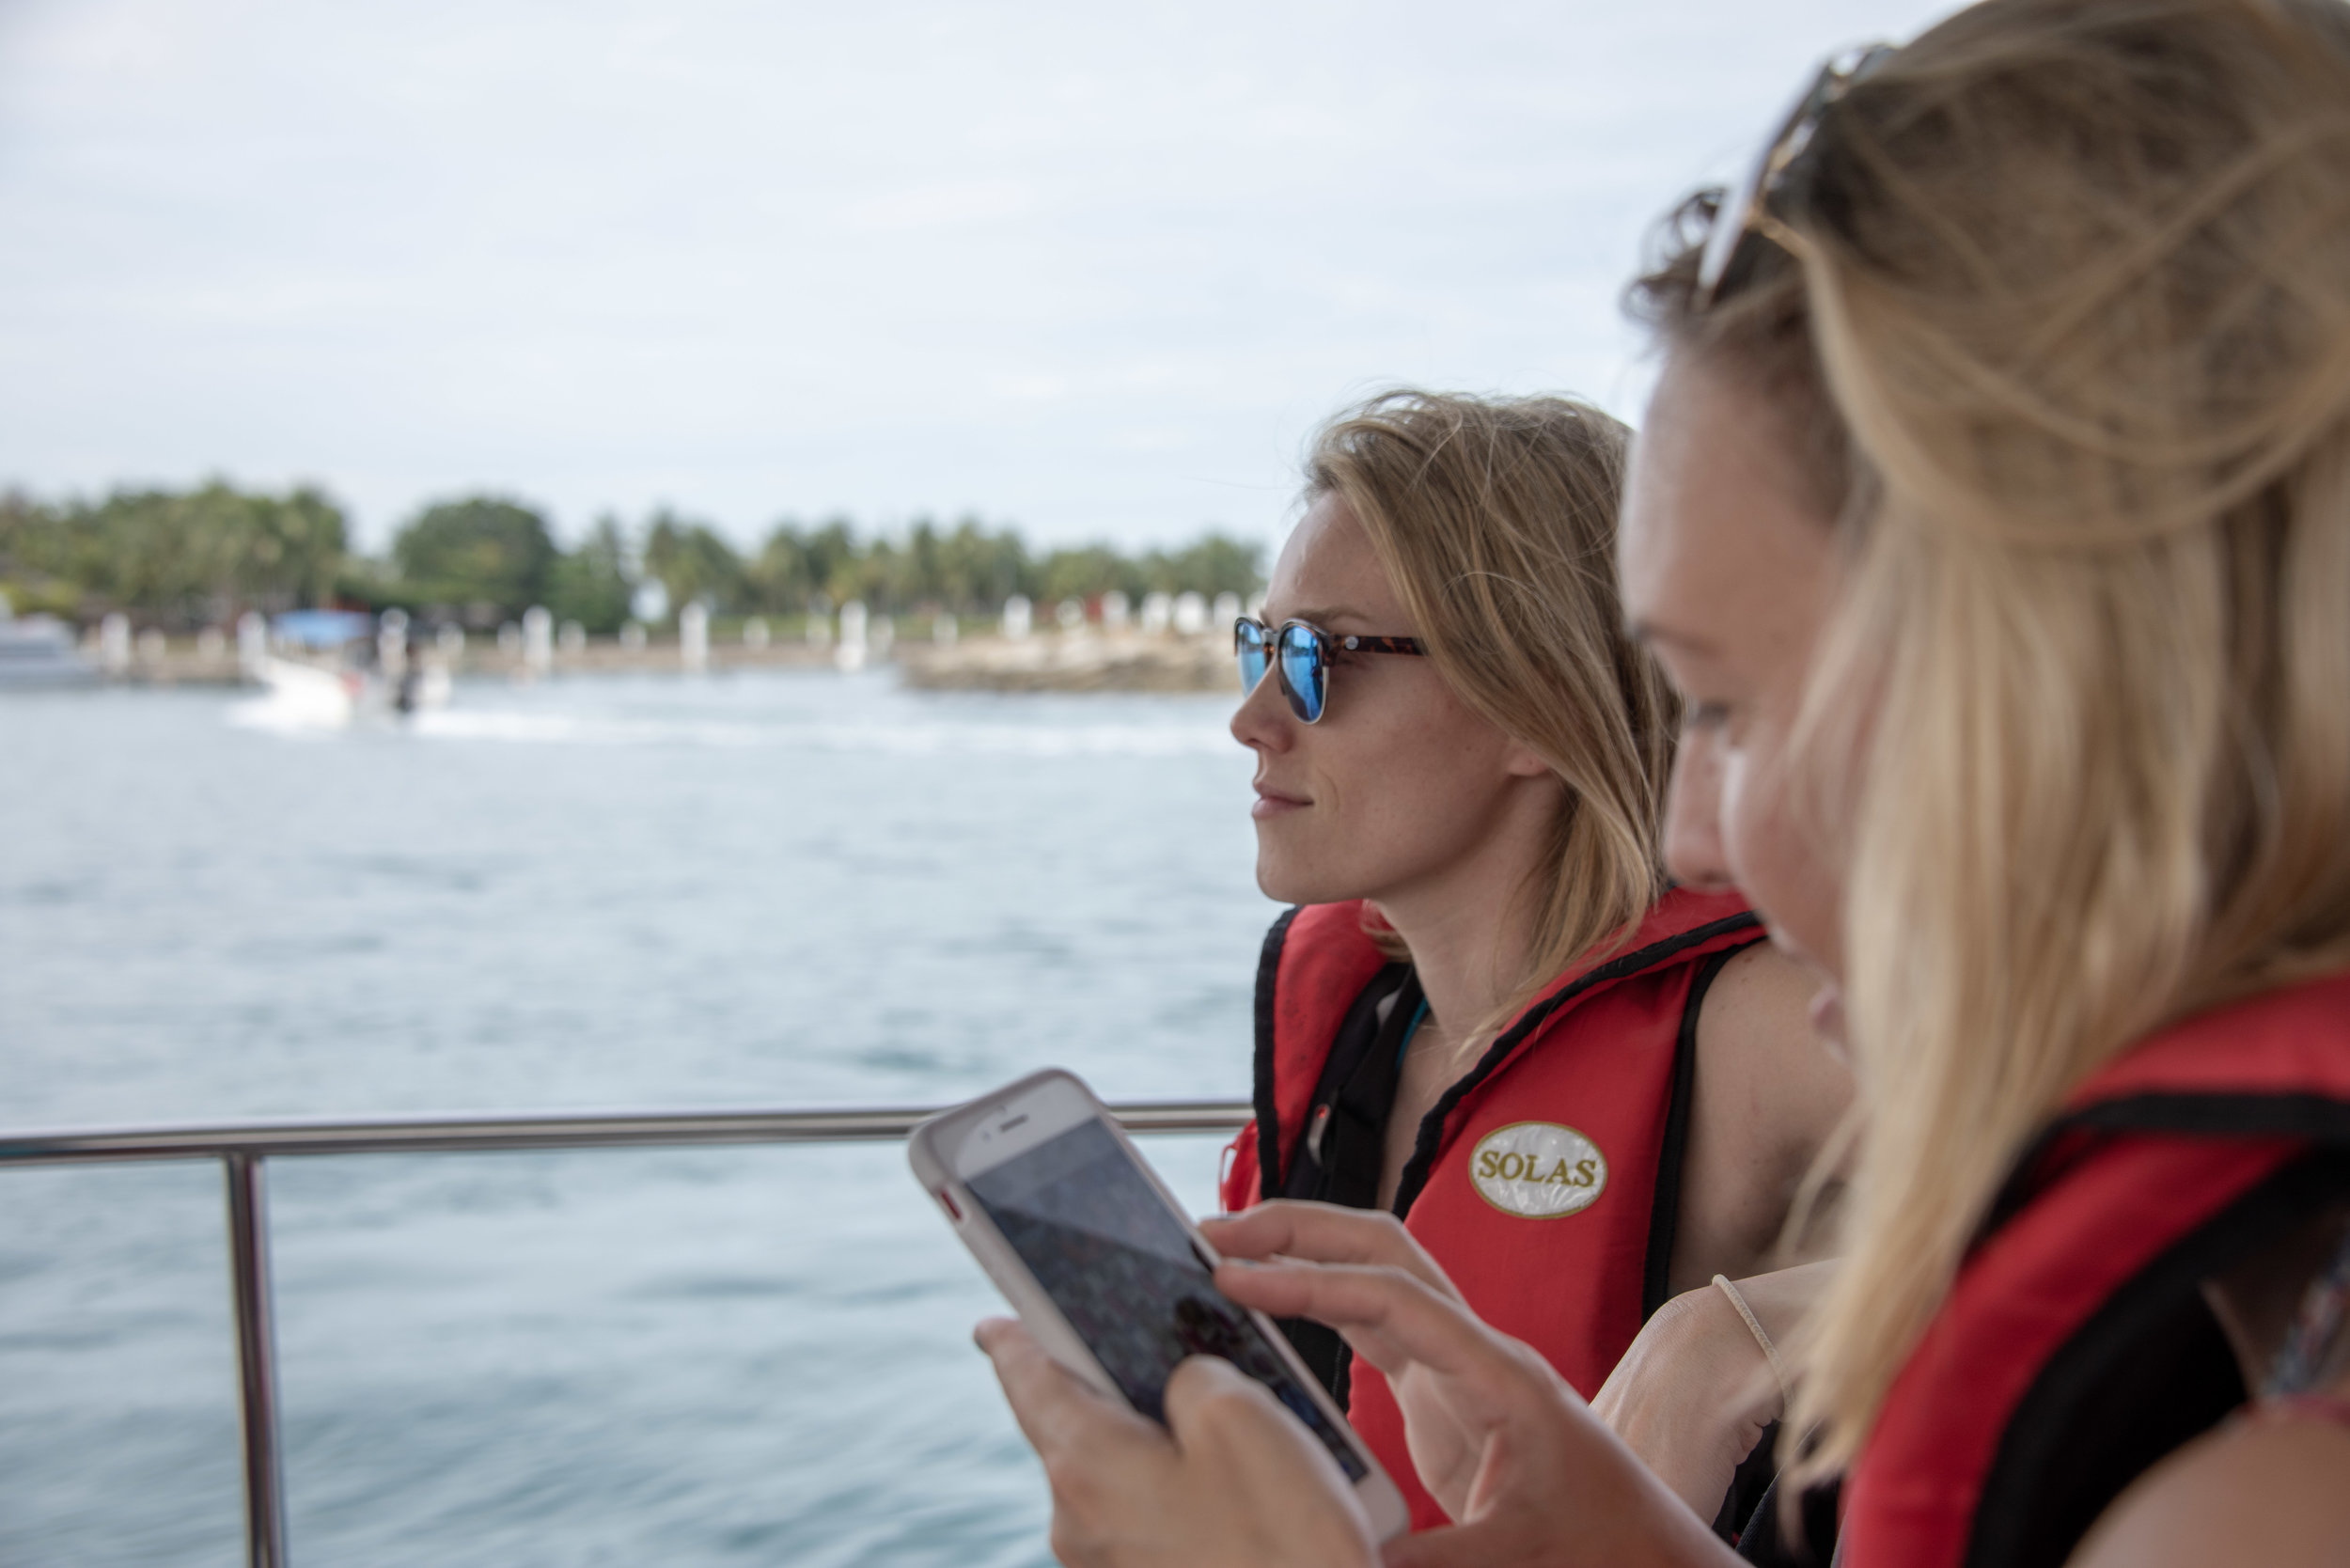
Matt and Ava taking it all in after a swim session.
This particular idea involved hauling babies, climbing gear, camping gear, and five days’ worth of food into the Enchantments to camp at Lake Colchuck. Our only rule going in? If it was truly awful after the first night, we would bail.
As it turns out, it wasn’t awful at all. In fact, we had an absolute blast—even if sleep was a little aspirational at times. Read on for the keys to our success, aka my top tips for backpacking with your toddler:
Bring bug protection (and the right fuel).
Adults might be able to tolerate a few itchy mosquito bites for a couple of days, but toddlers are far more susceptible to bite-induced misery. We hauled up the Thermacell Backpacker, and despite a small fuel mishap (check that you order the correct fuel when you order extra repellent mats), it was a worthwhile addition to our camp.
Have a group plan to bail, and actually mean it.
Knowing that any one of us could call it quits at any time was essential. If one person had said they were ready to head out, we all would have gone. That shared understanding created a strong sense of comfort and safety from the start.
Pack toddler-tested food for the kids, and compact, calorie-dense food for the adults.
Space is precious when you’re backpacking, but this is not the time to experiment with new foods your toddler may or may not eat. A food strike could easily end the trip early. Bring familiar favorites for them, and lean heavily on compact freeze-dried meals for yourself.
Remember that toddlers belong in wild spaces—even if people give you some sass.
We had one of the more ridiculous encounters of my parenting journey near our campsite, but we didn’t let it shake us. Kids belong in the outdoors just as much as adults do. Would I take Ava on a technical glaciated peak right now? No, she’s not ready for that. But an alpine lake four miles into the backcountry on a temperate weekend? Absolutely.
Don’t skimp on the 10 essentials—or your communication devices.
Thankfully, we had no issues beyond encountering the grumpiest woman known to humankind. But if something had gone wrong, I was grateful to know we had satellite texting on our phones as well as our Garmins for emergency communication.
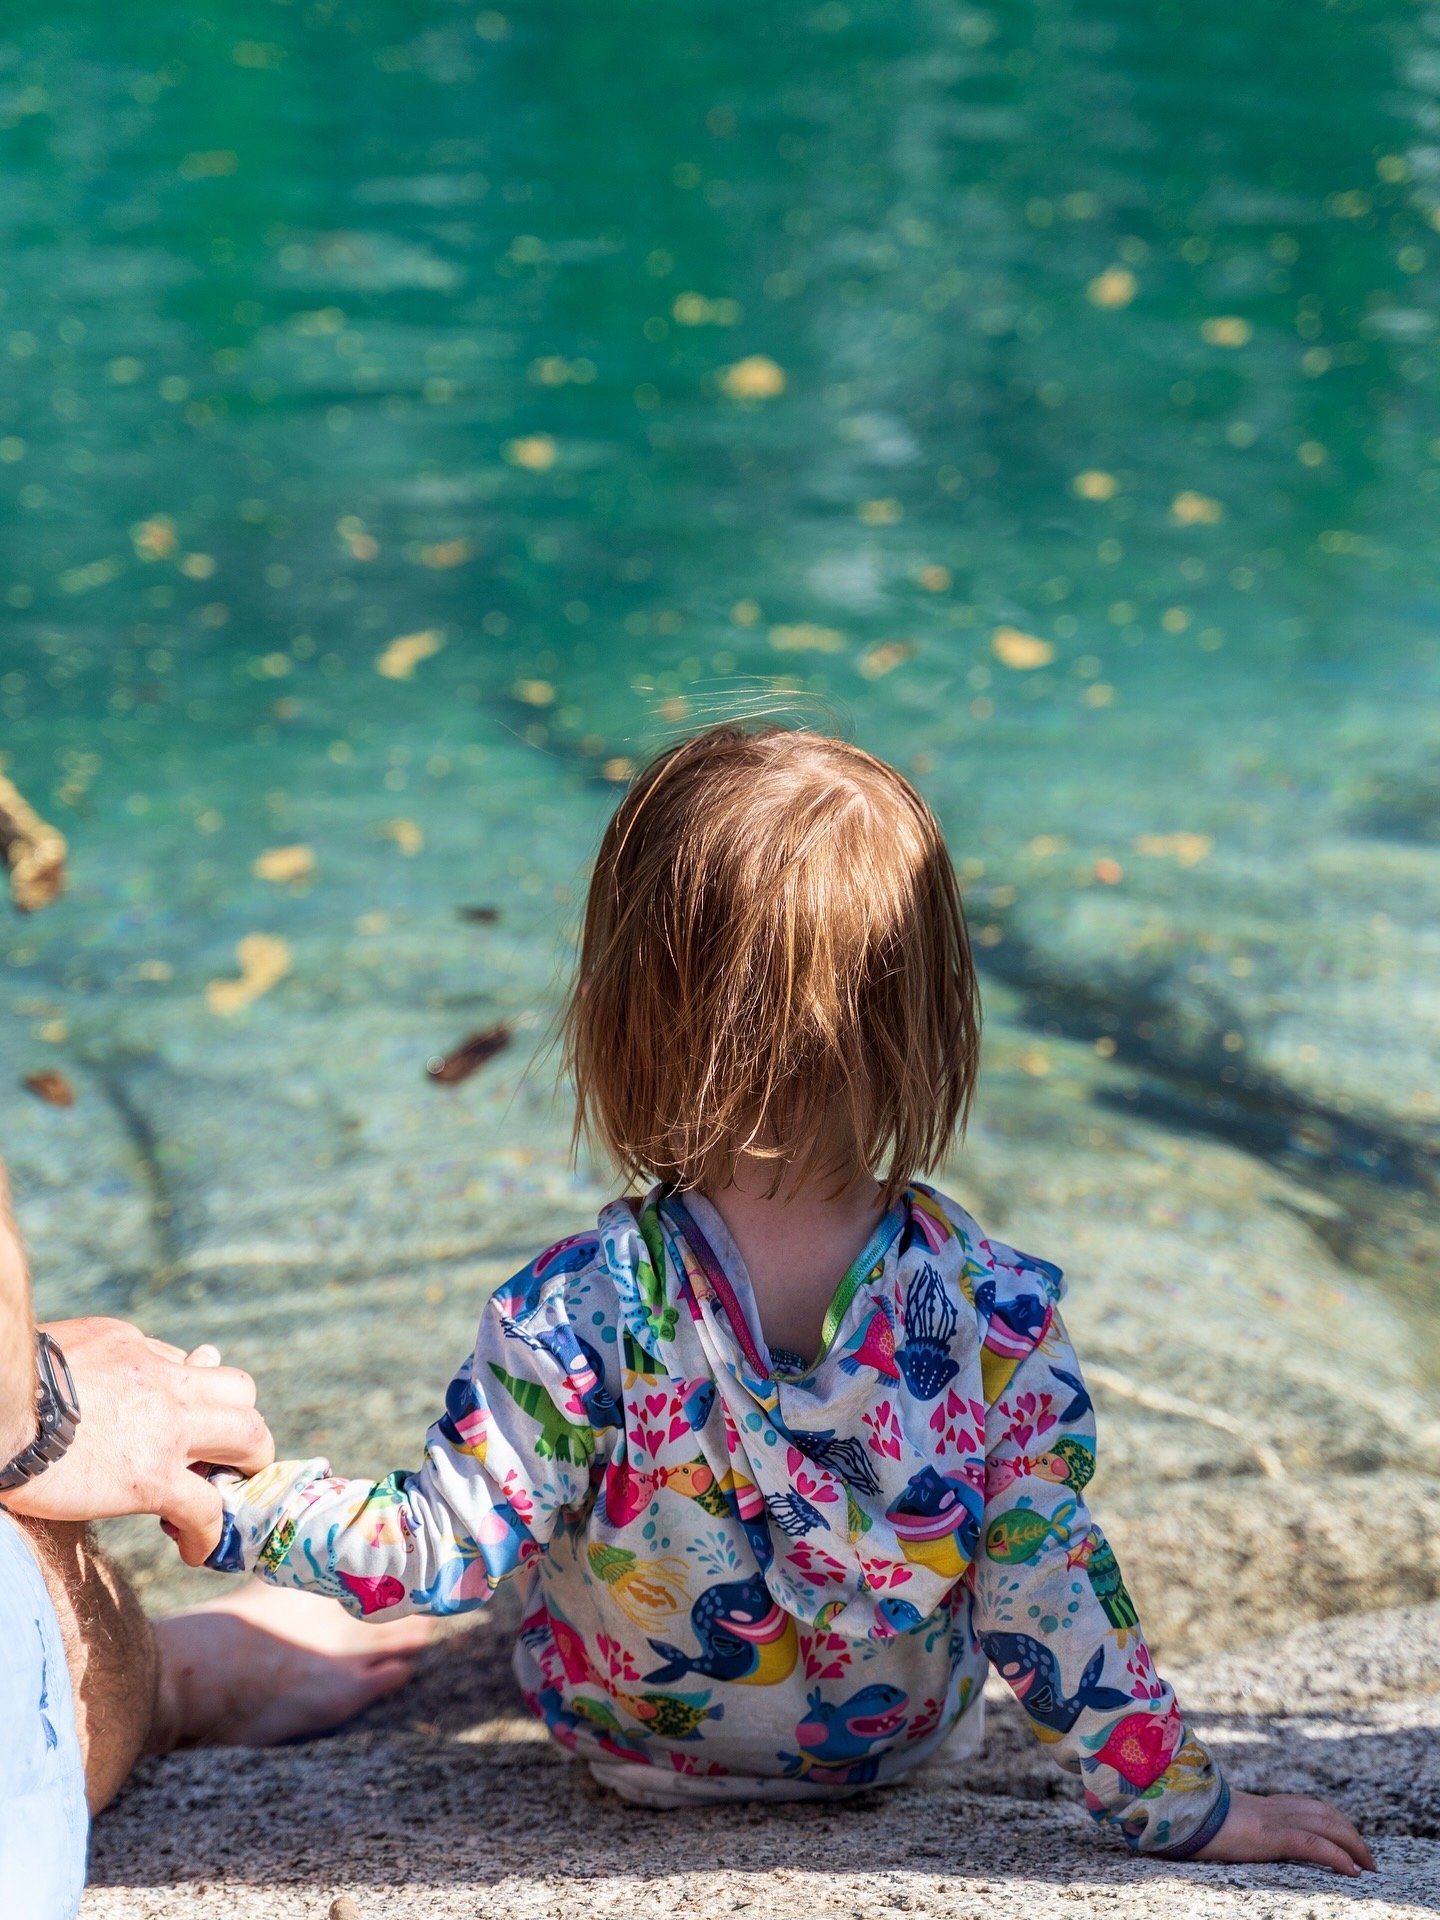
Prioritize sun protection.
Little bodies need serious protection from the sun. We packed sunscreen, sun shirts, and sun hats for everyone.
Don’t stress too much about toys or entertainment.
Kids will make magic out of literal piles of dirt.
Bring several small garbage bags for packing out diaper waste.
Diapers add up quickly and they’re bulky. Dividing them among your group helps make packing out waste much more manageable.
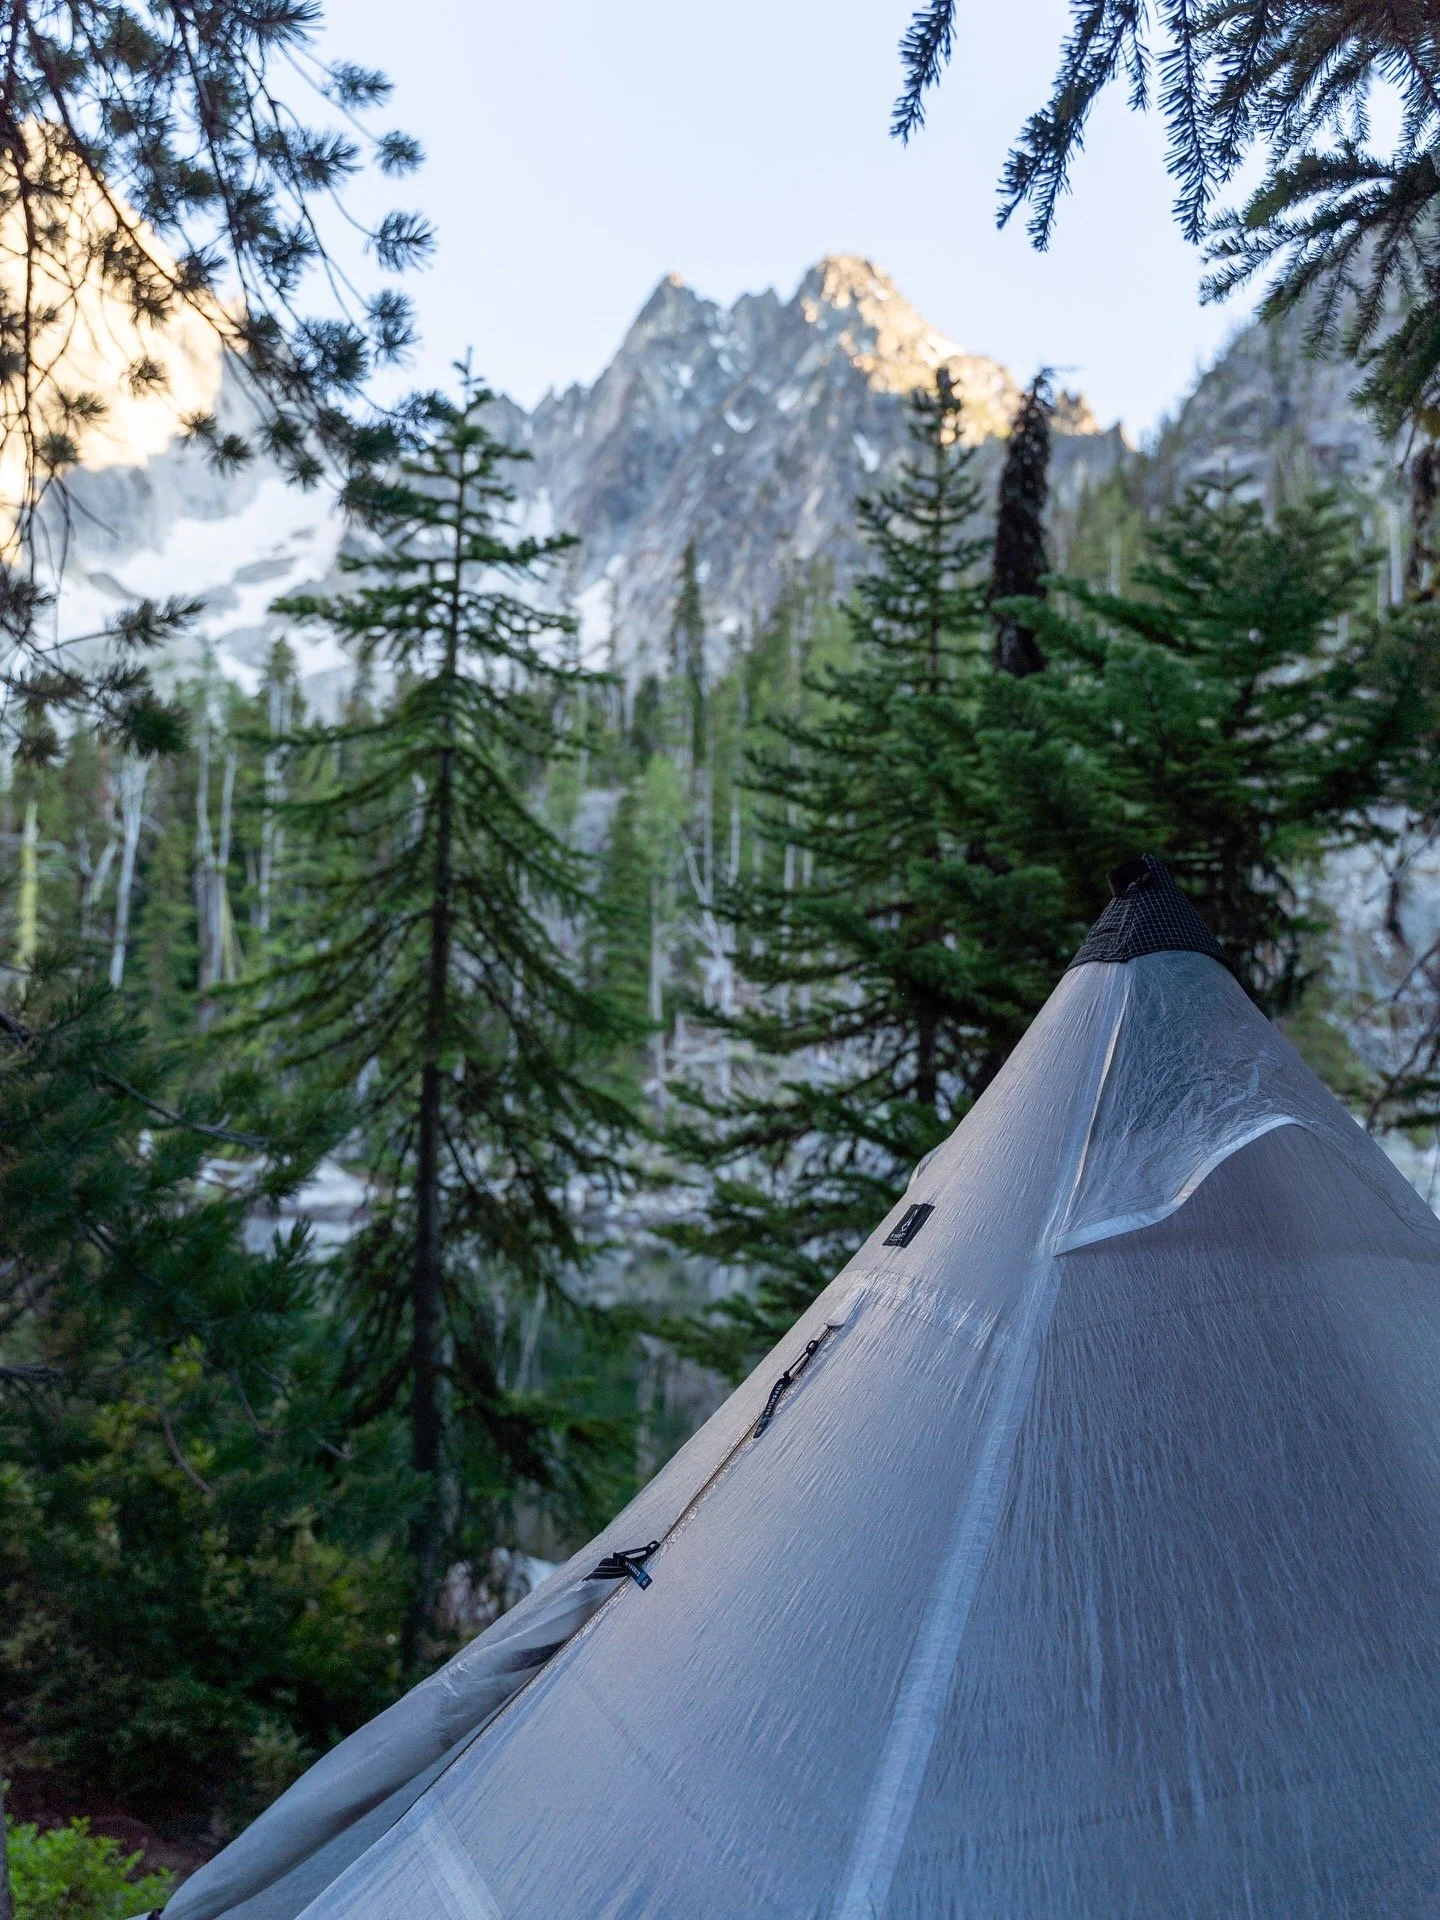
Do a tent test run before heading into the backcountry.
Set up your tent ahead of time so you can test your child’s sleep setup, make sure everything is in working order, and confirm you actually remember how to pitch it. It’s much easier to make adjustments at home than in the backcountry.
And in the wise words of Bad Bunny: take so many photos.
Time is a thief, and you’ll never regret having those memories to look back on.
If you have any questions, I’m always happy to chat. Happy trails, friends. Raising strong outdoor kids is a lifelong mission, best lived one adventure at a time.