Trekking in Nepal Part Two: The Experience

Trekking to Everest Base Camp has long been on my bucket list. Upon confirming my trip assignment with Travel Her Way, I promptly began researching, intent on finding out exactly what I had gotten myself into.

Surprisingly, finding solid stats on the route is a little bit tricky on the good. Many sites offer generalizations on how long it will take for each leg of the journey, but finding objective stats requires some digging.

The total distance is roughly 130 km or 80.7 miles, though you’ll deviate slightly depending on your actual route and any side excursions. You’ll gain over 9,000 ft from Lukla to Kala Patthar. In and of itself, that doesn’t sound as daunting but when you consider the net elevation change from all of the ups and downs along the trail paired with the altitude, it’s a serious challenge.

Our specific route: our trek with Travel Her Way spanned 12 days: 9 days up, 3 days down. This is a common itinerary, but you can certainly make it longer or shorter depending on your groups needs and abilities. Below are descriptions of each segment with rough mileage for each one. As you plan, bear in mind the difficulties of trekking at altitude.

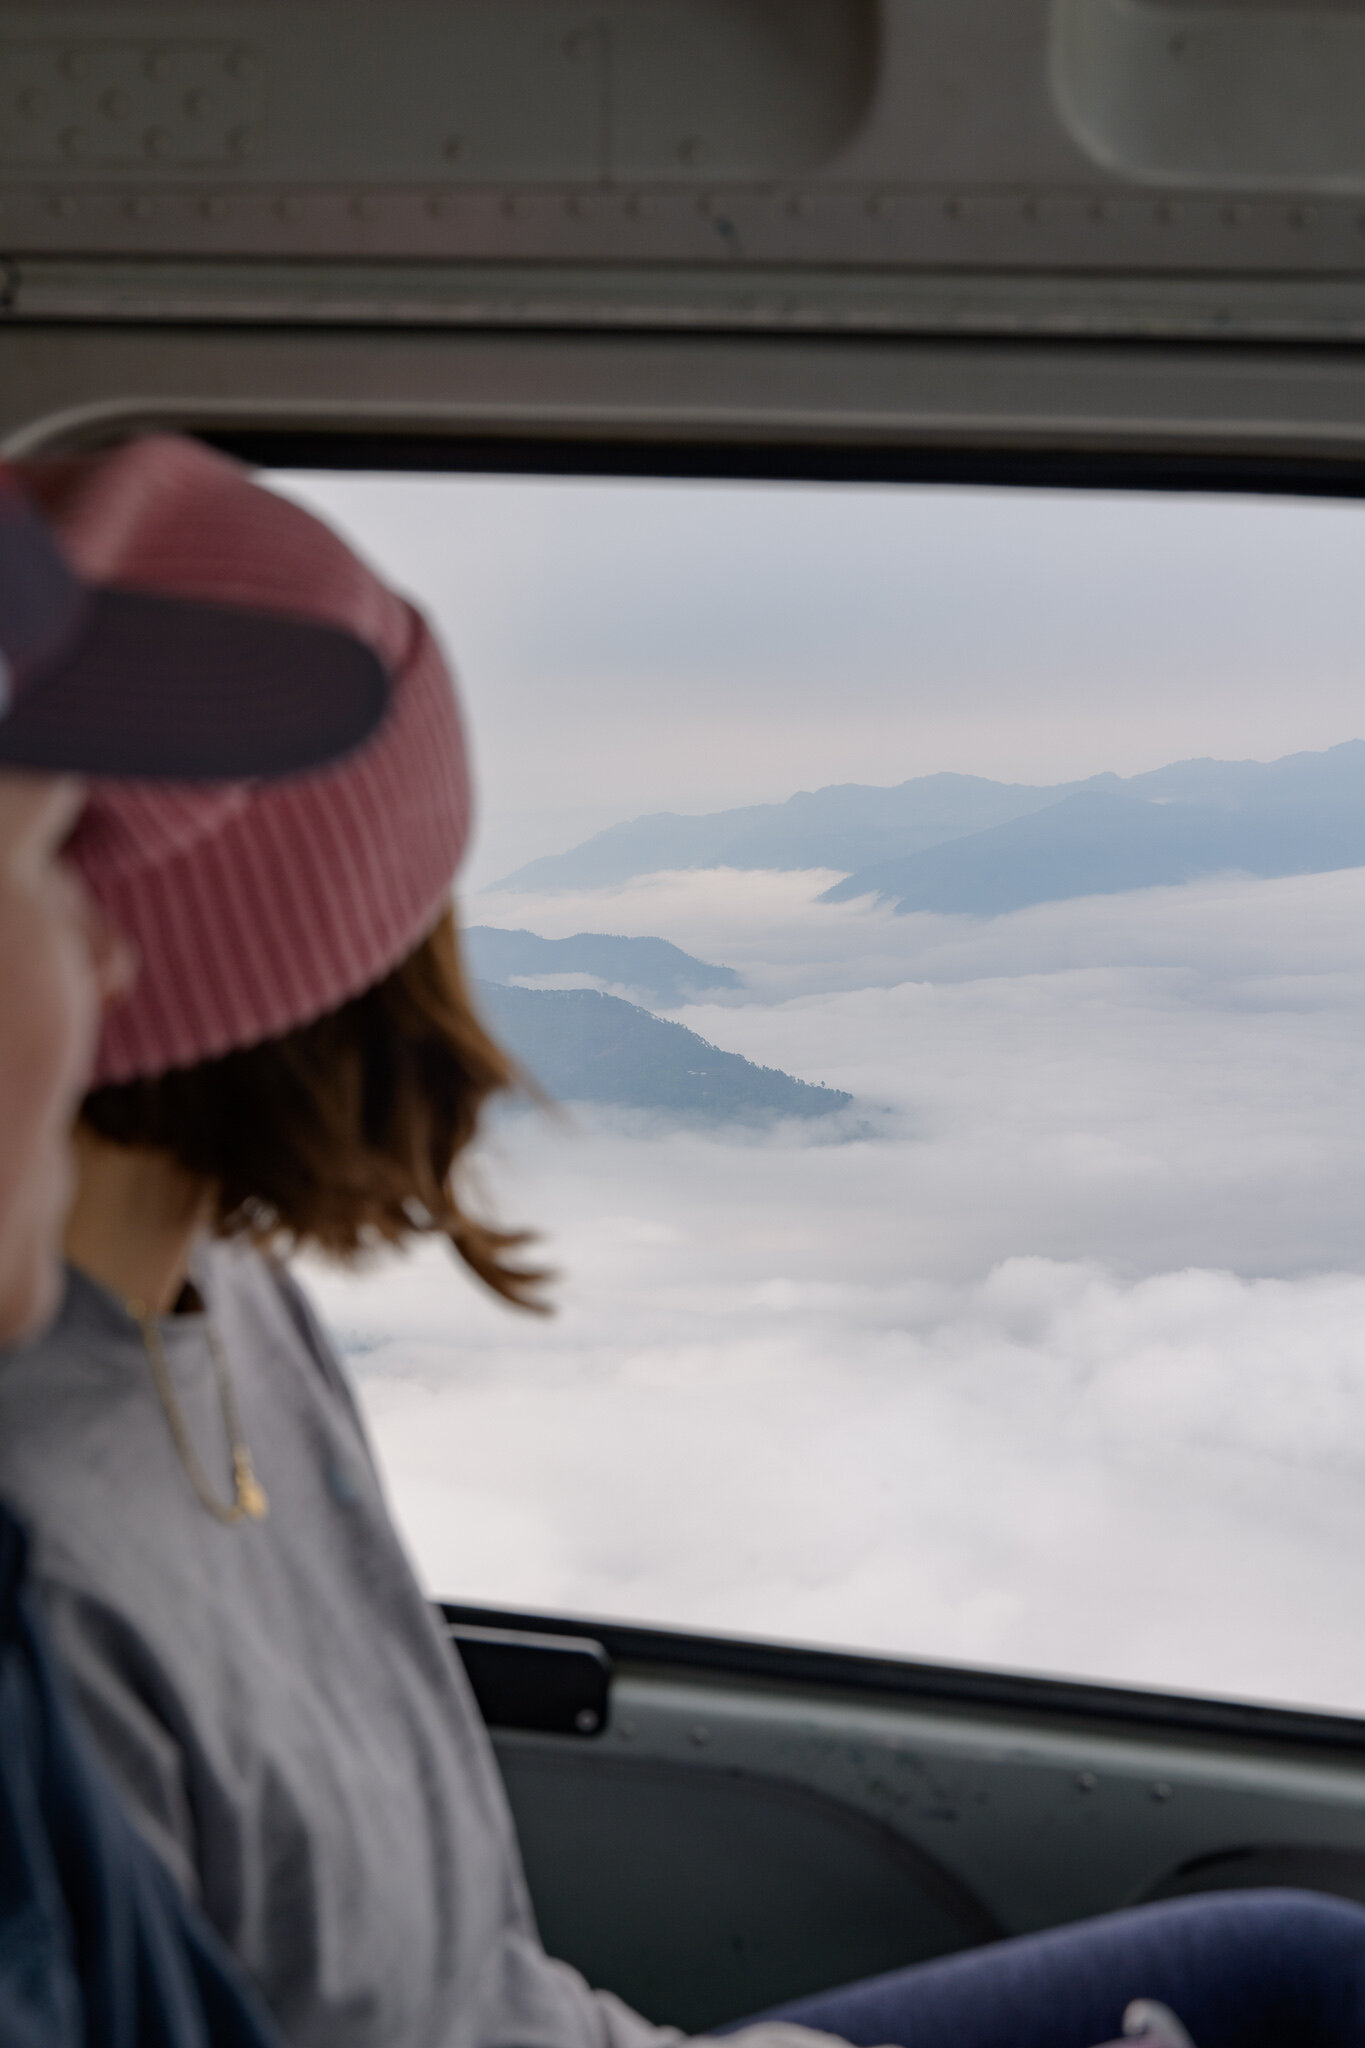
Day 1: flight from Kathmandu to Lukla. Trek from Lukla to Phadking.

Trekking distance: 4 miles

It’s important to note that transportation from Kathmandu to Lukla is the crux of this day. Swiftly changing weather creates the potential for waiting for hours if not days for a viable flight window. At the time I’m writing this blog, flights from Kathmandu have been severely limited, forcing folks to either rely on helicopters for transport (the most expensive route) or to take a 5-8 hour drive to Ramechhap from Kathmandu to catch a flight to Lukla from there. If you can, build in a little wiggle room to allow for flight delays.

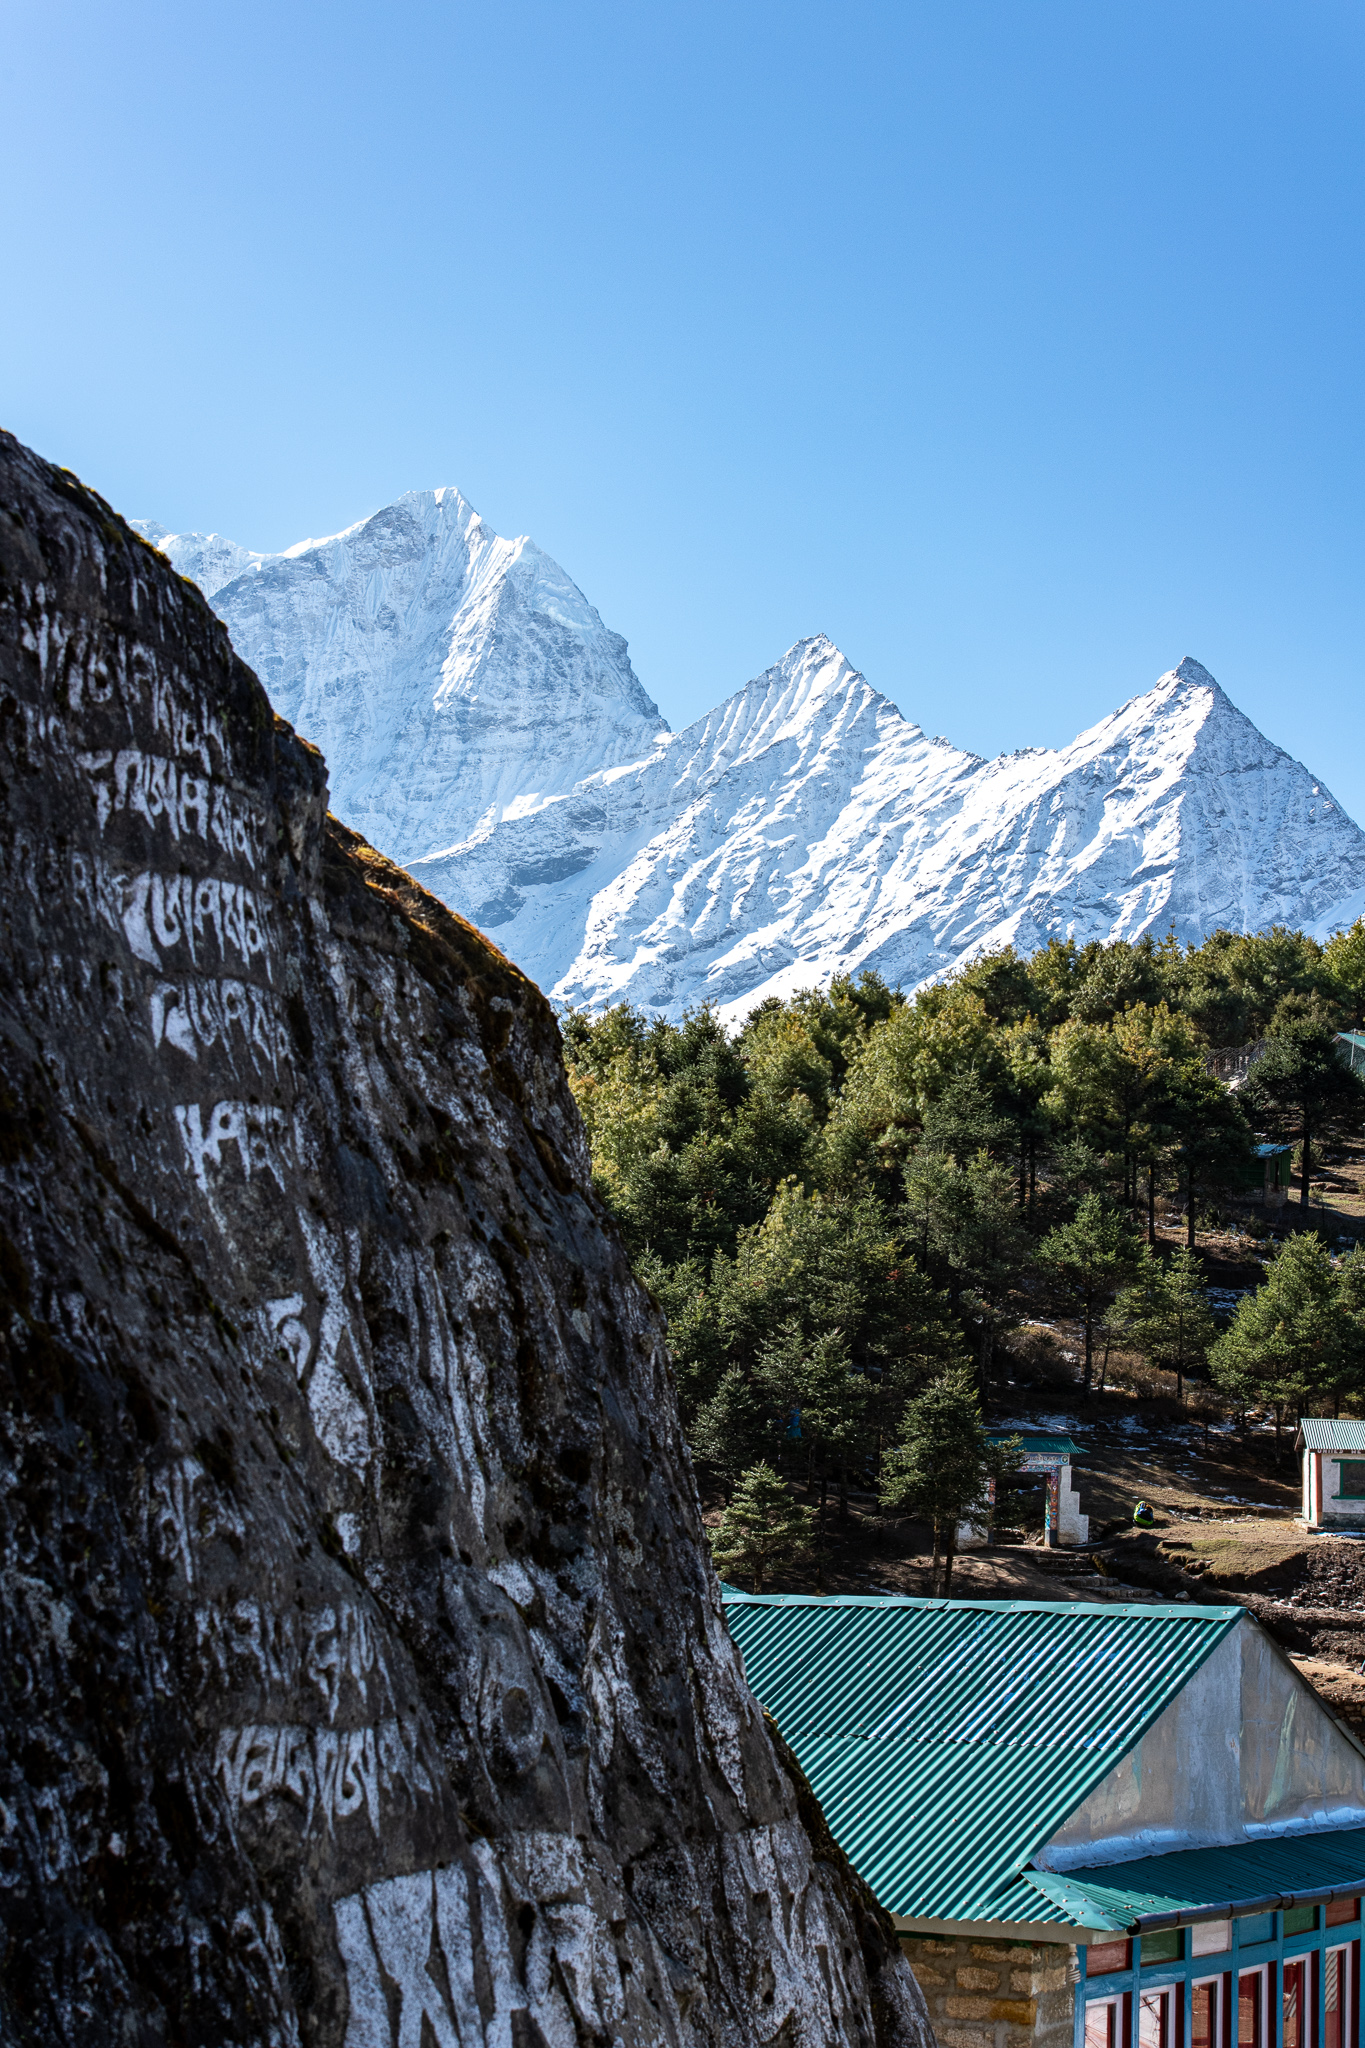
Day 2: Phadking to Namche Bazaar

Trekking distance: 6 miles

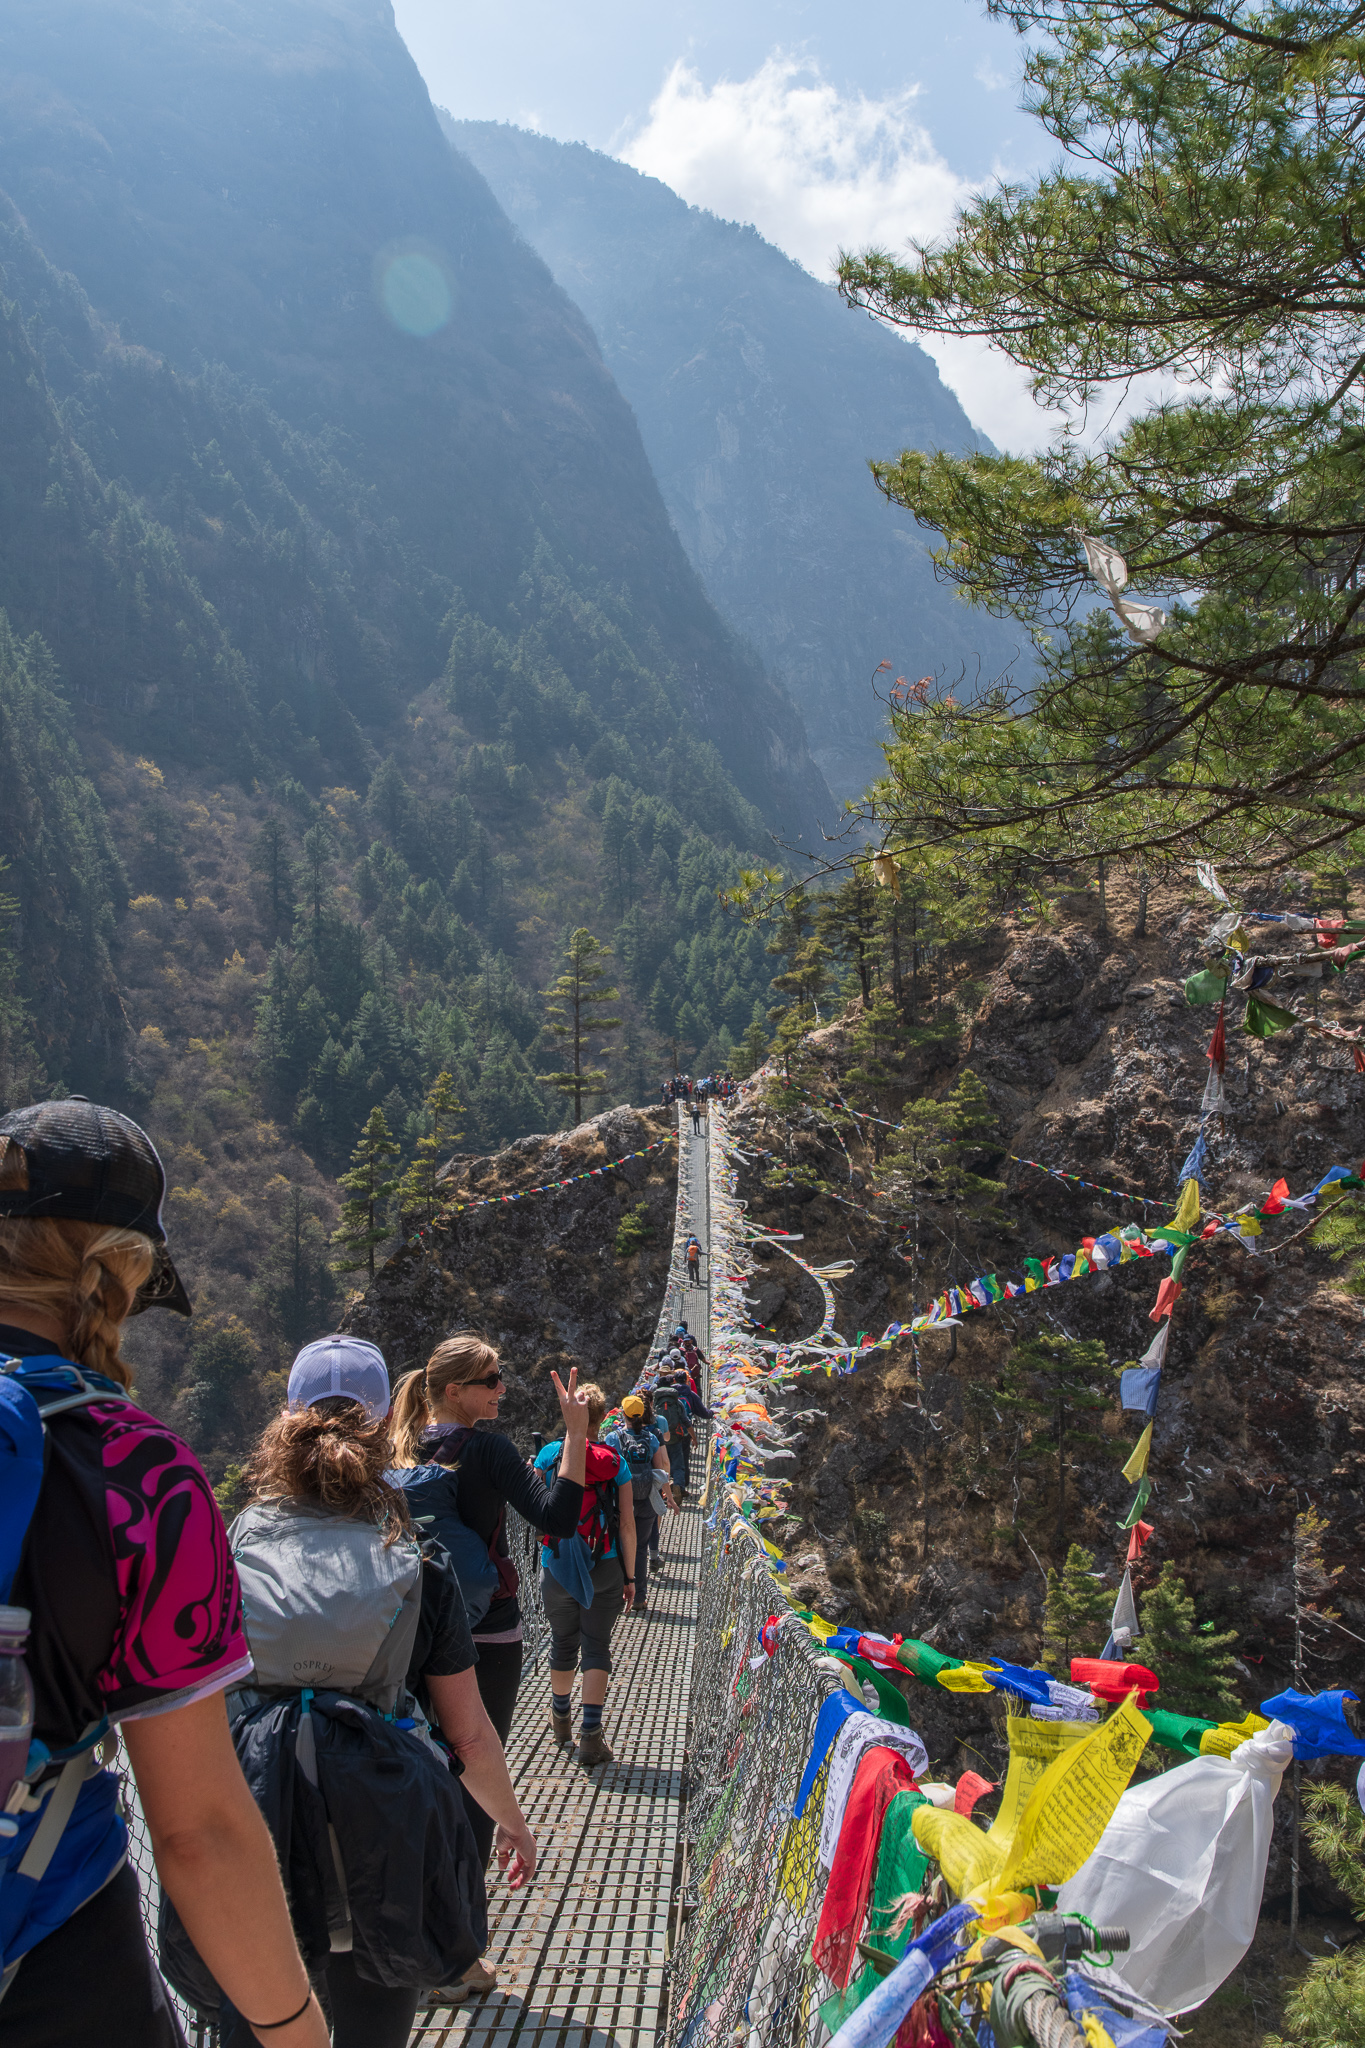
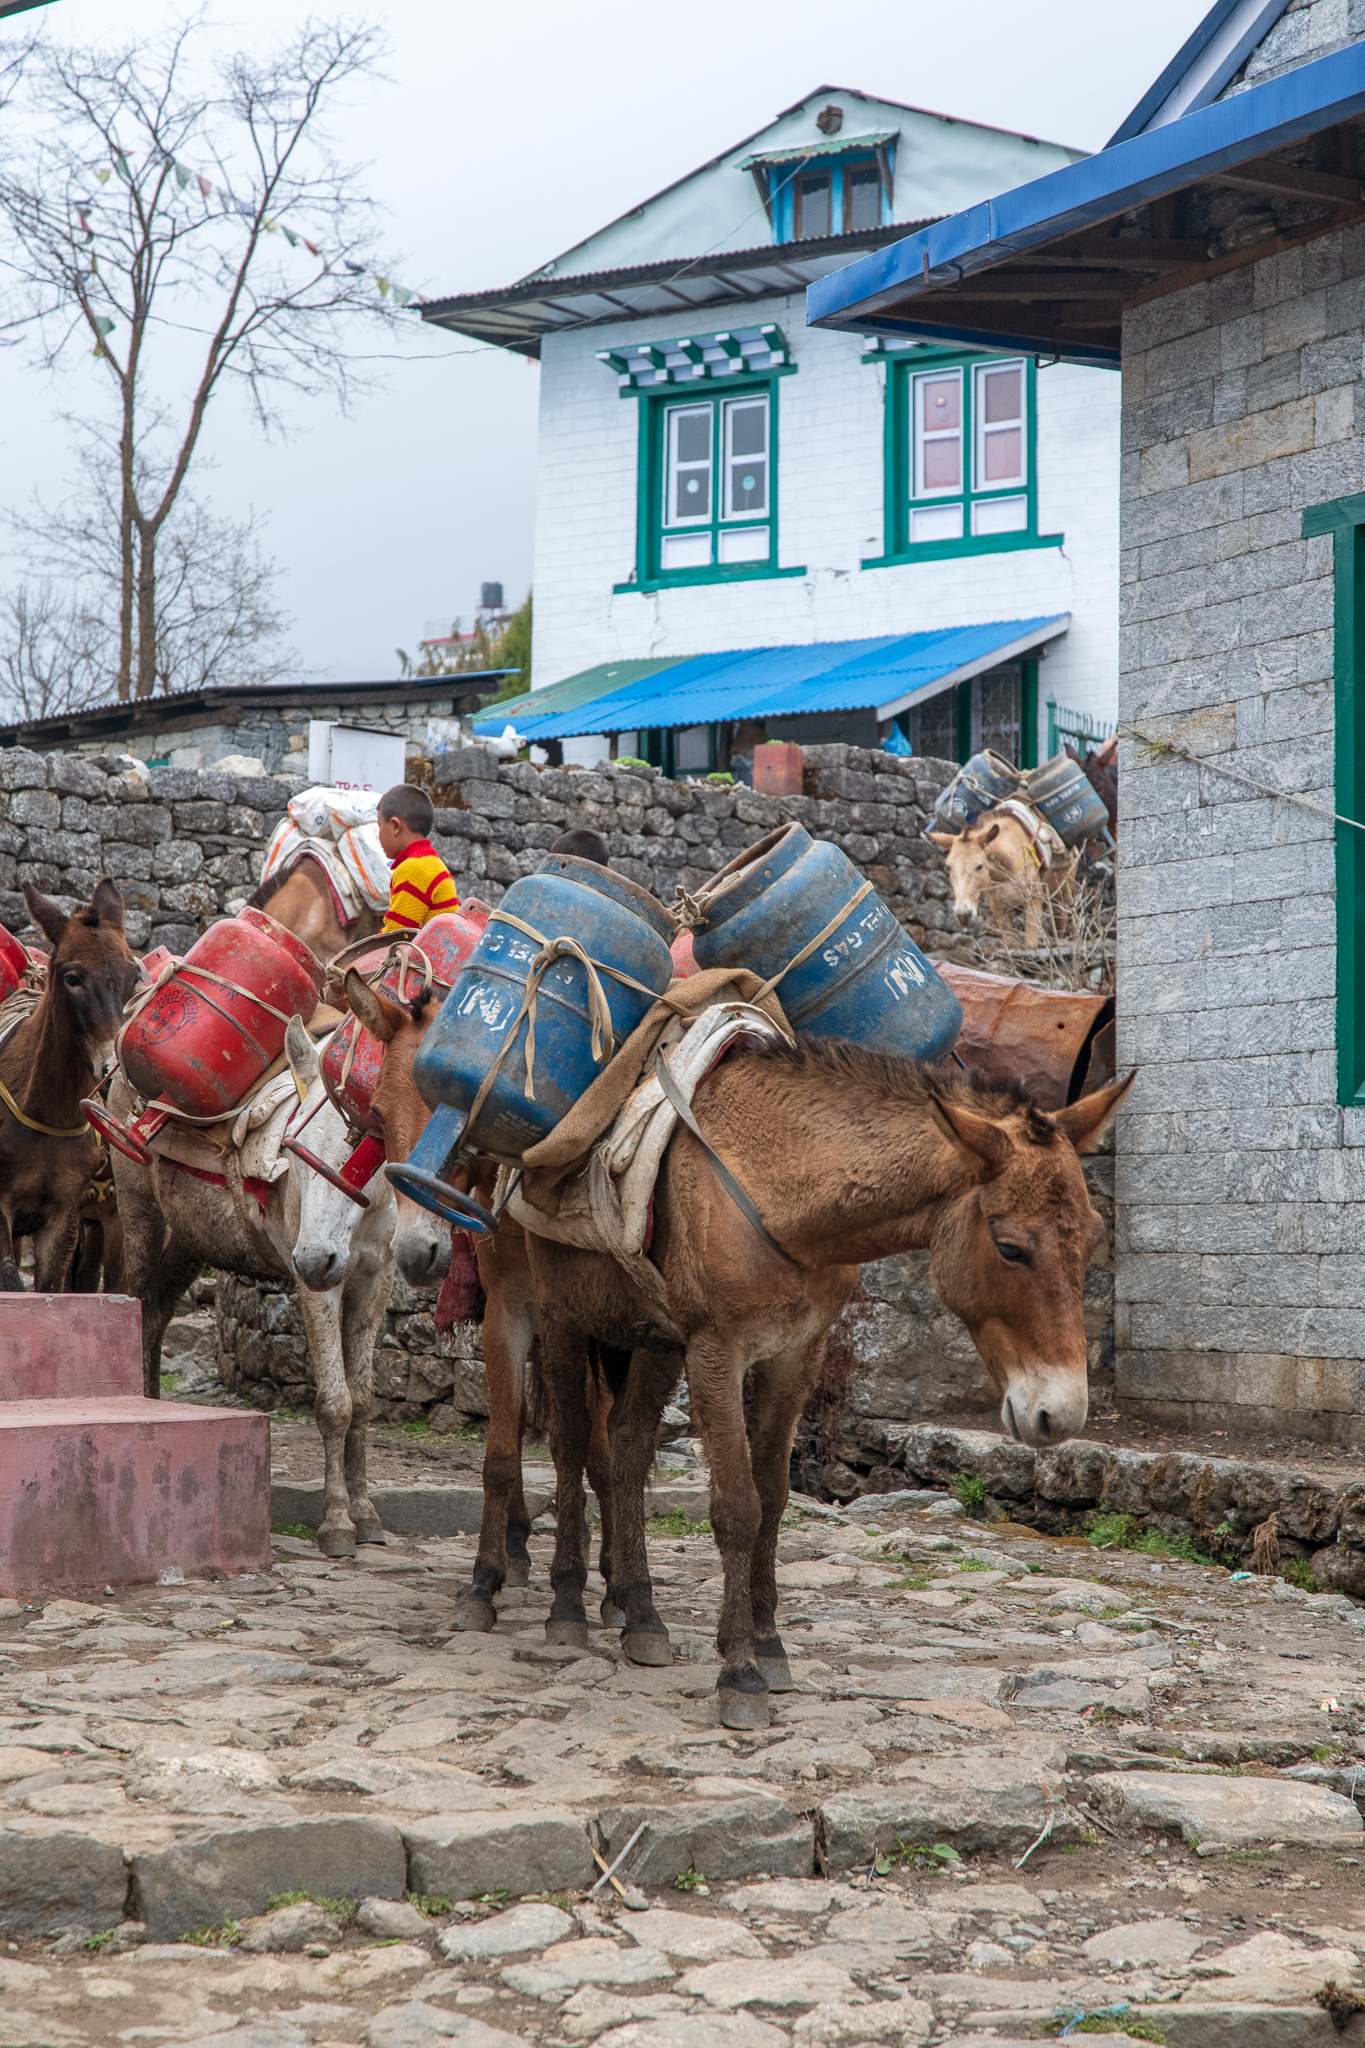
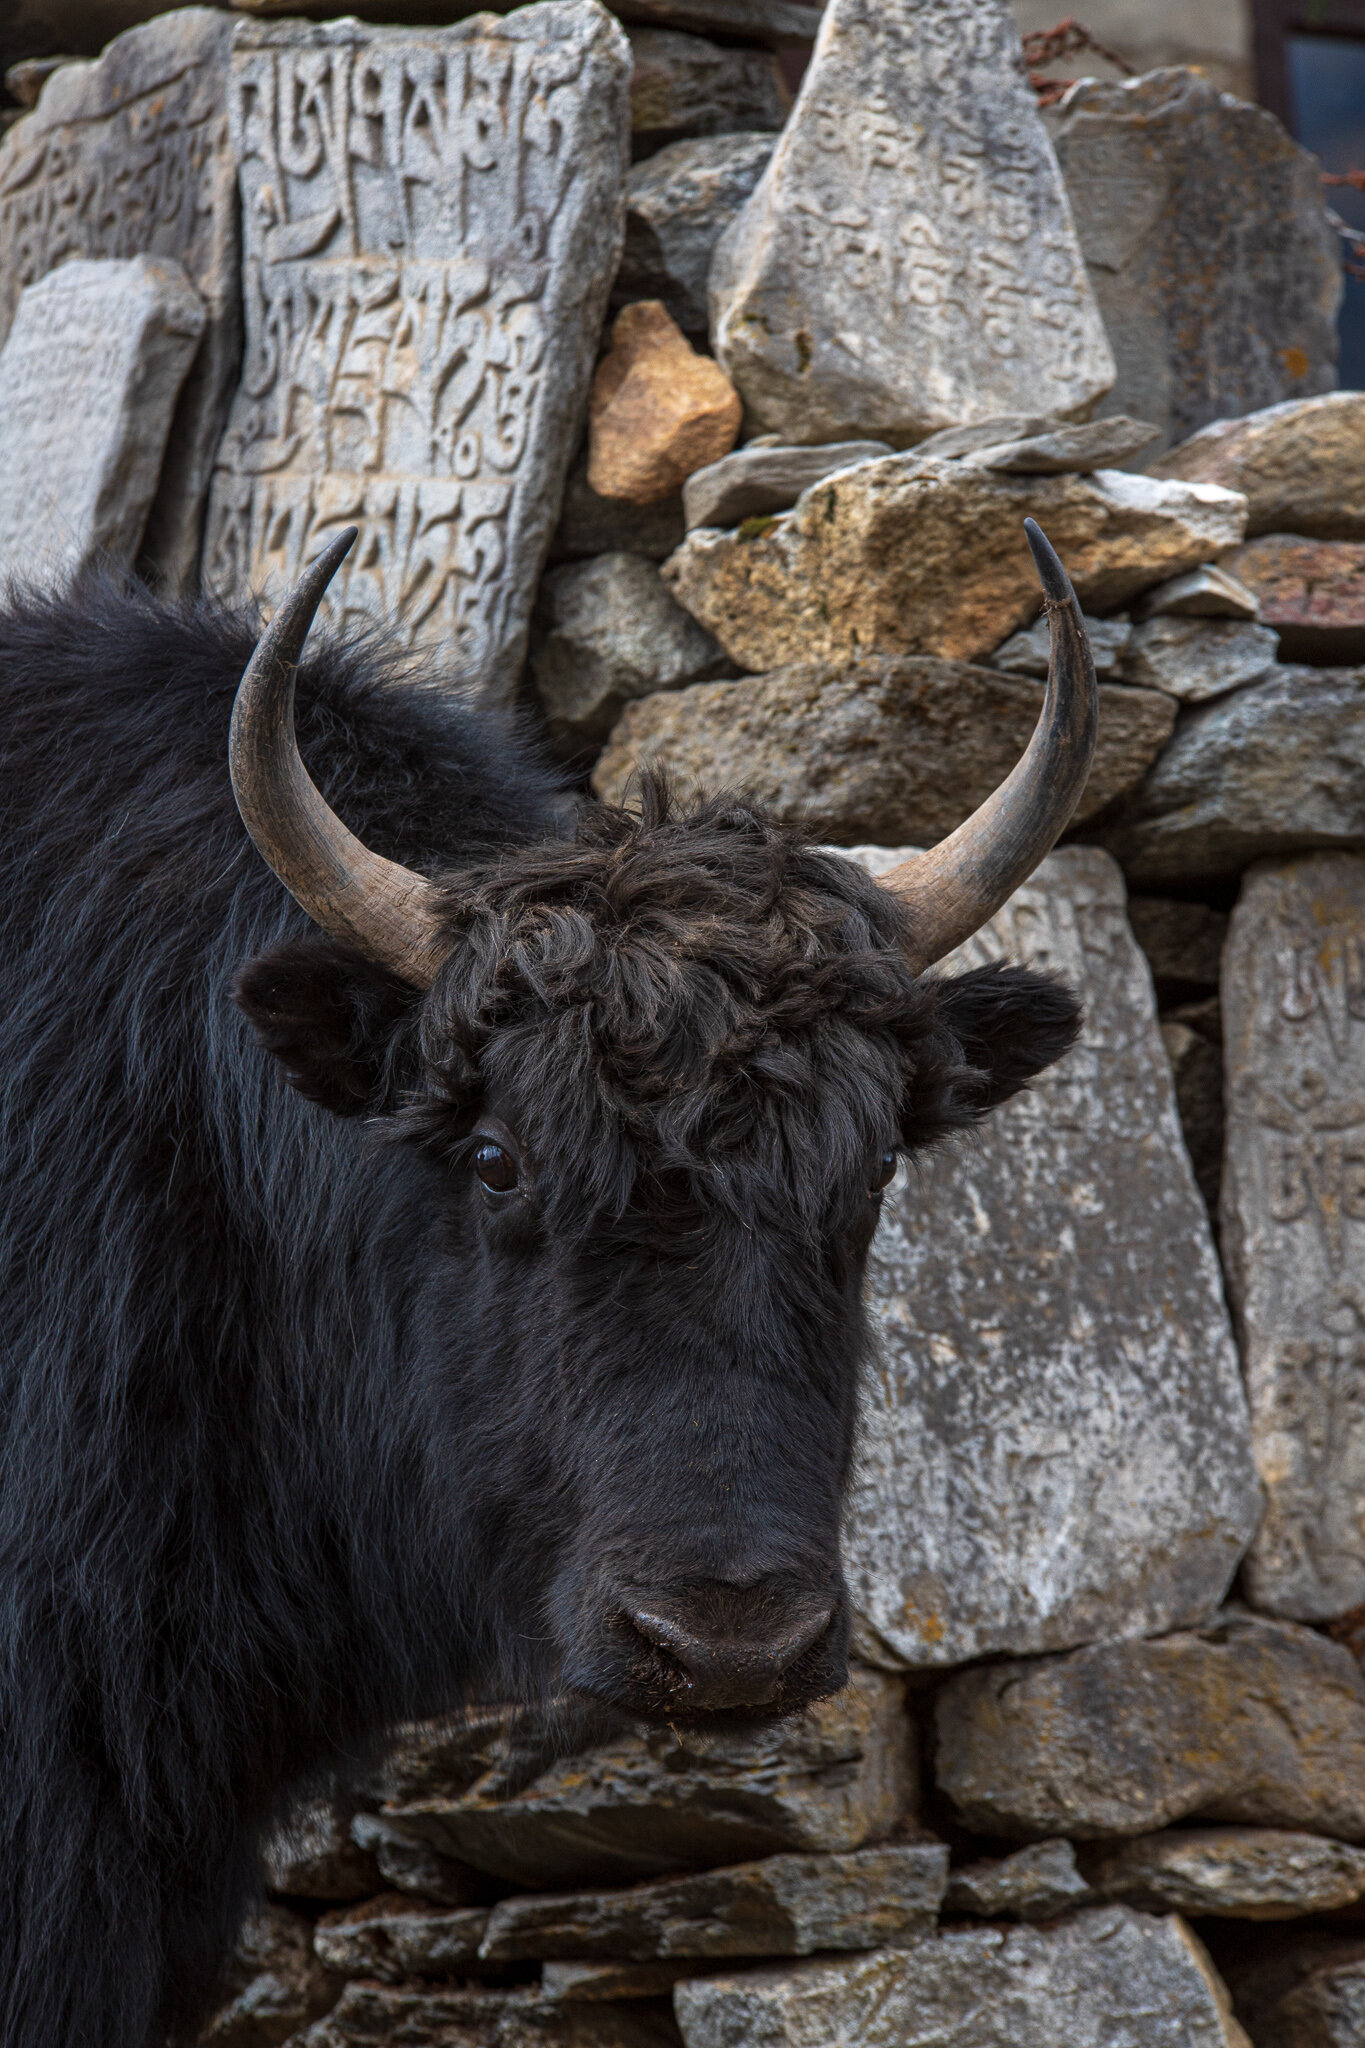
Begin your day with a mellow ascent that gradually becomes steeper. Enjoy crossing the iconic suspension bridges and your first encounters with cows and yaows (cow-yak hybrids). The final climb of the day rises steeply to Namche Bazaar where you will rest and relax.

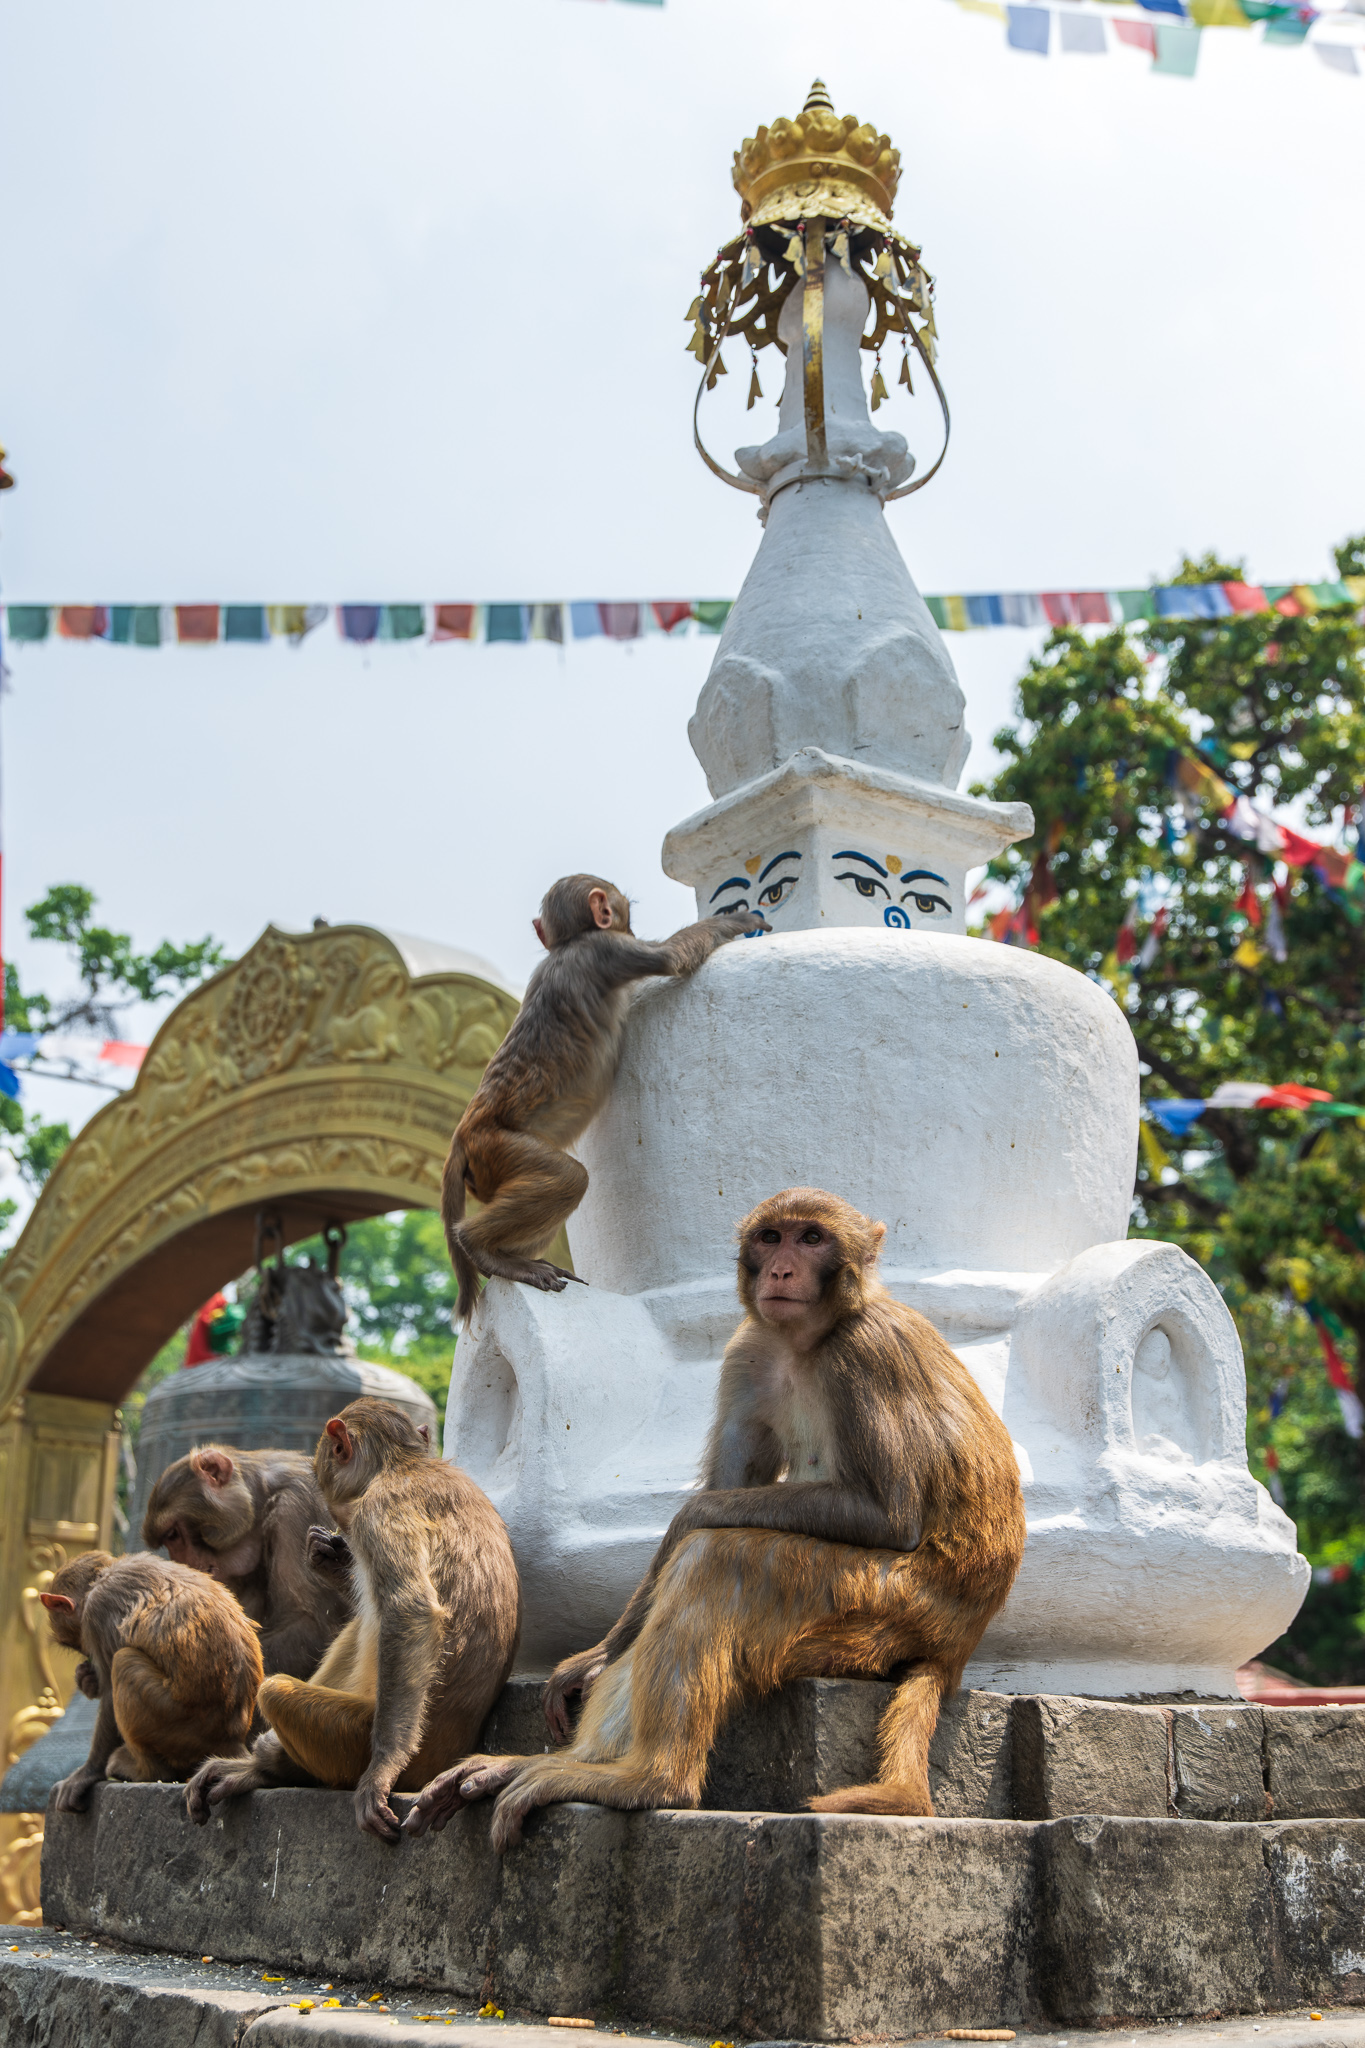
Day 3: Rest and acclimatization day in Namche

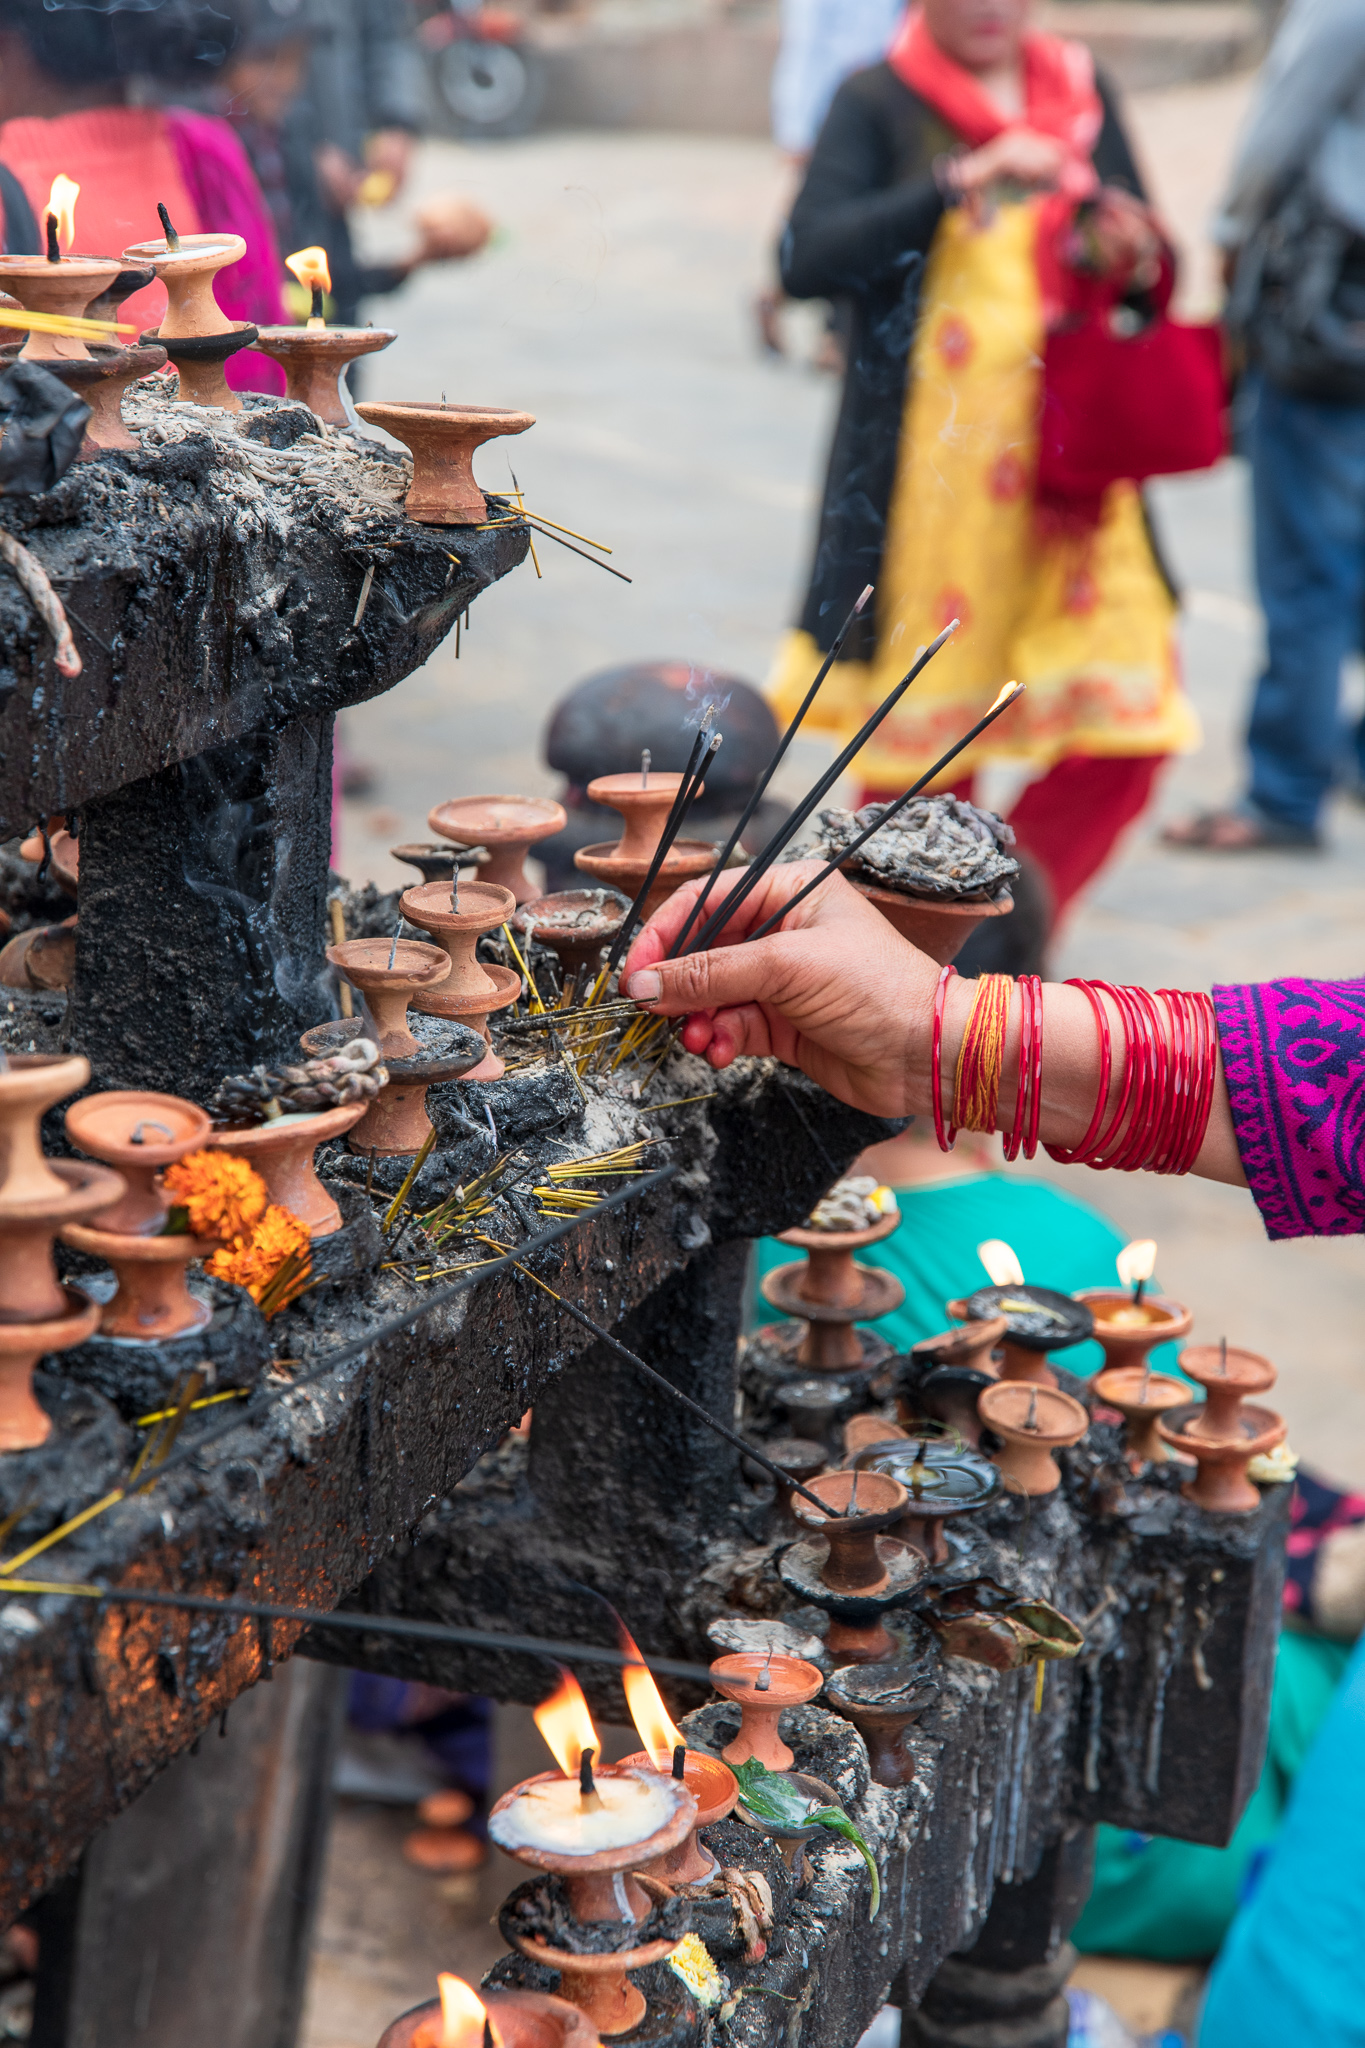
Get a good night of sleep and a hearty breakfast, then do an acclimatization hike. Hike destination varies depending on weather, and may include a visit to the Everest View Point, the Sherpa Museum, and Everest View Hotel. Plan on 2-4 hours of hiking with up to 6 miles of distance. Upon returning, spend the afternoon wandering the streets of Namche and catch a regular screening of a documentary about the Sherpa People in any one of the coffee shops.

Day 4: Namche Bazaar to Tengboche

Trekking distance: 5.3 miles

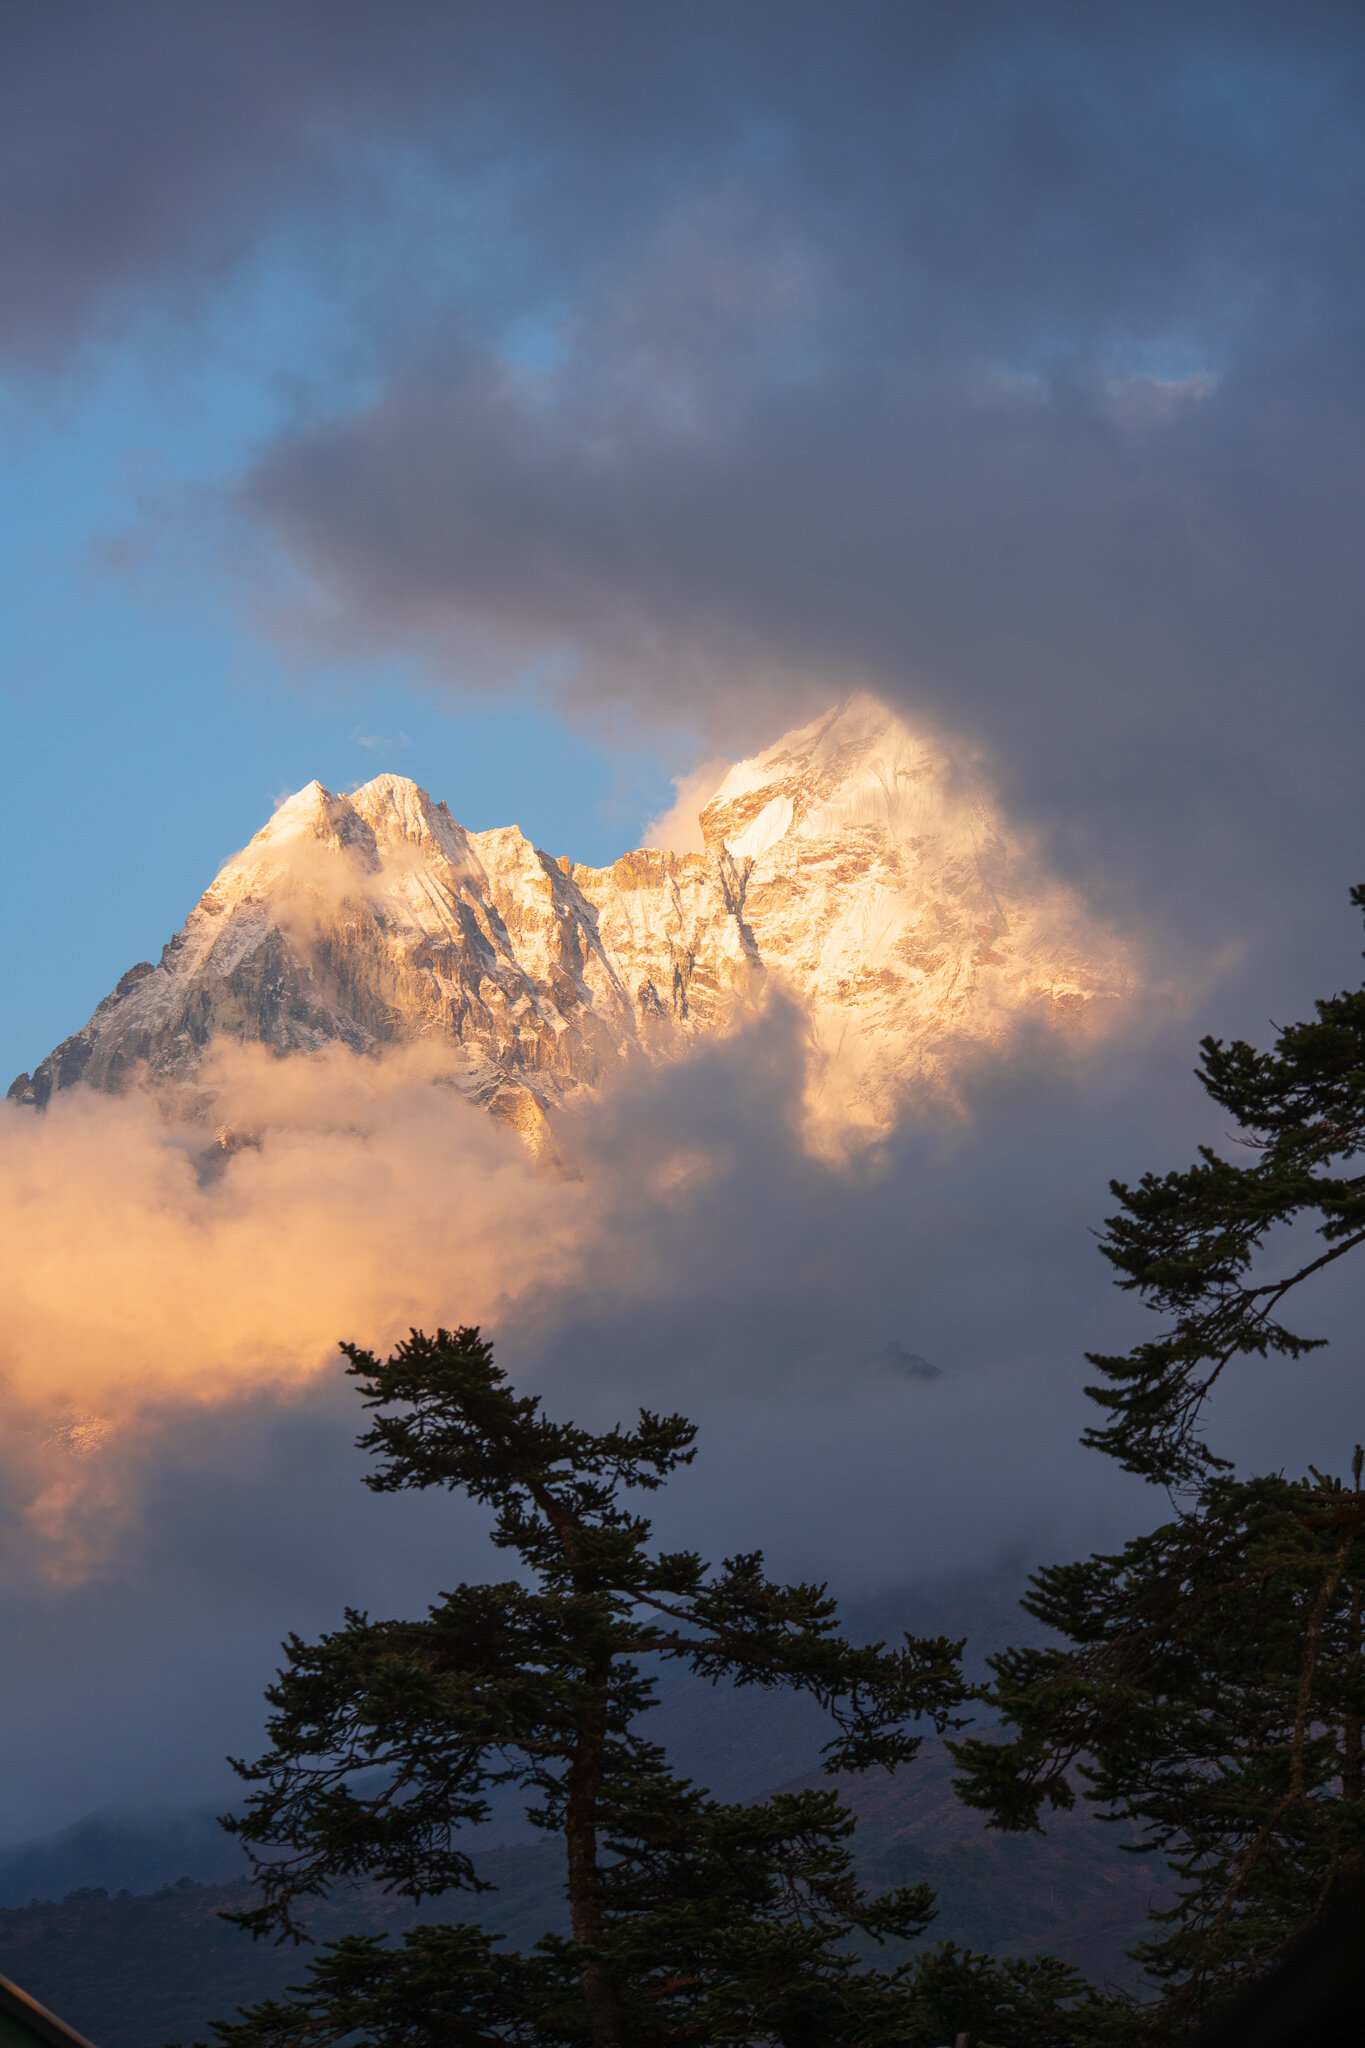
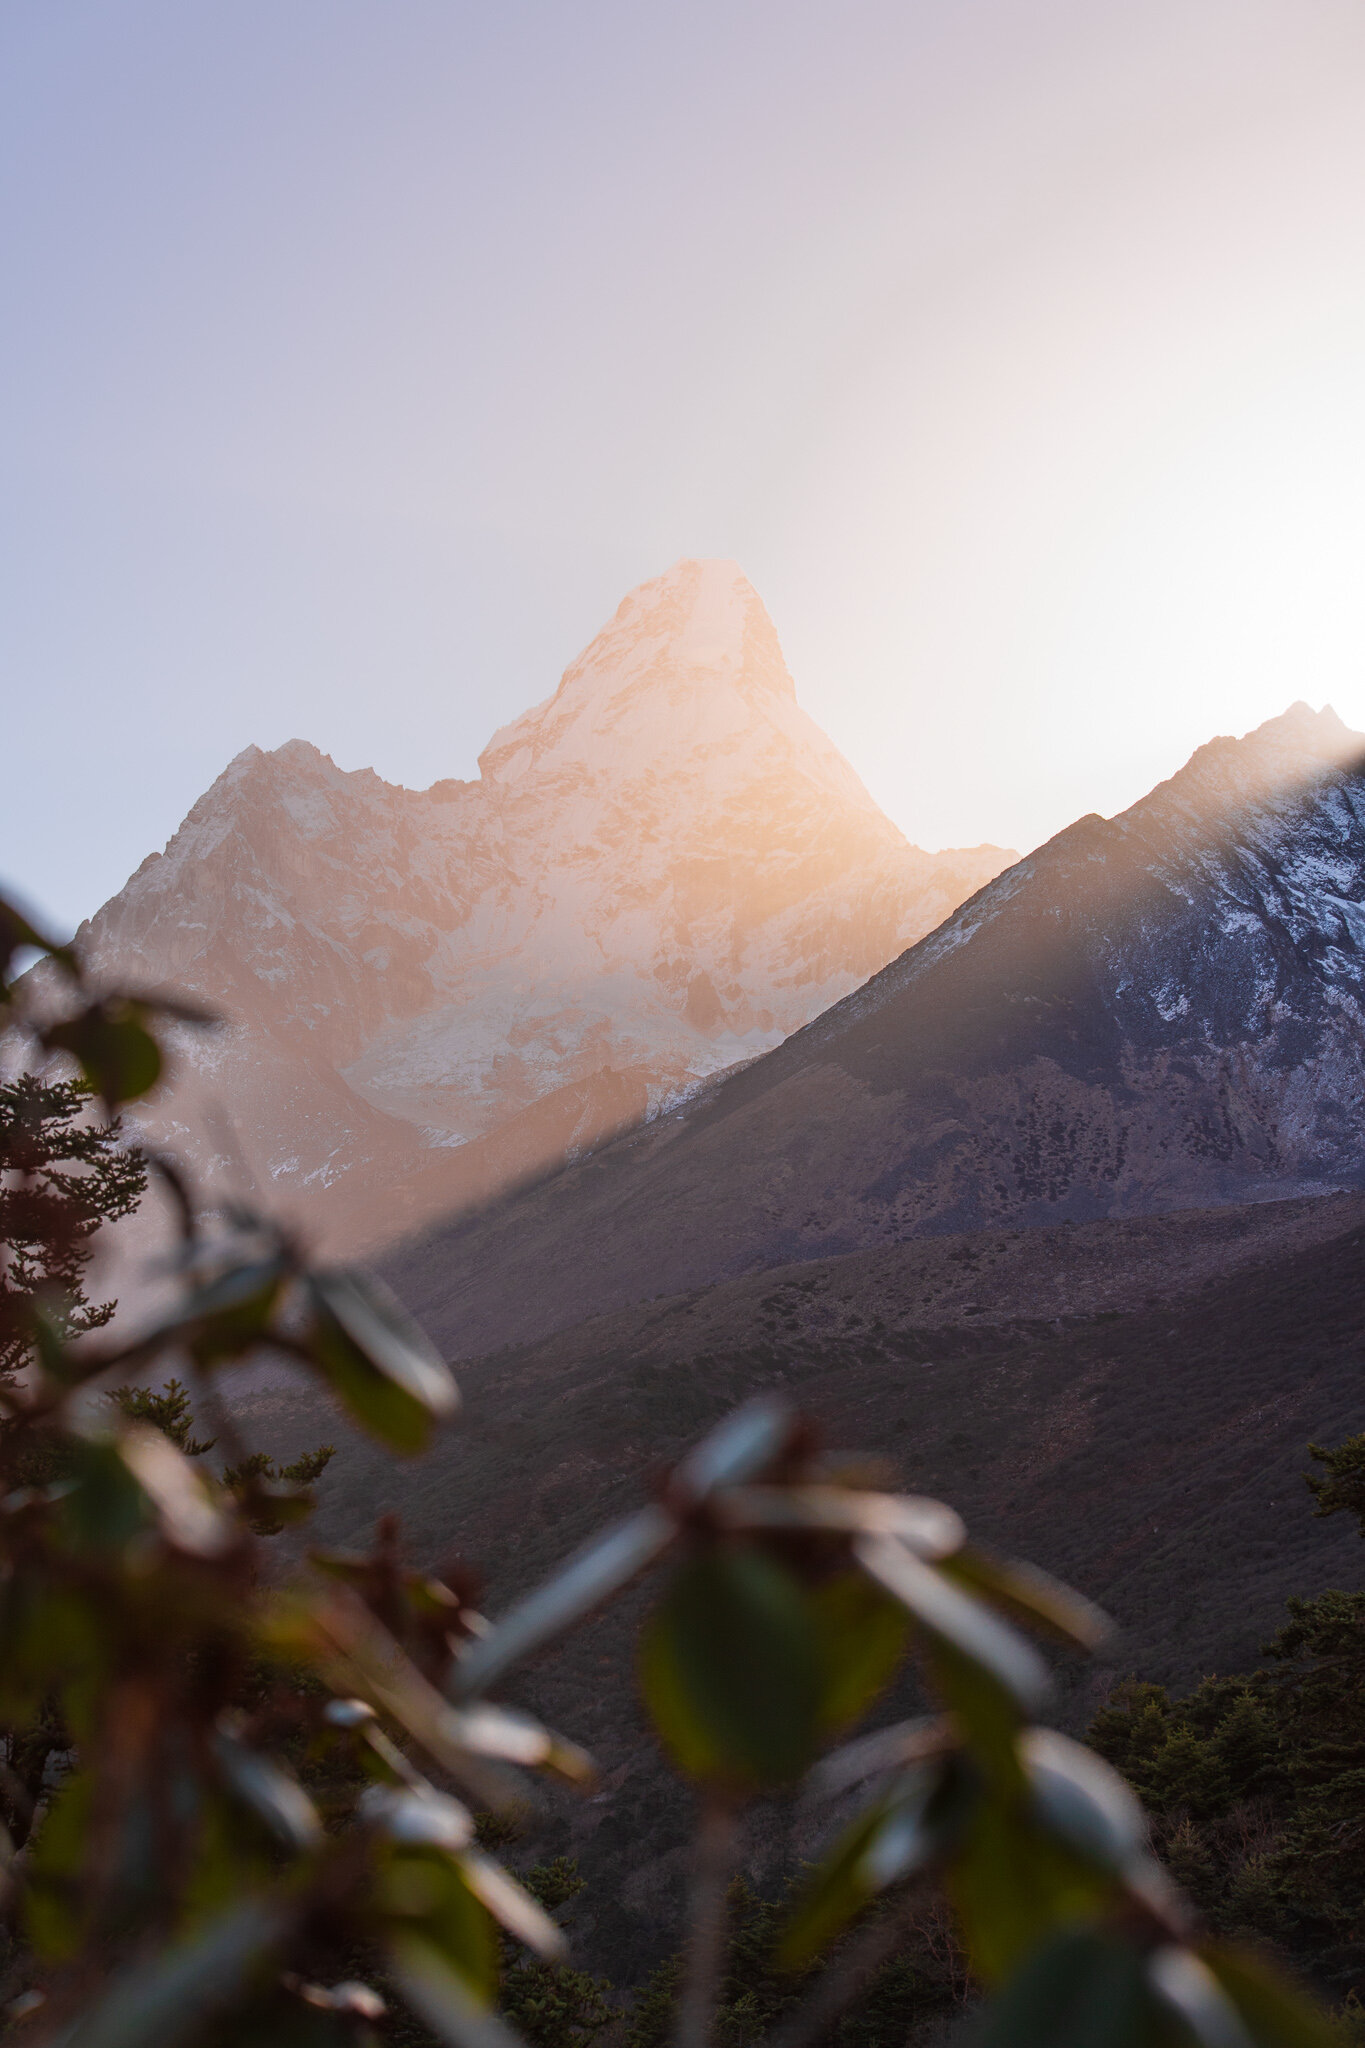
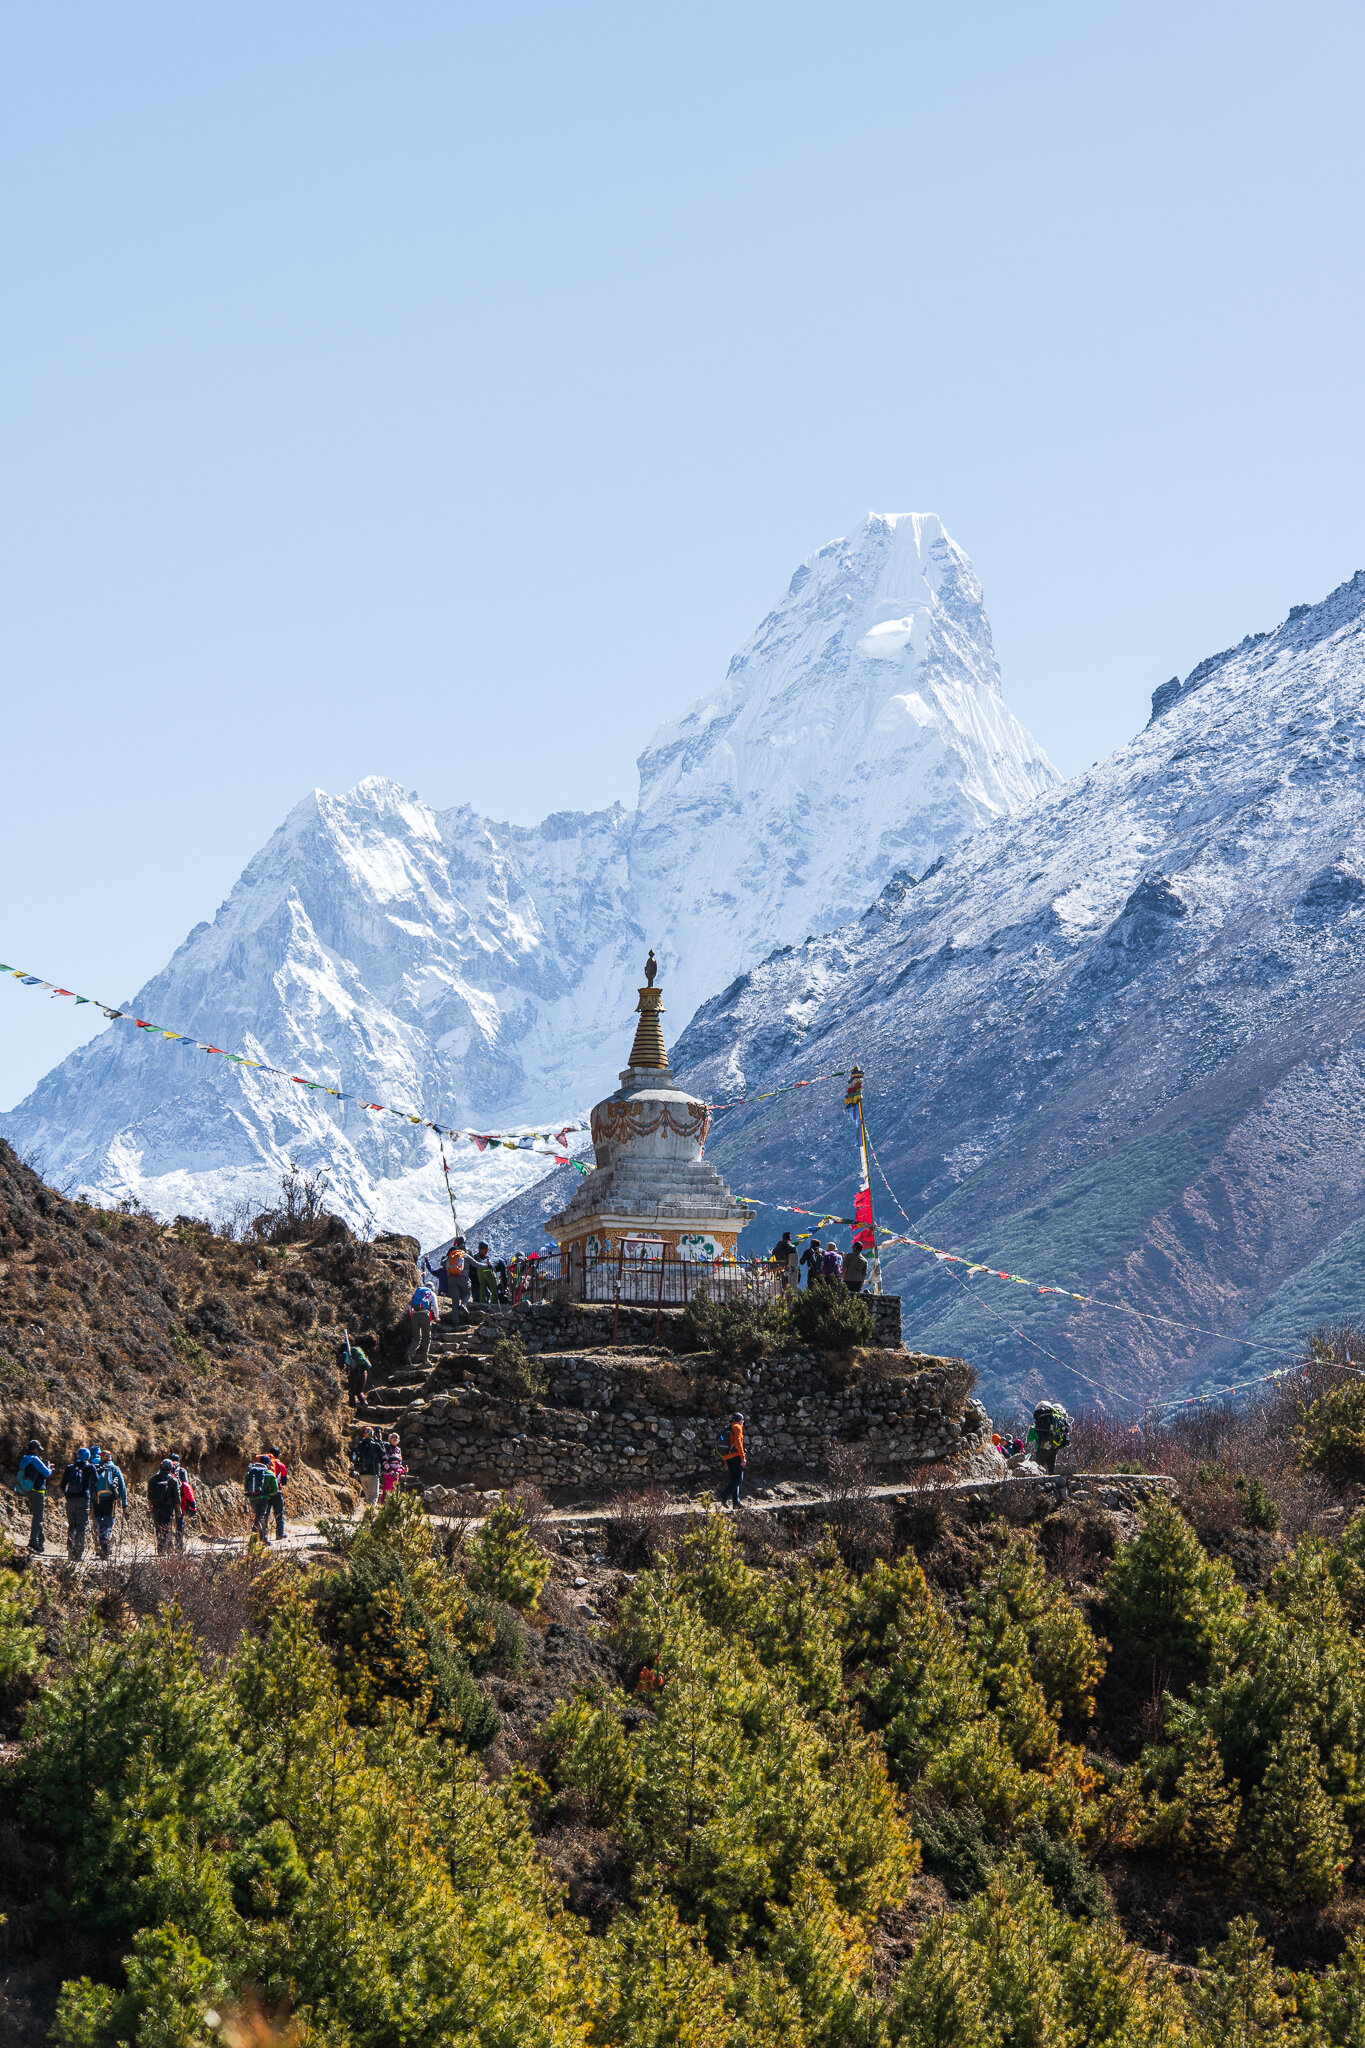
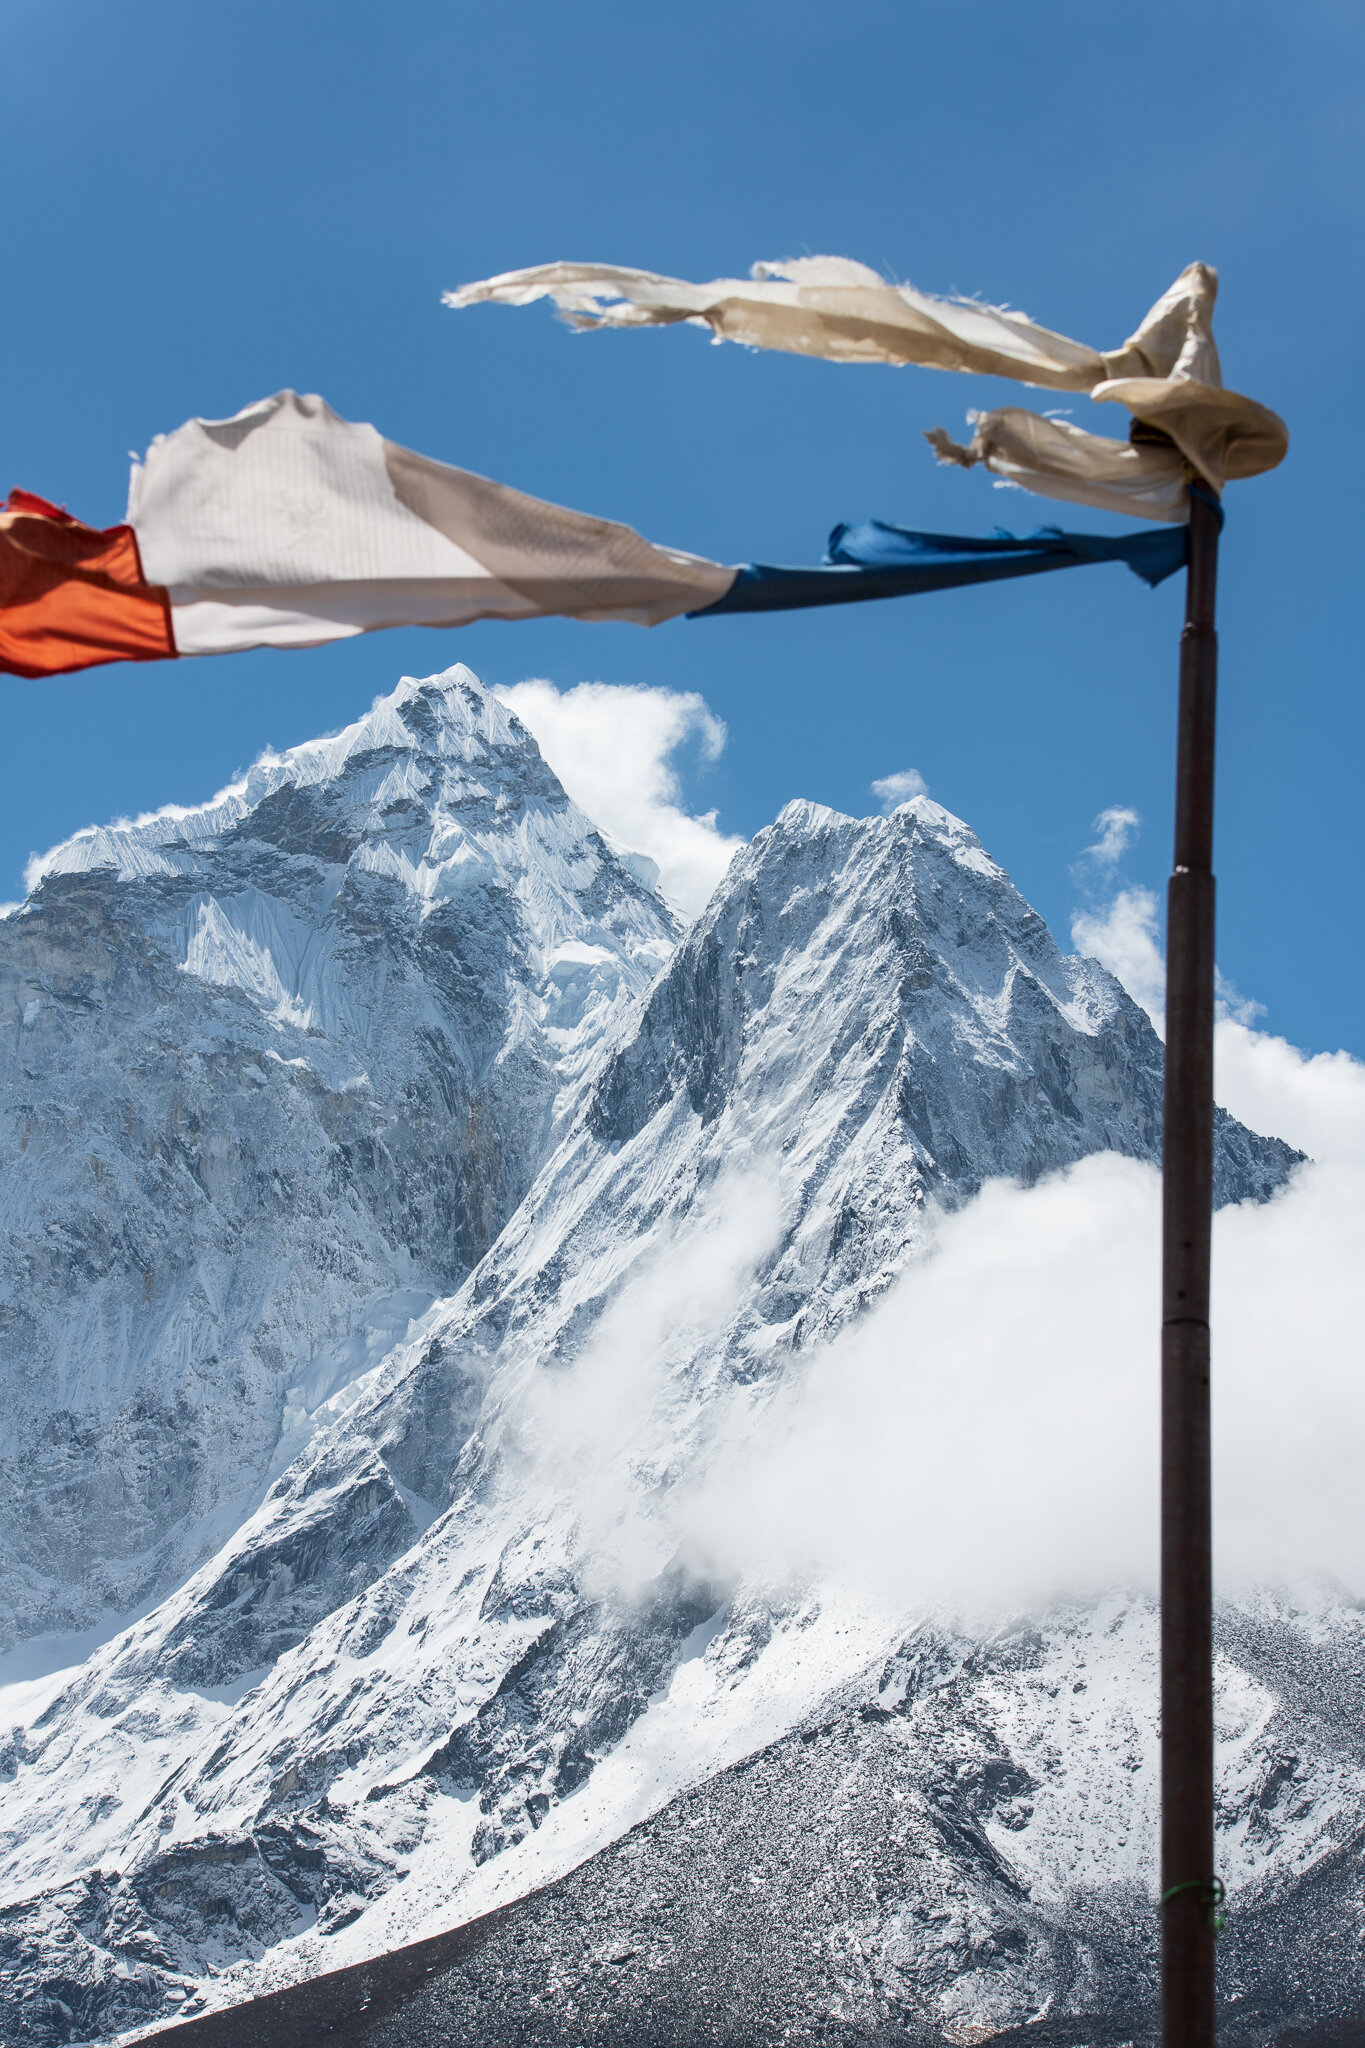
Start the trek with a relatively easy climb to a long stretch of “Nepali flat,” gently rolling sections of trail with stunning views of Ama Dablam. Descend sharply for lunch, then ascend sharply to reach Tengboche.

Day 5: Tengboche to Dingboche

Trekking distance: 6.7 miles

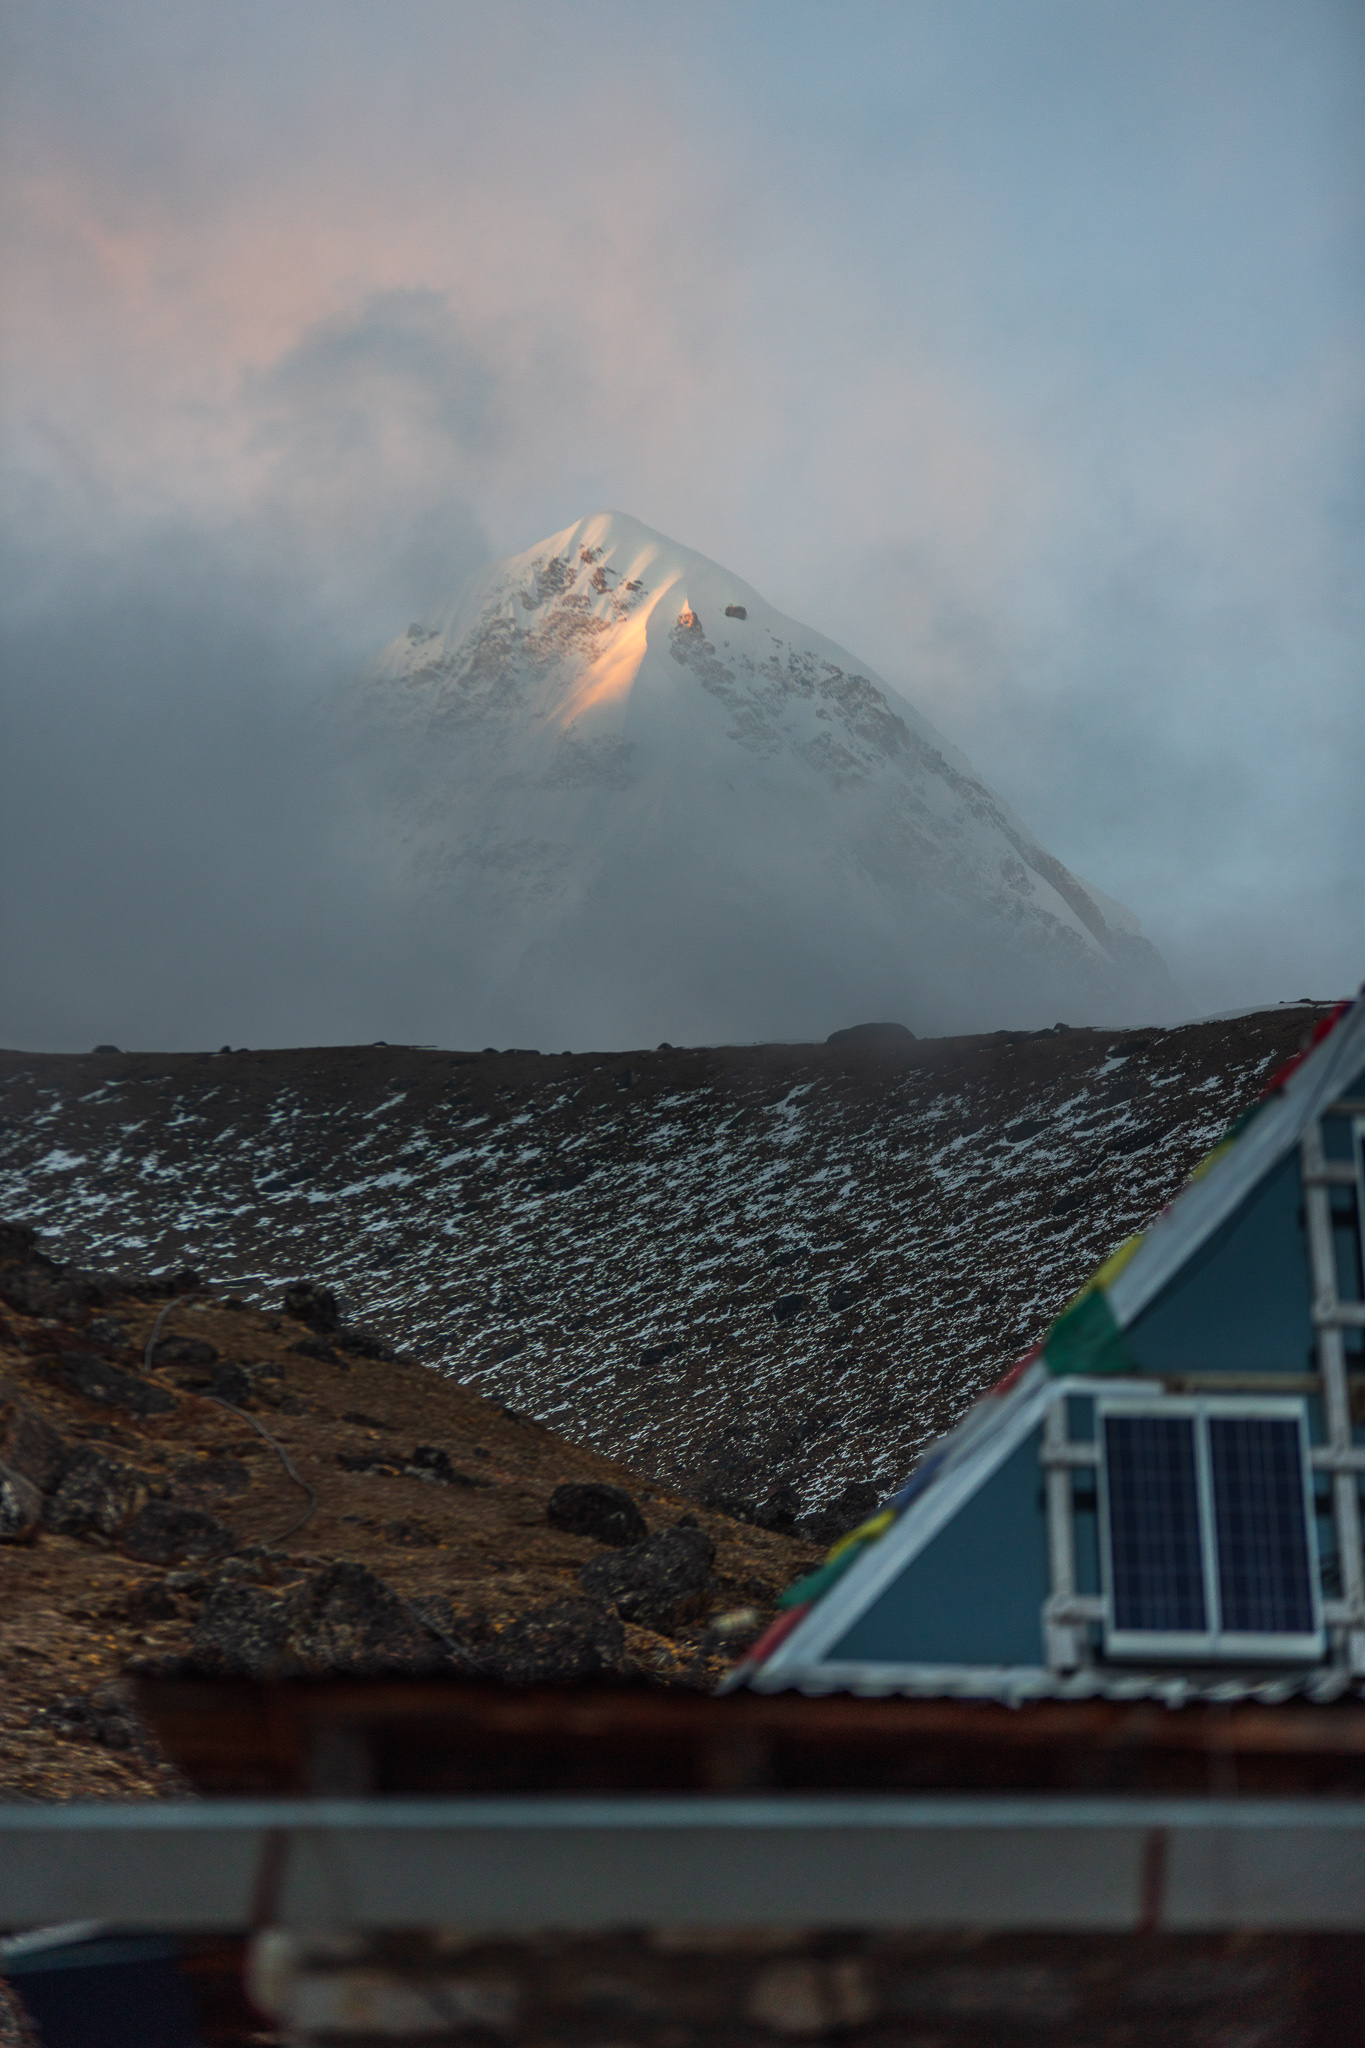
I highly recommend waking up for a chance at sunrise over Ama Dablam. It’s a stunning sight that you won’t soon forget. The trek begins with a downhill stretch through massive rhododendrons. If you’re lucky, you’ll catch them in full bloom. Eventually you hit a small section of Nepali flat before gaining gradually the rest of the day.

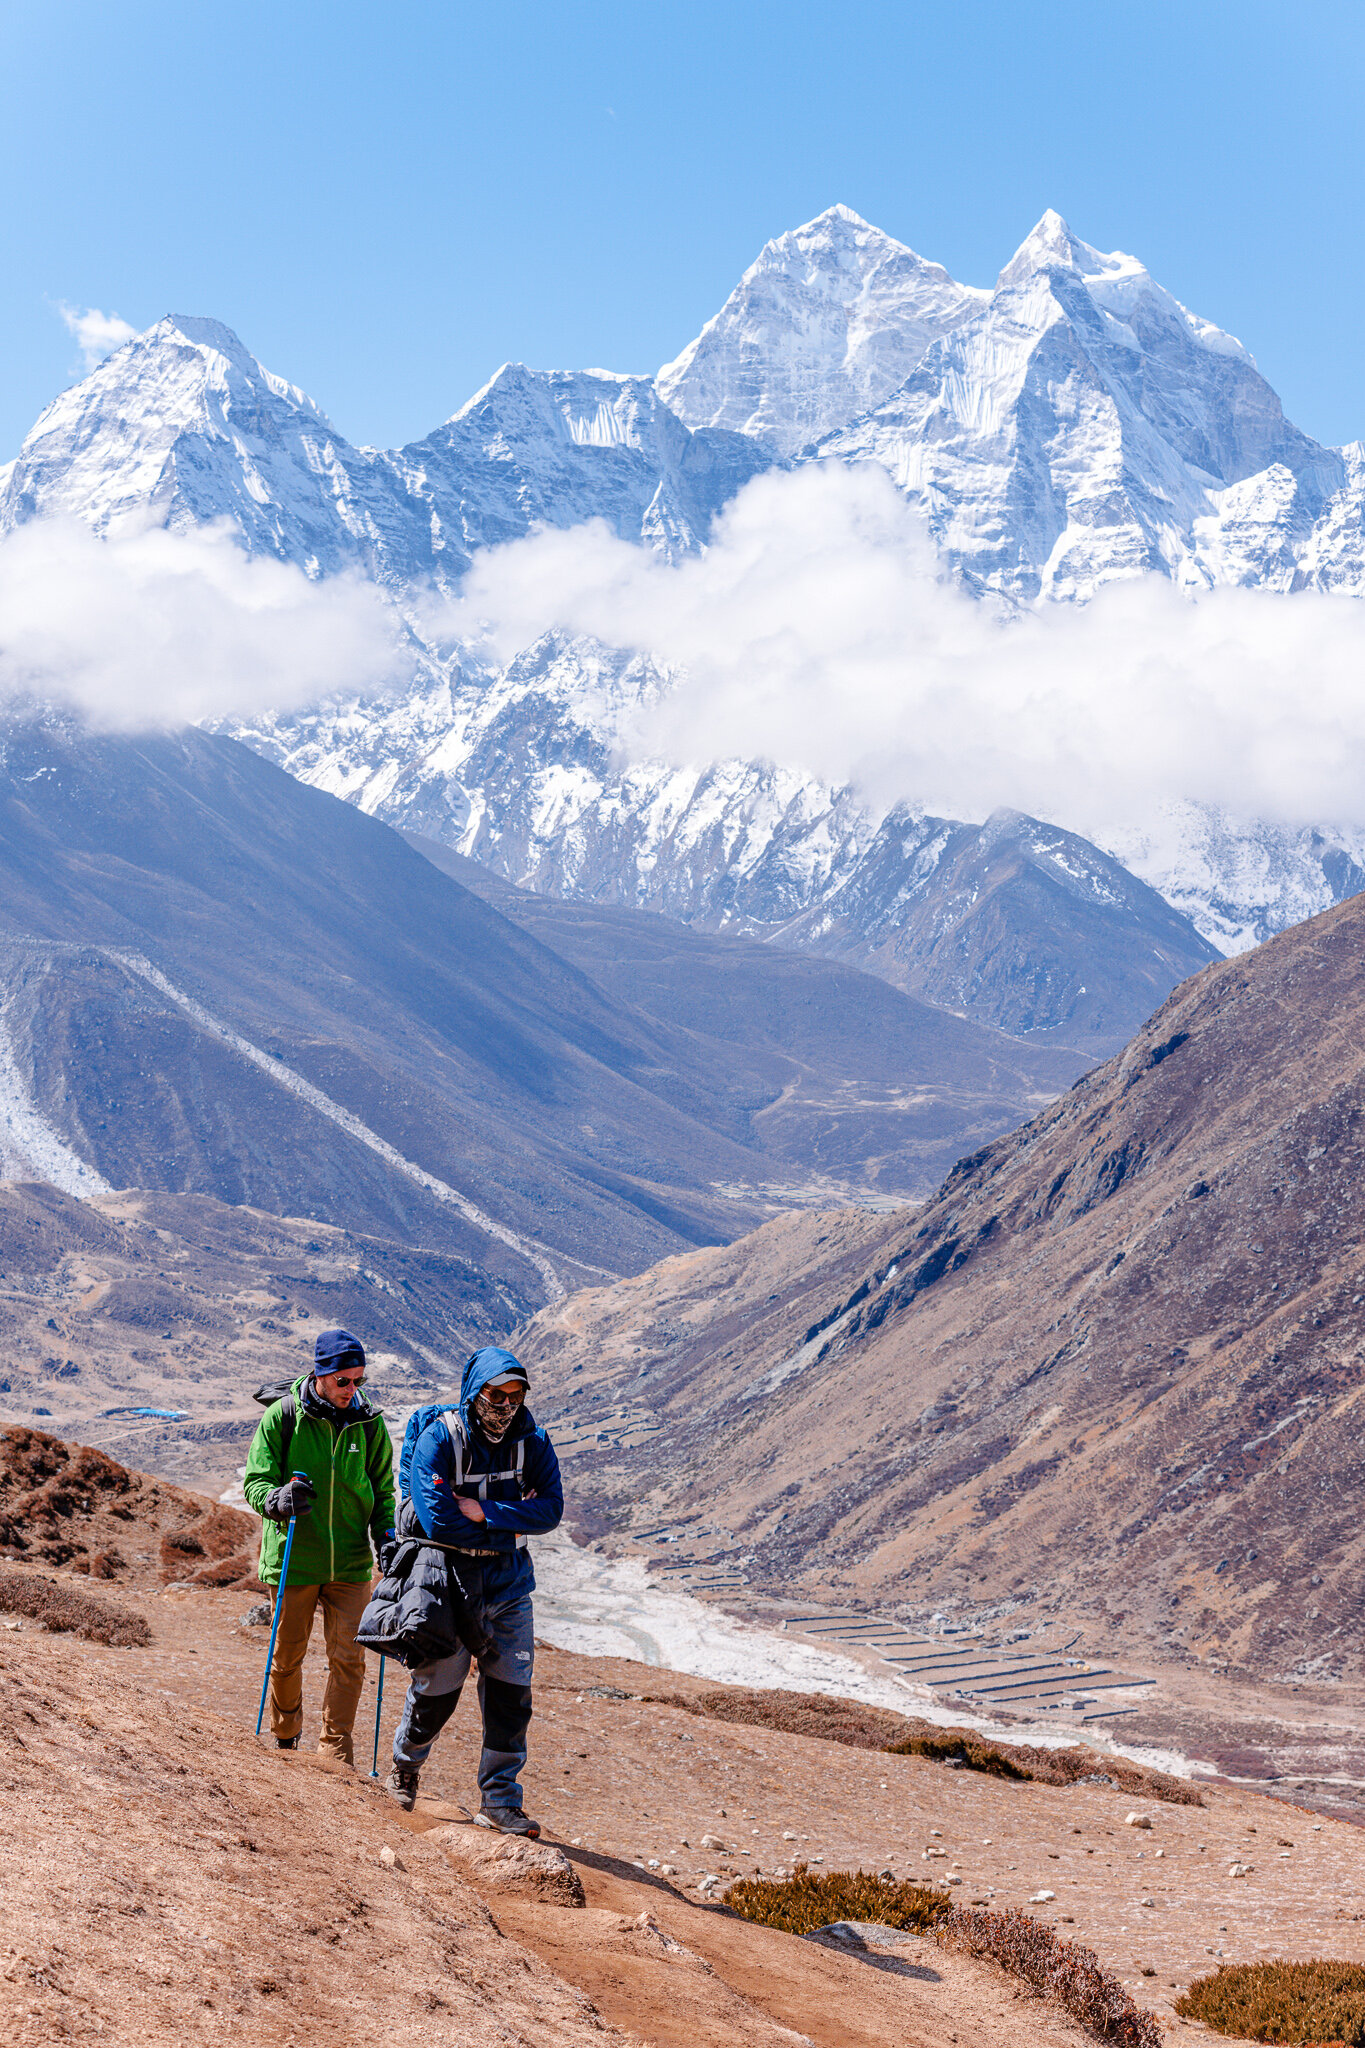
Day 6: Rest and acclimatization day in Dingboche

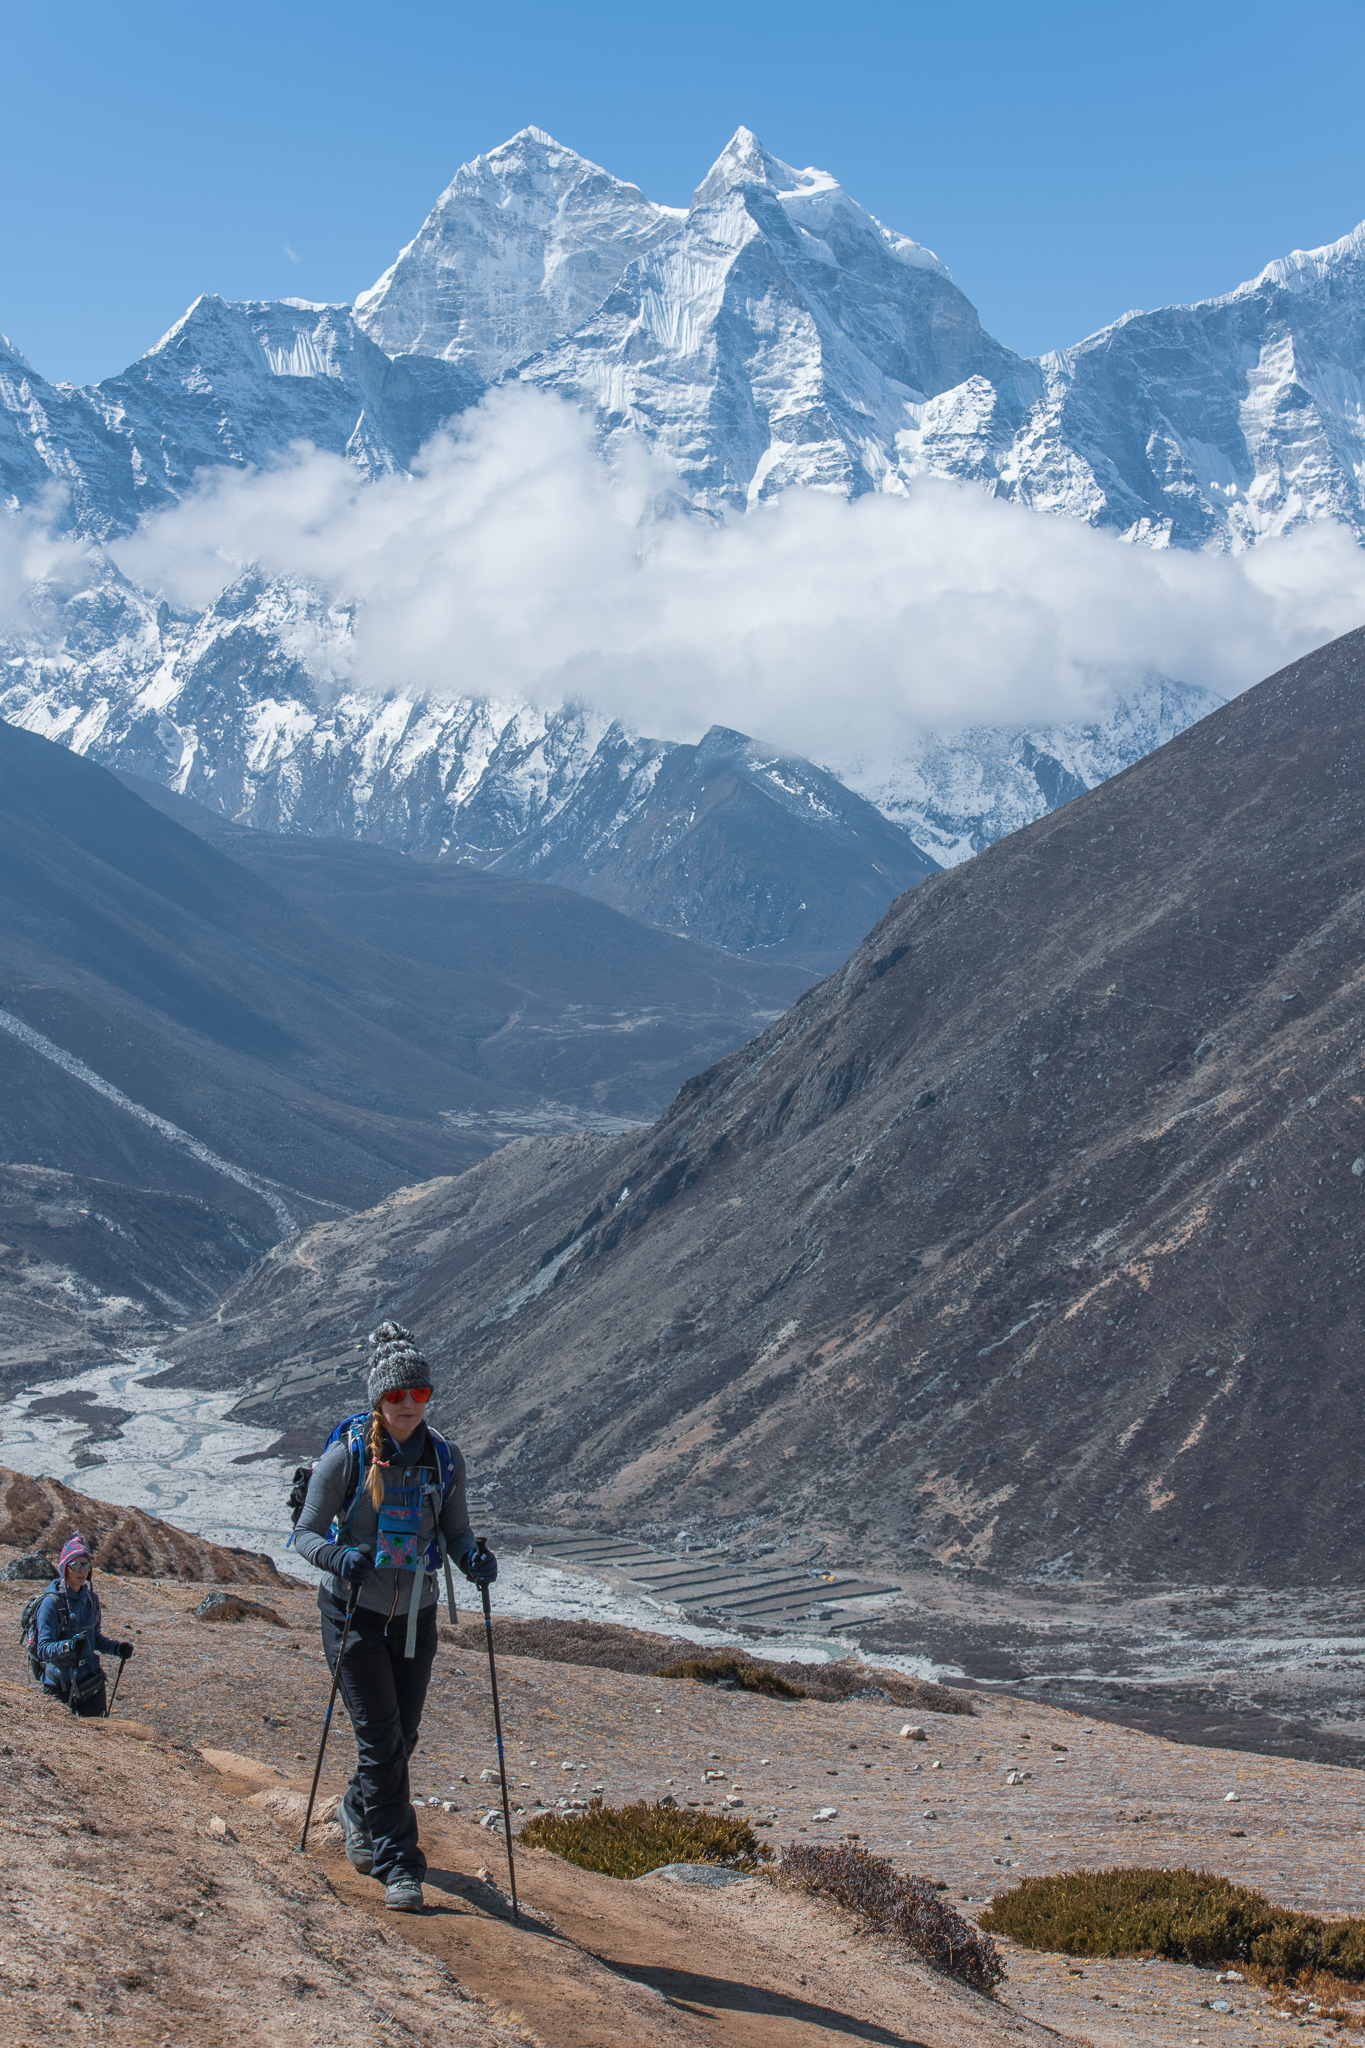
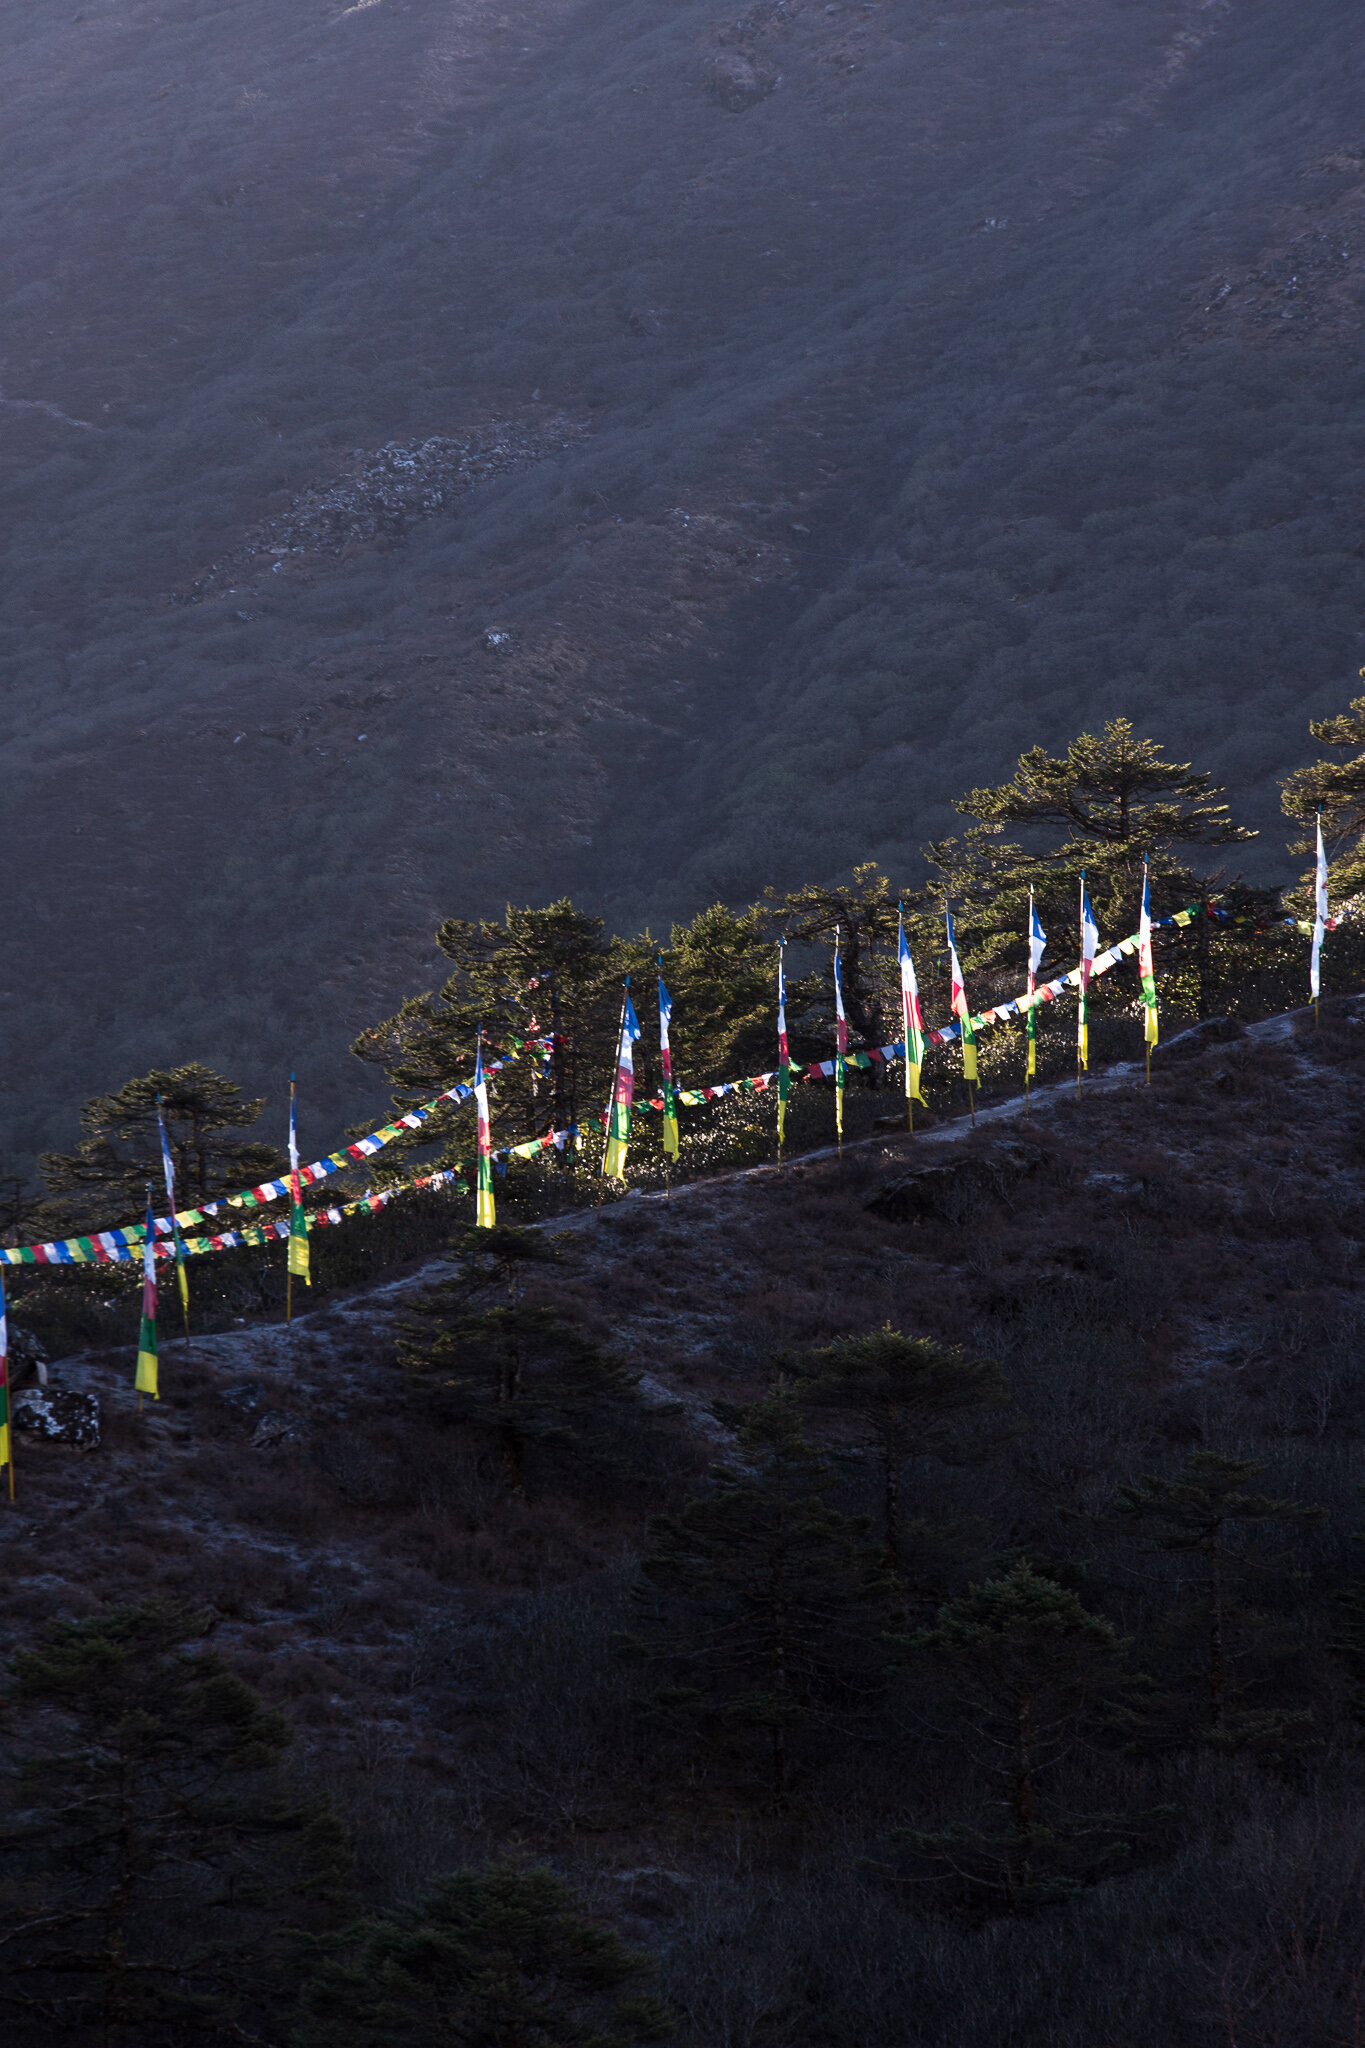
At over 14,000 ft of elevation, you might be feeling it when you reach Dingboche. Eat a hearty dinner, get some sleep, and awake as refreshed as possible for an acclimatization hike. Depending on weather and spirits, you might hike to Nangkartshang Gompa or the hill behind Dingboche for stunning views and further exposure to the history and culture of the area.

Day 7: Dingboche (14,468) to Lobuche (16,814)

Distance: 10.9 miles

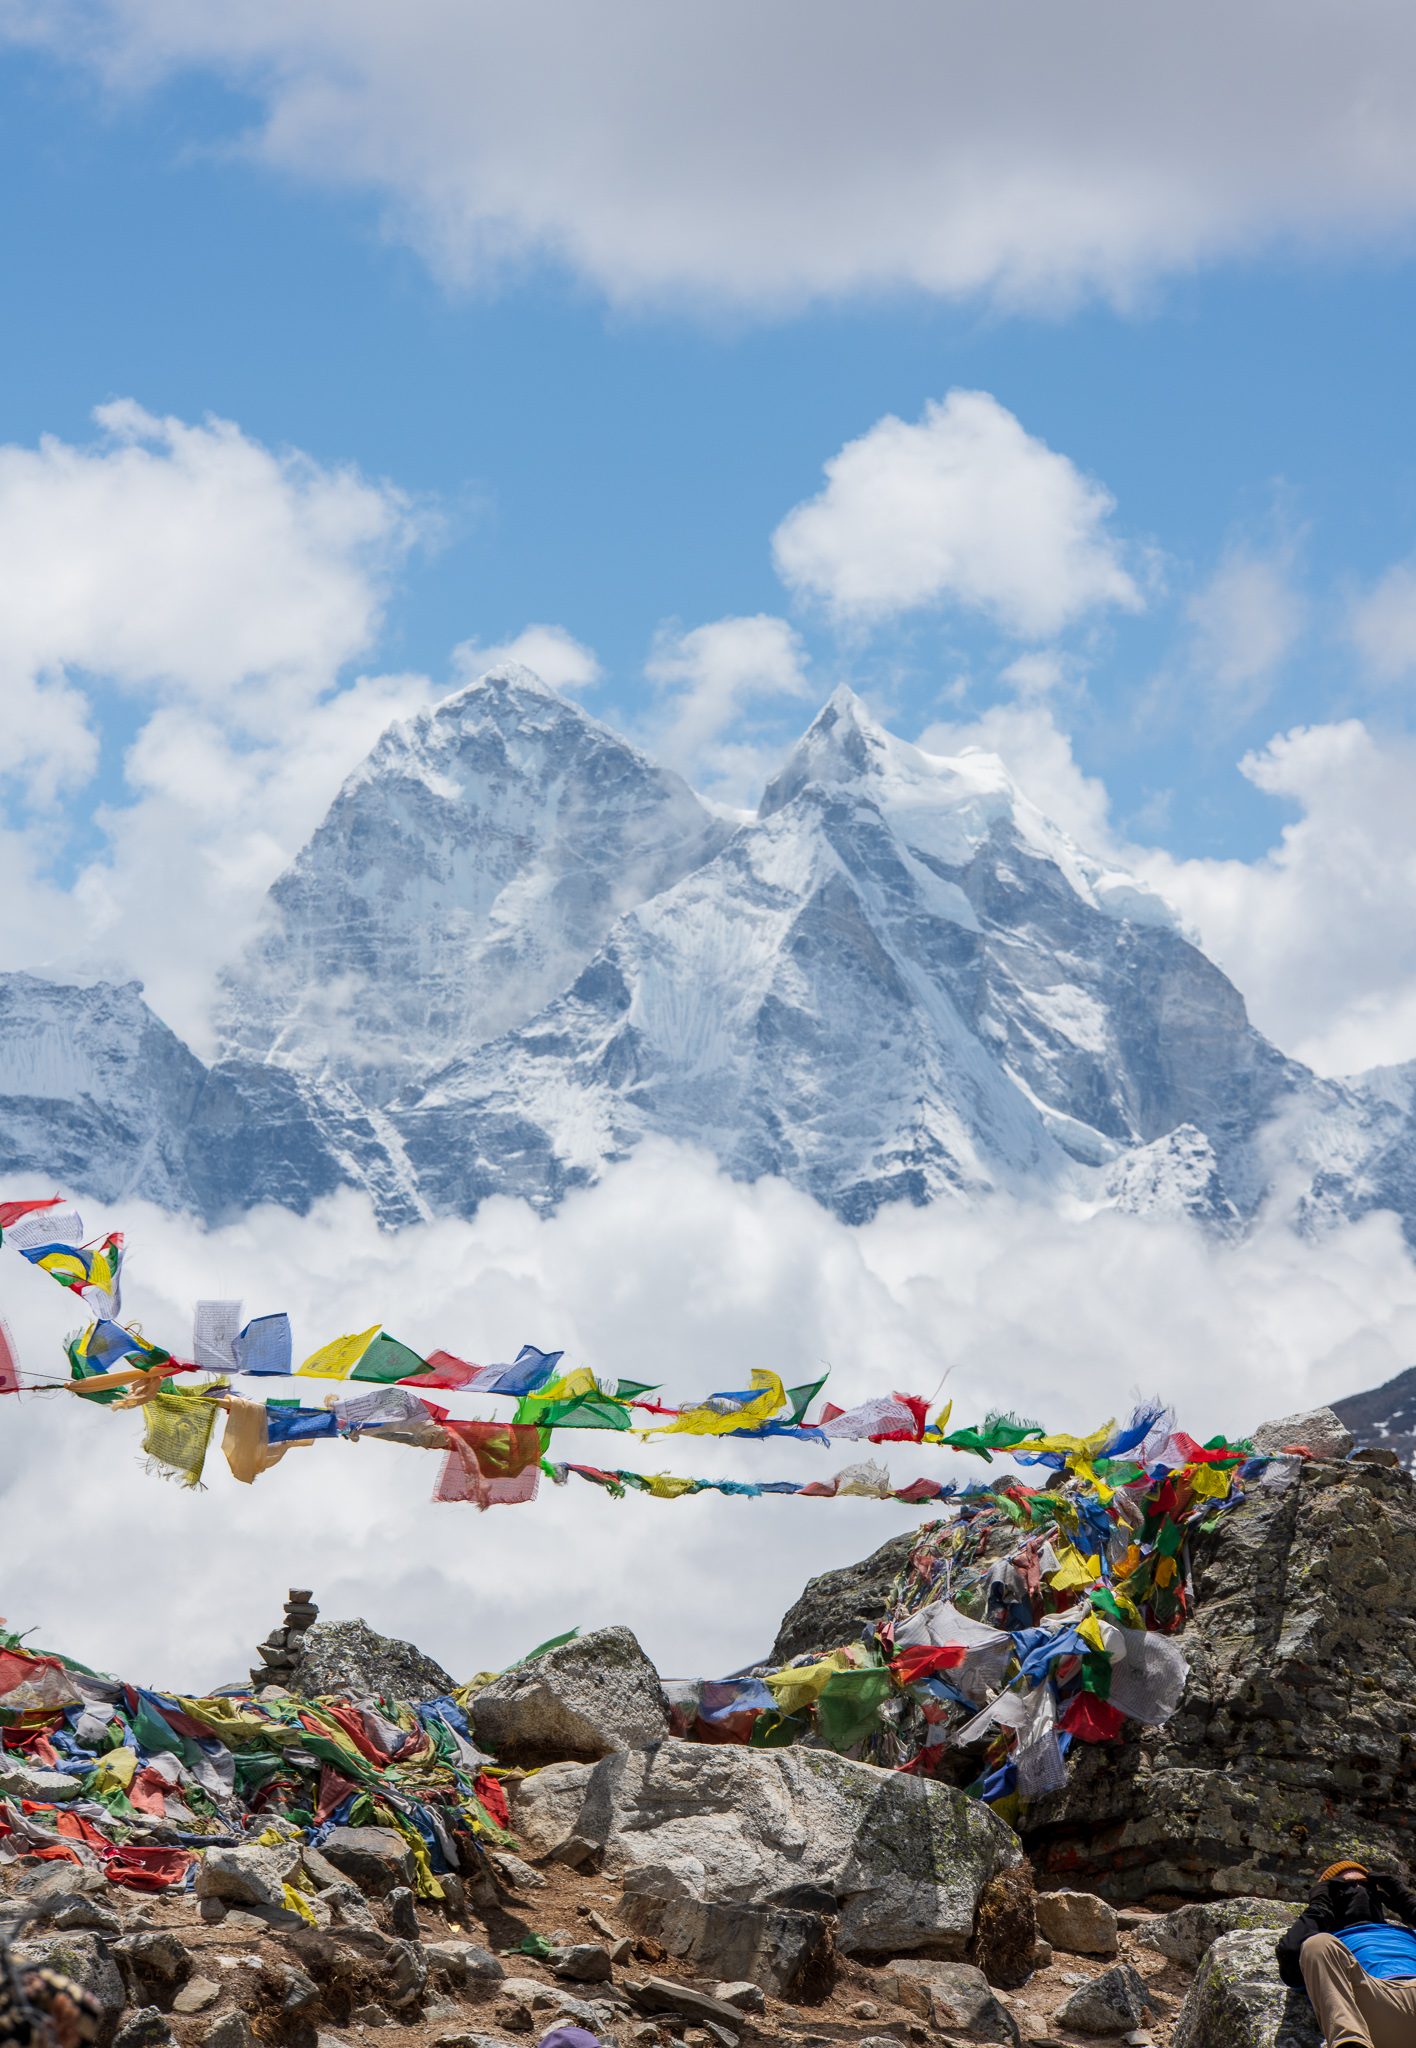
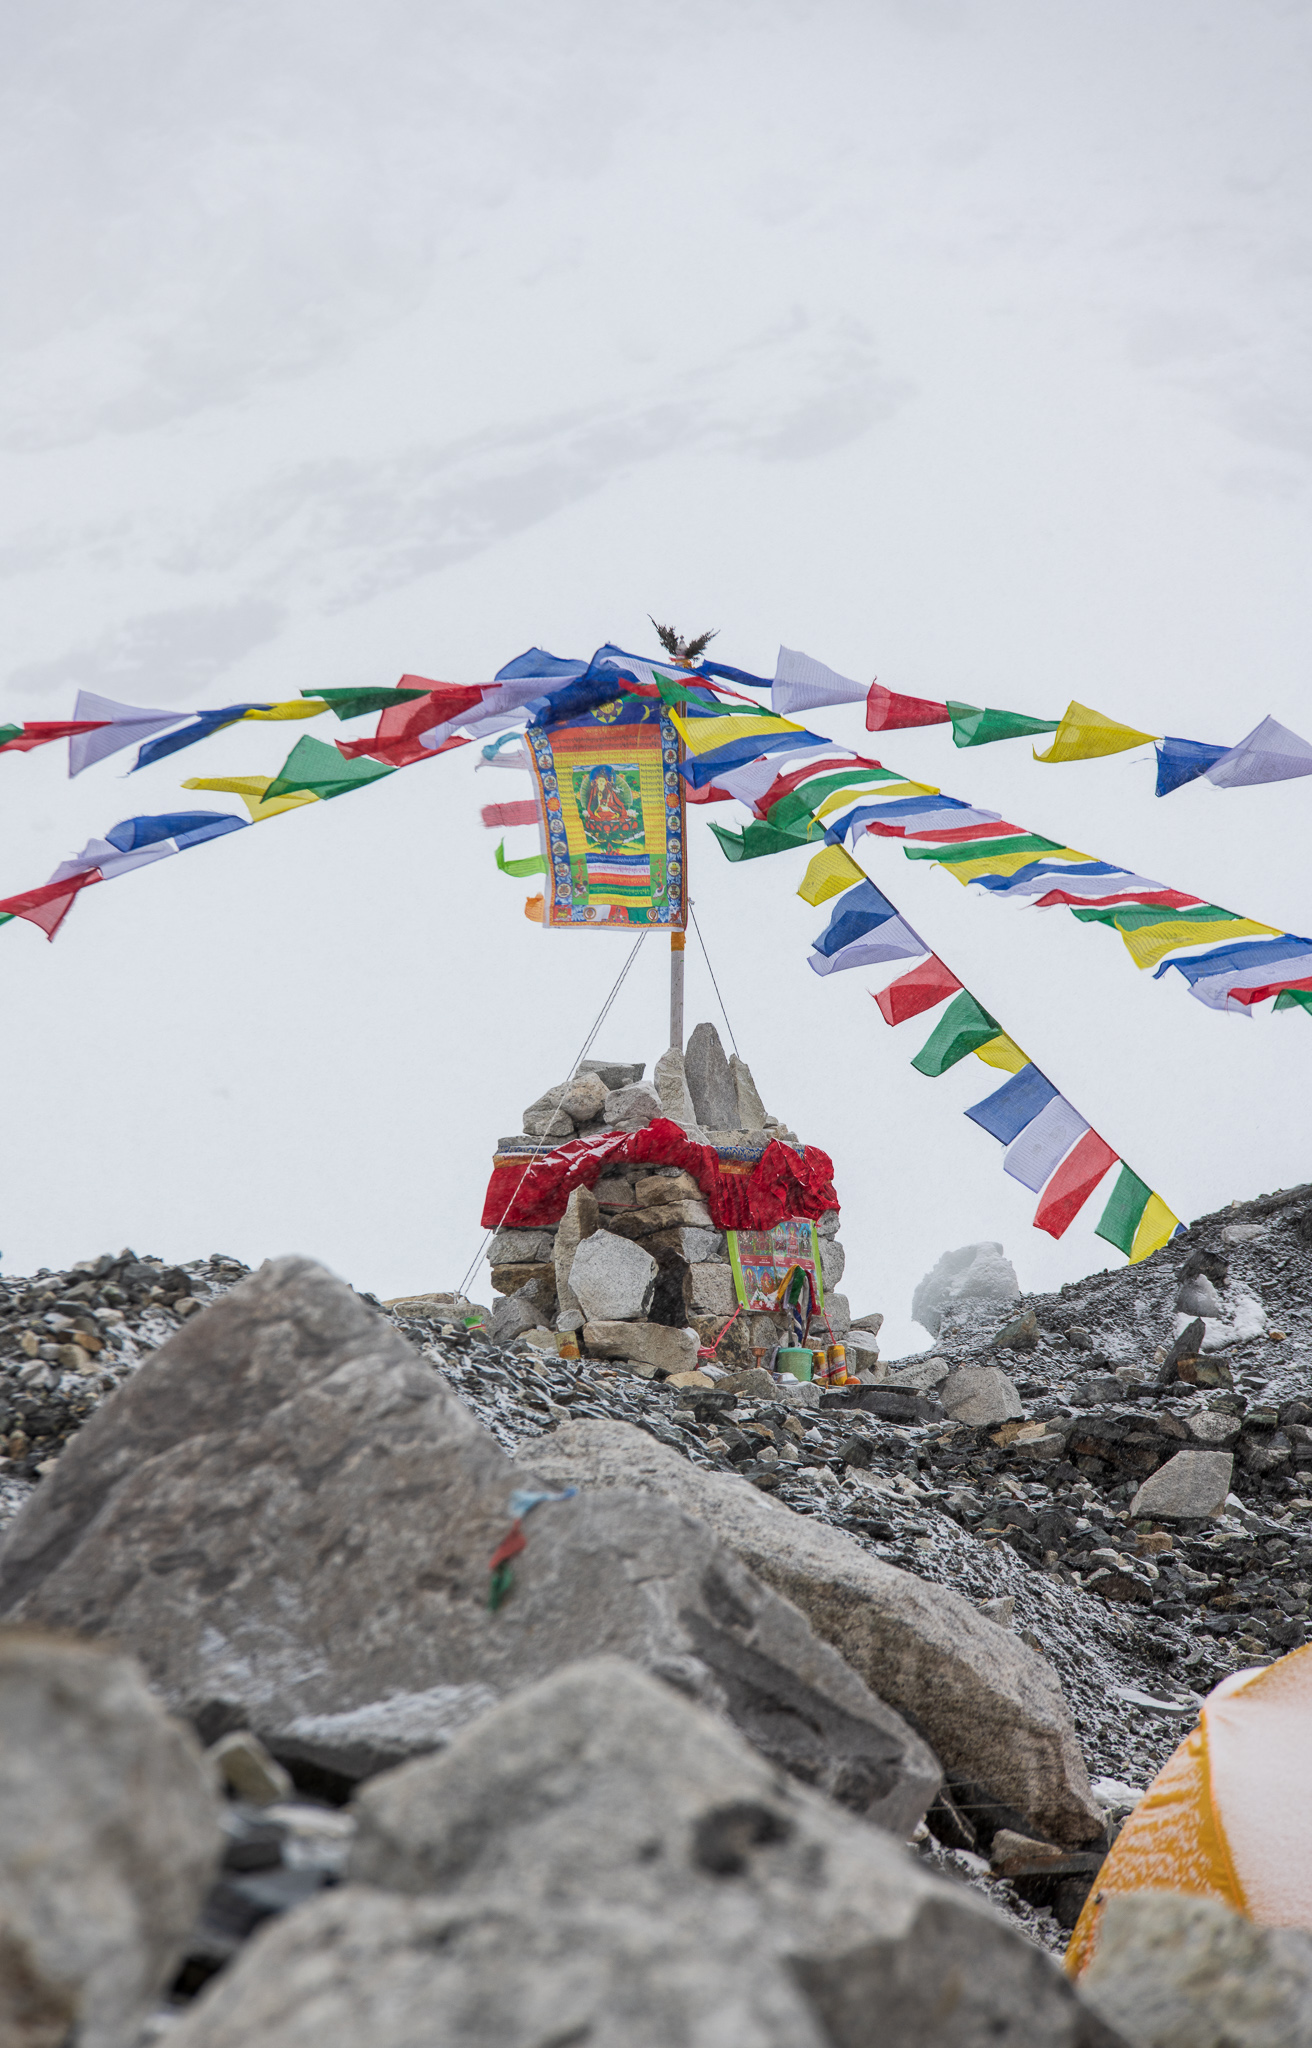
Continue trekking gradually upwards through rolling alpine landscapes. Stop at Chukpo Lari, a place of remembrance for those who have lost their lives on Everest. Go slowly, take deep breaths, and soak it in.

Day 8: Lobuche to Gorakshep, Gorakshep to EBC, EBC to Gorakshep

Part 1: Lobuche to Gorakshep. Trekking distance: 2.7 miles

You’ll start this day early and begin the trek to Gorakshep where you’ll eat, drop anything that’s not essential, and then continue on to the ultimate destination: Everest Base Camp!

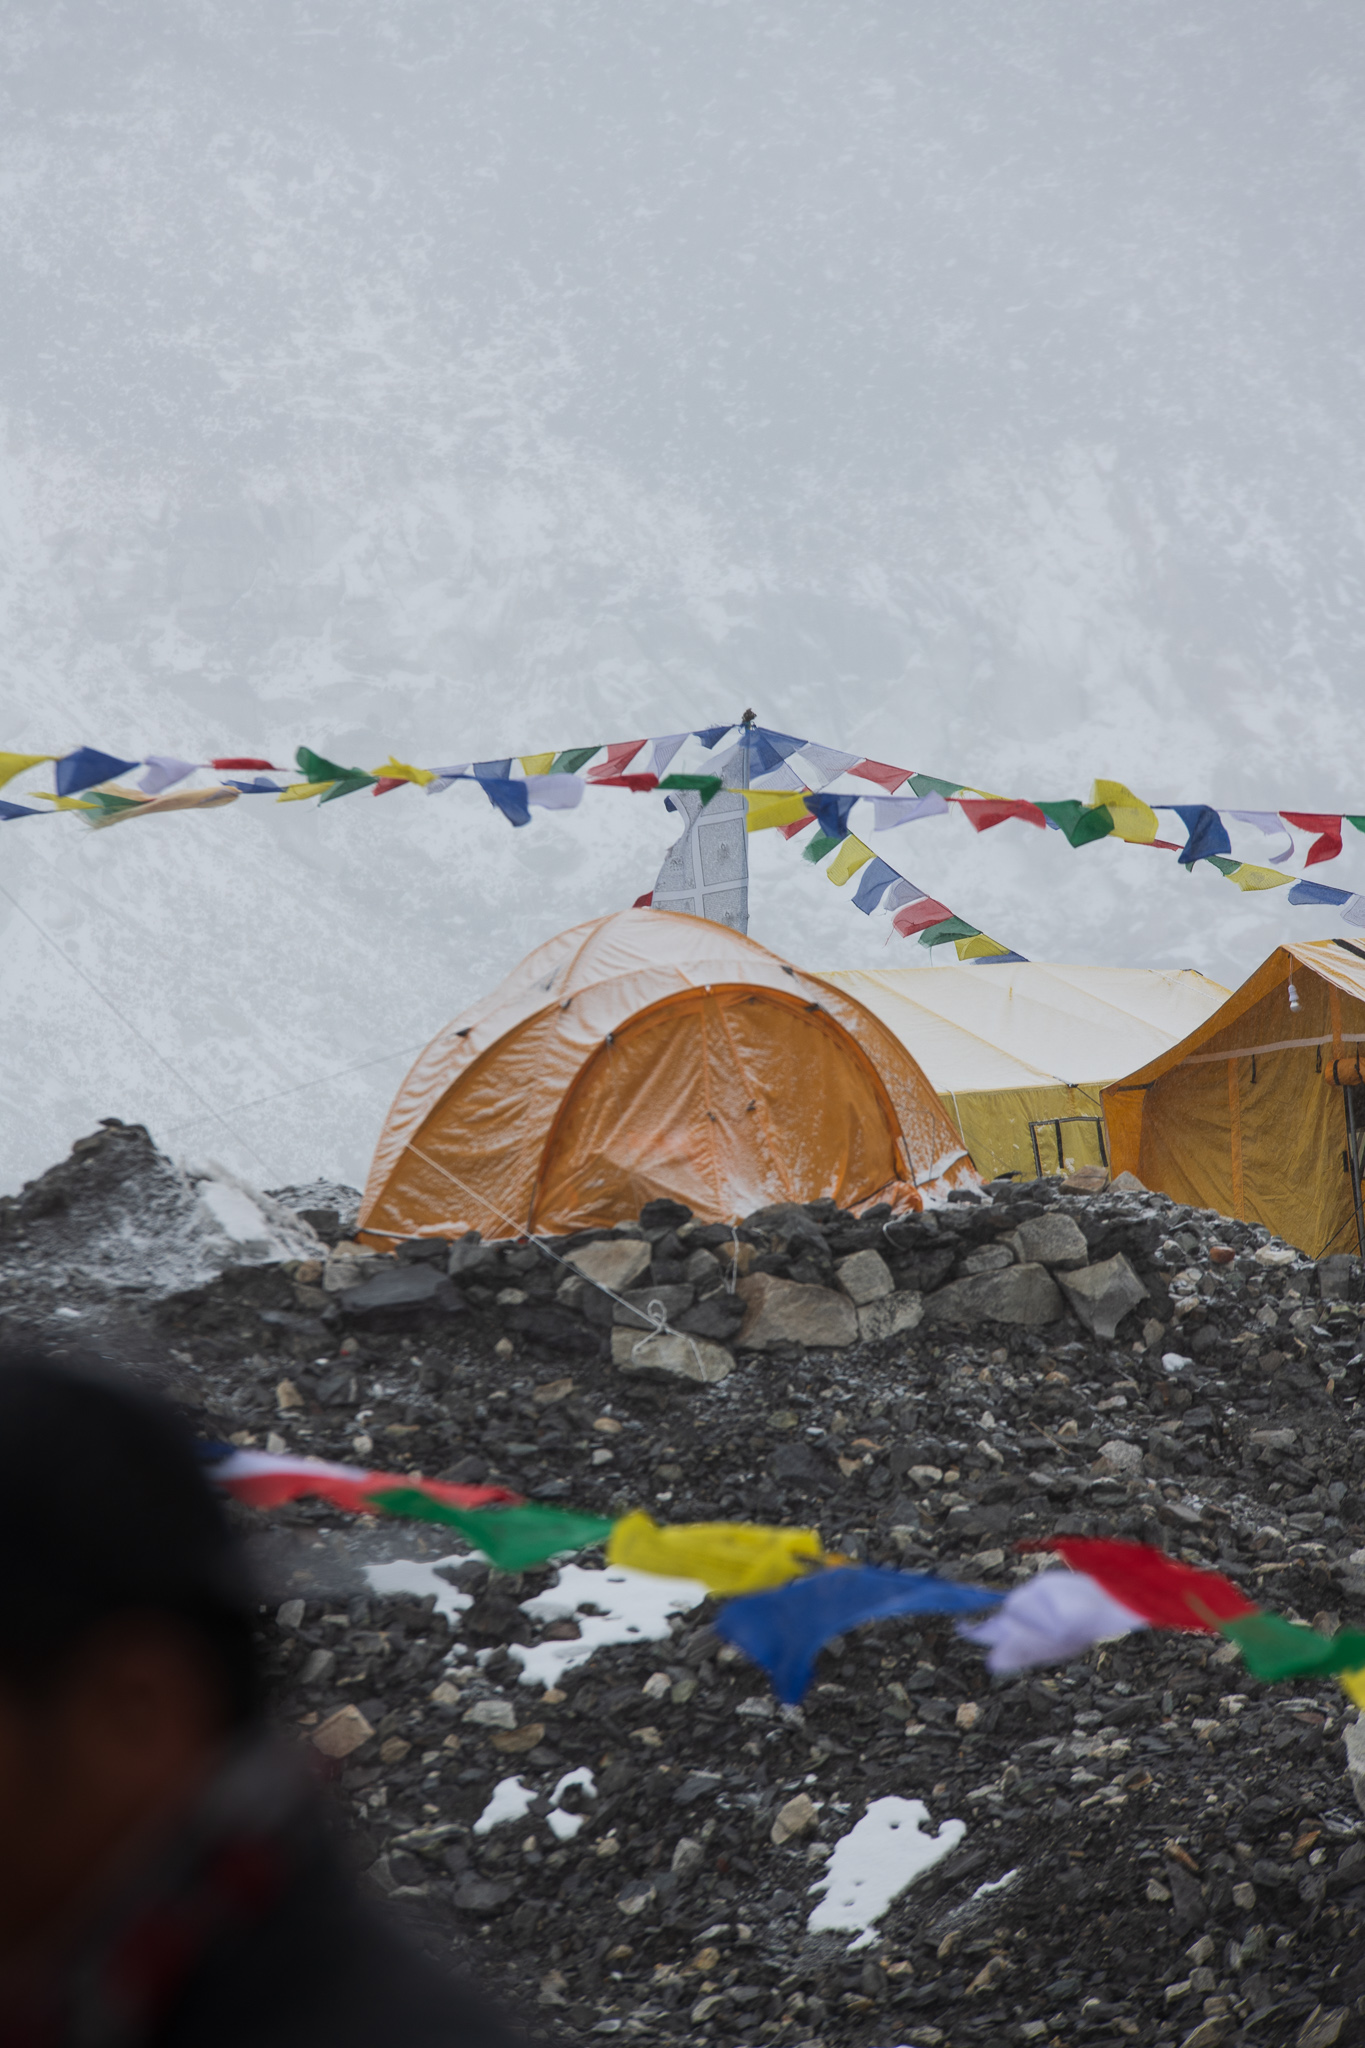
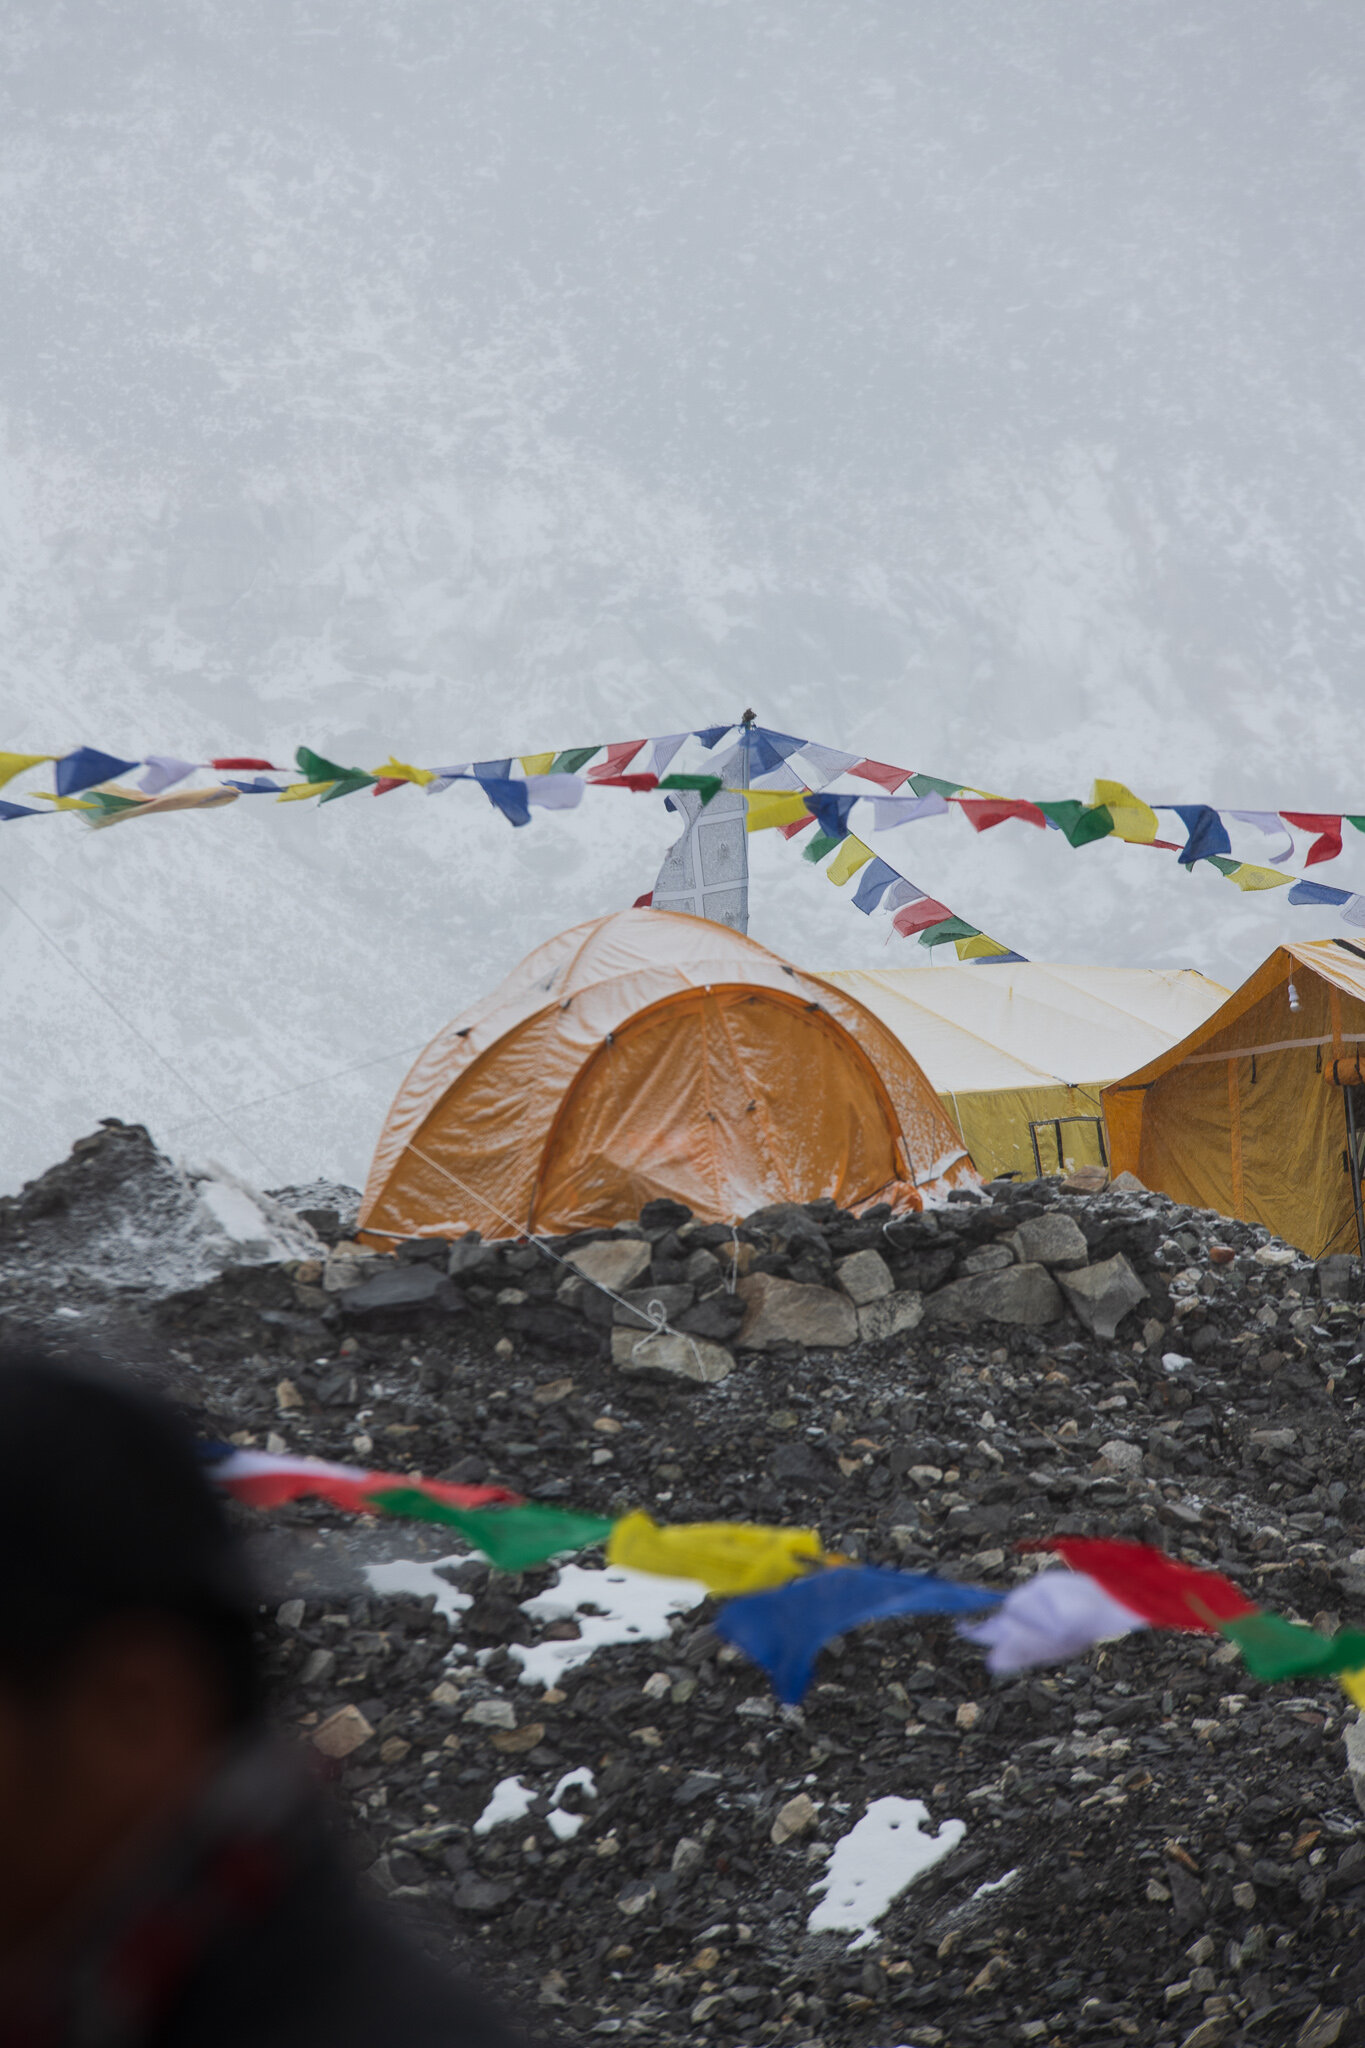
Part 2: Gorakshep to EBC. Trekking distance: 2.2 miles

Climb carefully through rocky ridgelines. Though the trek is short, the undulating landscape and the elevation make it challenging so bring snacks and keep putting one foot in front of the other. Bring layers so you can wait for your chance to take a picture with the famous Everest Base Camp signs and pat yourself on the back!

Part 3: EBC to Gorakshep. Trekking distance: 2.2 miles.

Carefully descent back to Gorakshep for dinner and sleep. You did it!

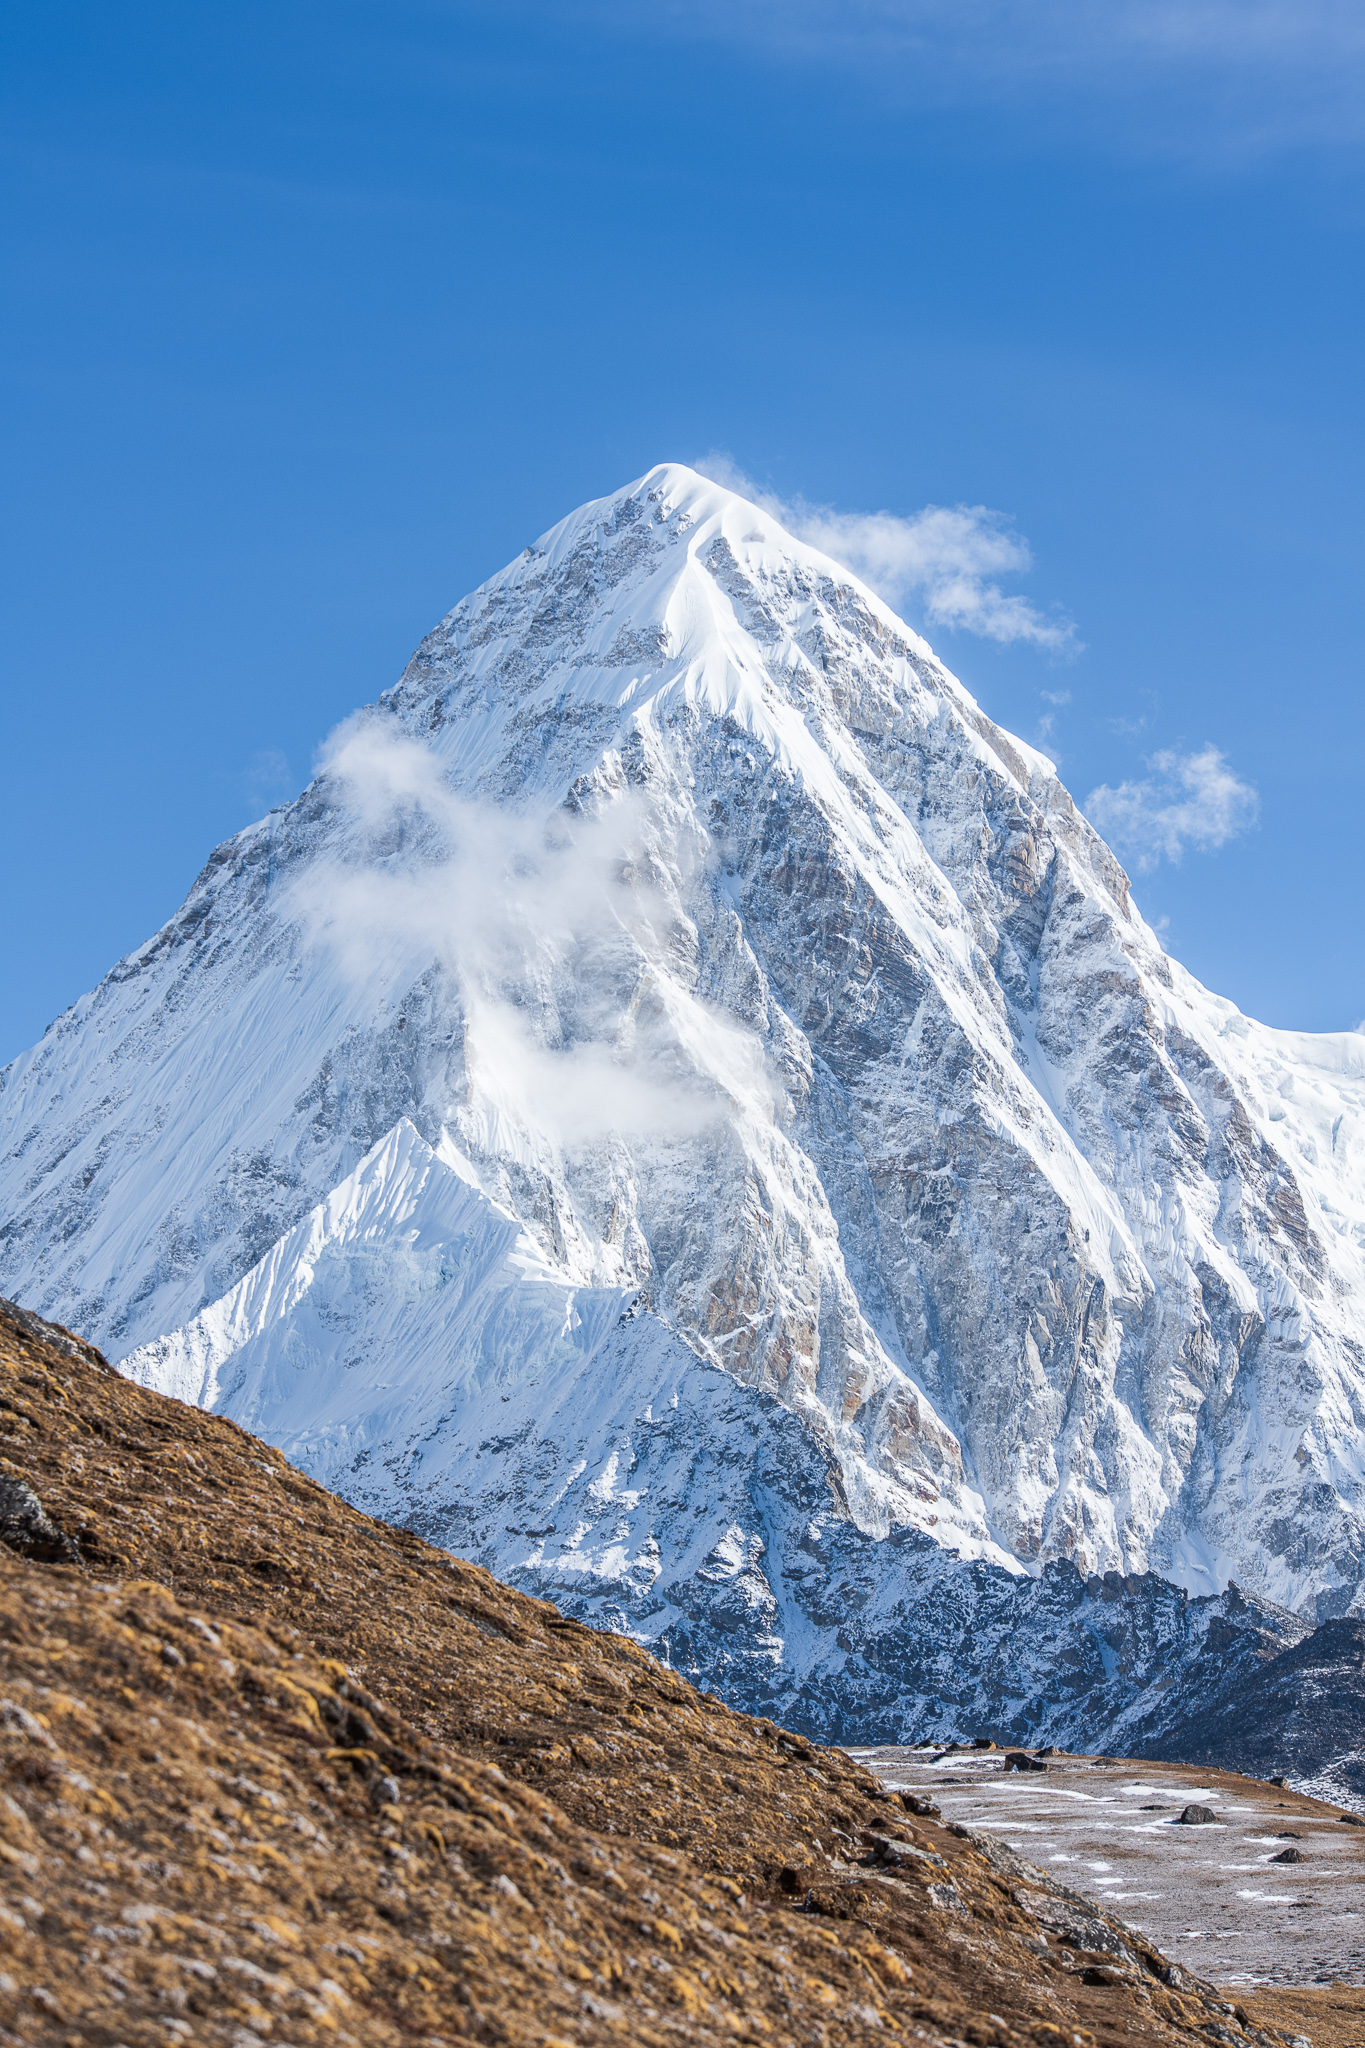
Day 9: Gorakshep to Kala Patthar, Kala Patthar to Pheriche

Part 1: Gorakshep to Kala Patthar. Trekking Distance: 0.9 miles

Depending on your itinerary, you might do this the same day as Everest Base Camp or the next. Make the short, steep climb behind Gorakshep to Kala Patthar with stunning views of several surrounding mountains. This will be the elevation high point of your trip. Take pictures, then begin the trek down.

Part 2: Kala Patthar to Pheriche. Trekking distance: 7.6 miles

A rather steep descent will bring you below 14,000 feet and you’ll be breathing easier! If you can, stay at the Edelweiss teahouse for a delightful experience!

Day 10: Pheriche to Namche Bazaar

Trekking distance: 12.2 miles

Take in the views and prepare to sweat as you climb and descend until reaching Namche Bazaar. A long day makes the sight of Namche that much more special. Make sure you grab any last minute souvenirs here before heading out. Also, if you’ve had to dip into “tip” cash, grab some at the ATM before leaving.

Day 11: Namche Bazaar to Lukla

Trekking distance: 11.3 miles

The last long day before you’re done! The trail gains and descends through familiar territory. Keep your eyes on the prize and finish strong!

Day 12: Lukla to Kathmandu

Much like your flight to Lukla from Kathmandu, you’ll want to allow some wiggle room for your return flight if the weather turns. It’s also customary to spend your last night in Lukla with your guides and porters, treating them to dinner, drinks, and giving them their tips as many of them will not be returning to Kathmandu with you.

Trekking in Nepal Part 1: The Gear

Nepal is a country as beautiful as it is famous. Each year, trekkers and alpinists alike flock to Kathmandu to begin their respective journeys into the Himalaya. Home to many of the tallest mountains in the world, it makes sense that so many people are drawn there every year. 

_DSC4079.jpg

This year I had the opportunity to join the masses for two special treks: first to Everest Base Camp with Travel Her Way, and second to Annapurna Base Camp with my mom. 

Both trips were challenging and incredible in their own ways. Spending a month in Nepal was a privilege and in some ways, I’m still unpacking and processing all that I experienced. There’s much to be said and shared. In the interest of making it more manageable, I want to start by offering a packing list.

An important note: we trekked with guides and porters so this list is specific to that experience. That said, it’s still relevant to anyone who’s self-guiding and carrying all of your own things. This list is neither exhaustive nor precise: adjust as needed for your body temps, the time of year, and the weight limit specific to your adventure.

Things for your head:

  • A baseball cap or sun hat for daytime trekking that will keep the sun off of your face.

  • A warm knit hat for nighttime/higher elevations.

  • A buff.

  • A headlamp.

  • Sunglasses with a UV rating.

Things for your torso:

  • A wool or synthetic t-shirt for warm days. 

  • A long sleeve wool or synthetic t-shirt for cooler days.

  • A warm baselayer (synthetic or wool).

  • A mid-layer fleece or down jacket

  • A heavyweight layer, such as a down or synthetic puffy coat.

  • A thin, packable wind layer.

  • A rain jacket, preferably with pit zips.

Things for your legs:

  • Lightweight hiking pants or leggings for very warm days.

  • Heavier weight pants you can layer over your lighter pants.

  • Waterproof pants.

  • Down pants if you have them for higher elevations/nights spent in the teahouse.

  • Undies.

Things for your feet:

  • Wool socks. You can reuse them and they will stay warmer when wet.

  • Hiking shoes that are already broken in. I wore trail runners for my entire time in Nepal but depending on weather and your comfort, you will likely want waterproof hiking boots that are lightweight and cozy.

  • Lightweight sandals or slippers (plastic birkenstocks, flip flops, etc.) to wear in tea houses to give your feet a rest.

  • Down booties. I brought my feathered friends variety with removable exterior liner and they were great for wearing in the teahouse on very cold nights.

Things for your back:

  • A comfortable trekking bag with hipbelt. Some folks opted for options with no hip belt and as the miles wore on, their necks and shoulders were in a world of hurt. Unless you’re trekking self-supported, you won’t need anything bigger than 35L (and even then, that might be too large) as you’ll want to limit the weight you’re carrying at altitude.

  • A hydration system. If you’re not used to using a hydration system with a drinking hose, this is a great time to start. The days are long and your body needs more water than usual when trekking at altitude. You won’t want to stop every time you need a drink. An insulated drinking hose is ideal for the higher elevations. It’s still nice to have a Nalgene or comparable water bottle in the event that it’s freezing outside and you aren’t able to use the hose. You can also fill it with boiling water at night for extra warmth.

Things for your tummy:

  • Snacks on snacks on snacks. You will be able to purchase these in Kathmandu and along the way, but if you have special dietary needs be sure to arrive prepared.

  • Nuun or similar electrolyte supplement.

  • A special treat, like chocolate or candy, for long days that you can share with your guides and porters too.

  • TUMS or similar antacid: the change in diet and even elevation can throw off your tummy. You’ll want to have these handy.

  • Imodium. Same as above. The last thing you want while trekking is a nasty case of diarrhea. 

  • Miralax or similar. Same as above. You also don’t want to be constipated!

Other pharmaceuticals:

  • Ibuprofen: for aches and pains that will inevitably arise on the trail.

  • An inhaler, if applicable.

  • Headache med of choice: you will get one at some point or another, from elevation, dehydration, lack of sleep, etc.

  • Any relevant meds, including allergy medicine. 

  • Sudafed/cold meds: This may seem strange but most people acquire some form of respiratory illness while trekking. These will help see you through, with the added benefit of helping with altitude headaches. 

  • Probiotics: if you take one regularly, bring it along. 

  • Diamox: requires a prescription--check in with your medical provider on dose and usage. 

  • Throat lozenges or cough drops.

  • Feminine products as needed--they are hard to impossible to acquire on the trail

  • Water treatment tabs: your guide may provide you with these but if not, you will either need to purchase water or have your own. Note: at higher elevations, sometimes the only option is purchasing water as it’s too difficult to find free-flowing sources. 

Stuff for your wallet:

  • Cash. You’ll need to purchase extra items along the way, whether it’s new toilet paper, an extra treat, etc. You’ll also need cash to top your guides. There’s an ATM as far as Namche but don’t count on it working--frequent storms often knock service out entirely.

  • An id, and list of emergency contacts and any medical conditions that rescuers should know in the event of a mishap

Stuff for your toiletry bag:

  • Sunscreen, sunscreen, sunscreen. You’ll be more susceptible to burn at altitude. Don’t forget your ears, lips, and back of the hands. 

  • Chapstick with SPF.

  • Toothbrush and toothpaste.

  • Toilet paper. Most bathrooms do not have toilet paper and you’re expected to bring your own. 

  • Wet wipes

  • A pack towel if you plan on showering on route.

  • Shampoo and/or bodywash if you plan on showering on route (I brought a small bottle of Dr. Bronners and used that for everything rather than individual products).

  • Eye care products (contact case, solution, drops, etc.).

  • Ear plugs, teahouses are loud at night.

  • Eye mask

Stuff for Sleeping:

  • A warm sleeping bag. I brought a 0 degree bag and did not regret it as it can get below freezing in some of the teahouses. If you don’t have a super warm bag, consider renting or borrowoing one, or purchasing a sleeping bag liner for supplemental warmth.

  • Inflatable pillow: some tea houses have pillows. Others don’t. I always sleep best with one, so I brought it along.

  • Clean, dry pajamas. Change into them before bed, change out of them before you do something active.

  • Devoted sleeping socks that are warm, clean, and dry.

Other miscellaneous items:

  • A waterproof duffle bag for your porter. Many guides lend these out but it’s nice to have, just in case. Worst case: leave it in your suitcase at the hotel with any extra items you don’t need on the trek.

  • A small, light game such as cards or a travel cribbage board for nights and rest days.

  • A journal and pen. You’ll have a lot to process.

  • A camera. Your cell phone will work, although I did carry my d850 and two lenses everywhere, everyday. 

  • Charging cables and voltage converter.

  • Battery bank.

  • Trekking poles

  • Gloves,with  a thin liner and waterproof outer cover if possible.

  • Waterproof stuff sacks for important items that you don’t want to get wet.

If you’re thinking “WOW, that’s A LOT OF STUFF” don’t worry! There are a lot of ways to pare down, such as selecting versatile items of clothing, removing packaging to reduce size and bulk, and toughing it out with dirty clothes on the trail. I wore the same 2 shirts and pairs of pants the entire time on the trail and I did not die. 

Consider this a starting point, then adjust from there! If you’re worried about your system, do a test run. Pack your duffle bag as you would for the trek to give to your porter, then chuck it in the car. Pack  your day bag as if you were trekking for the day, and go on a hike. Return to the car and prepare for the night as you would on the trail and see how it goes. Adjust from there, then get after it.

Questions? Let me know!