Trekking in Nepal Part 1: The Gear

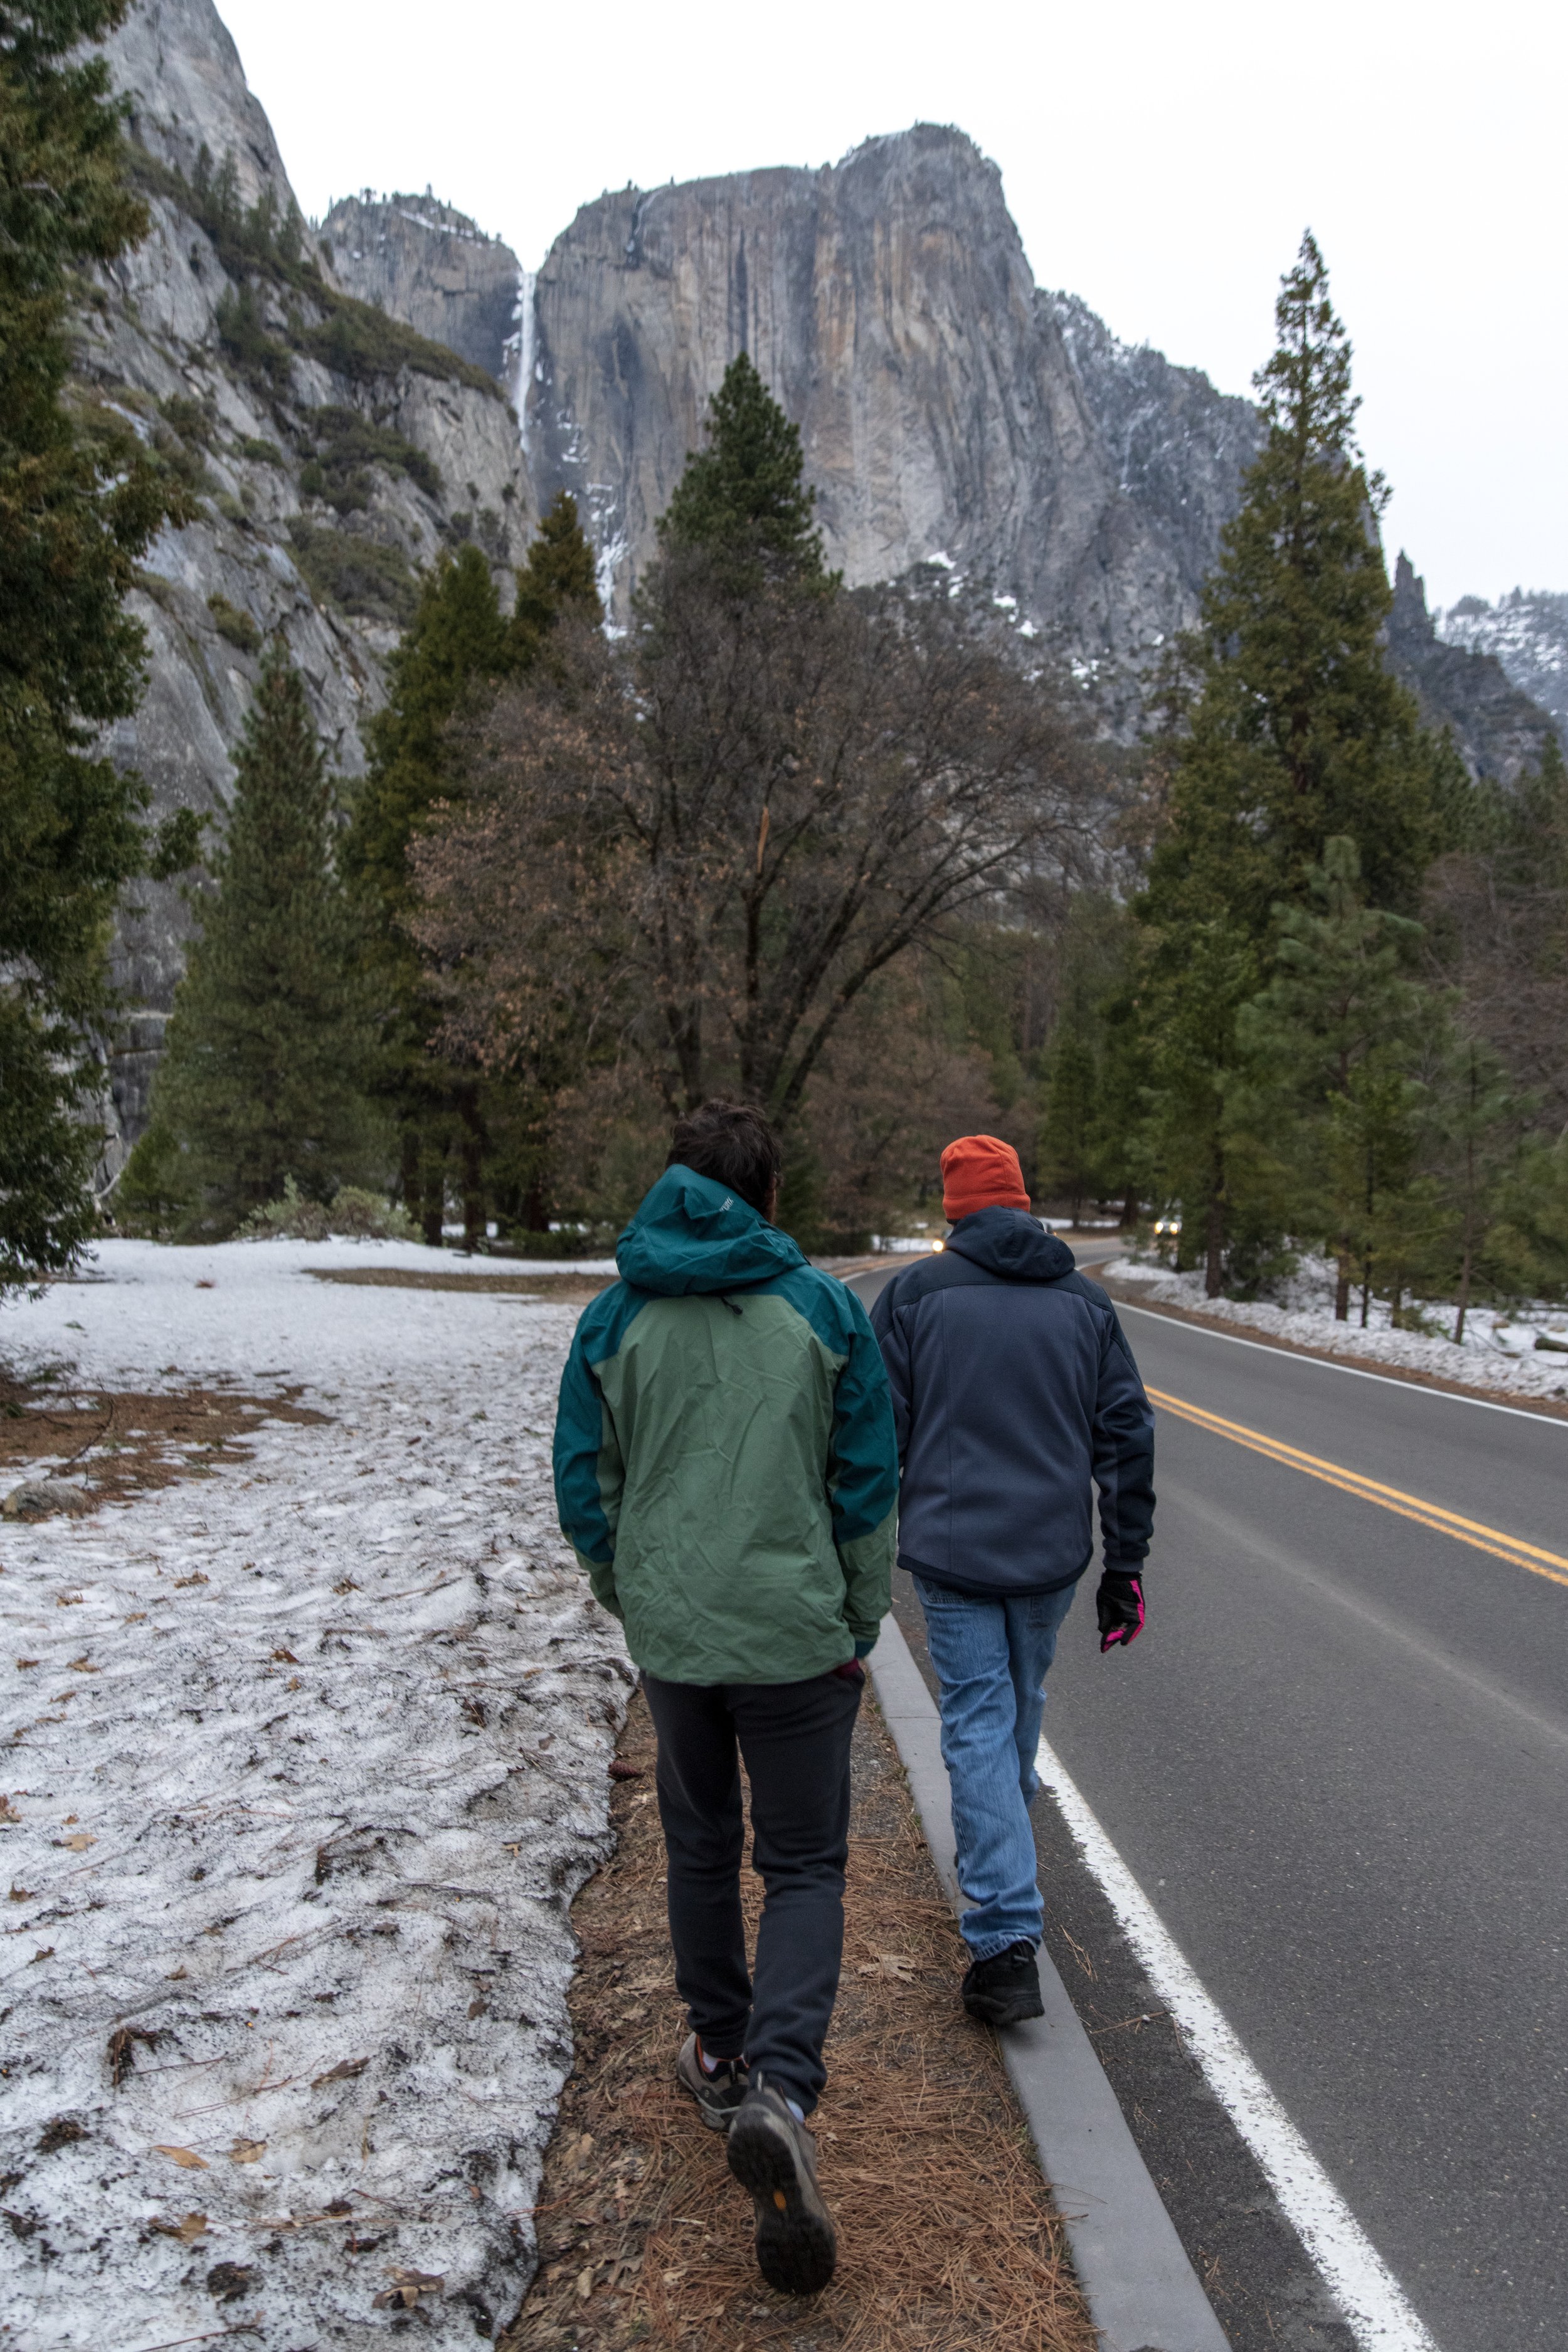
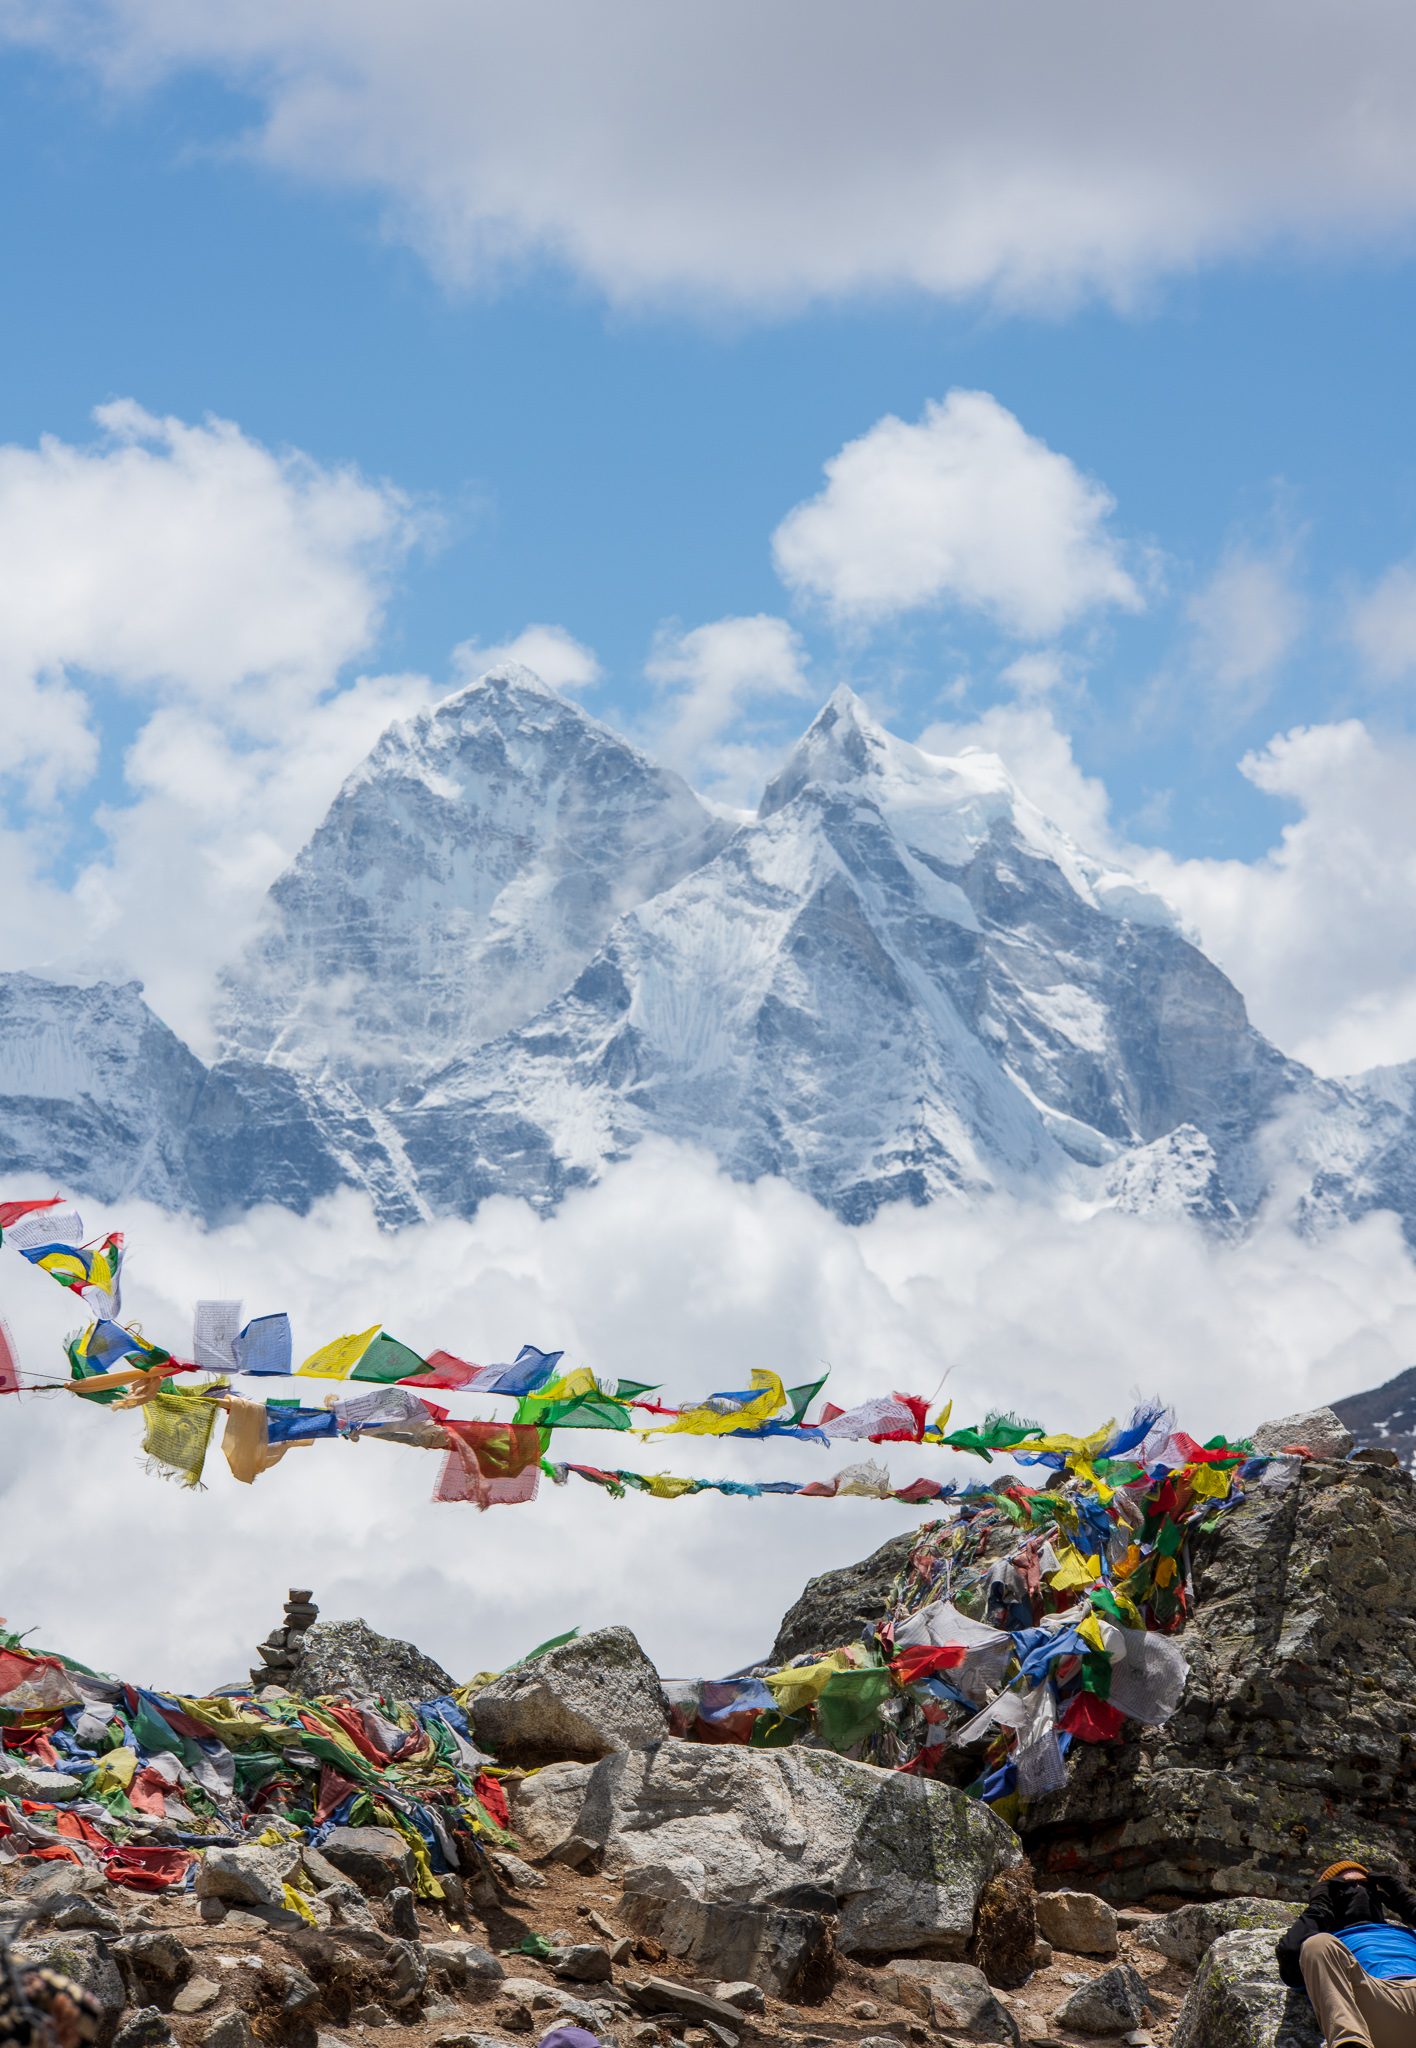
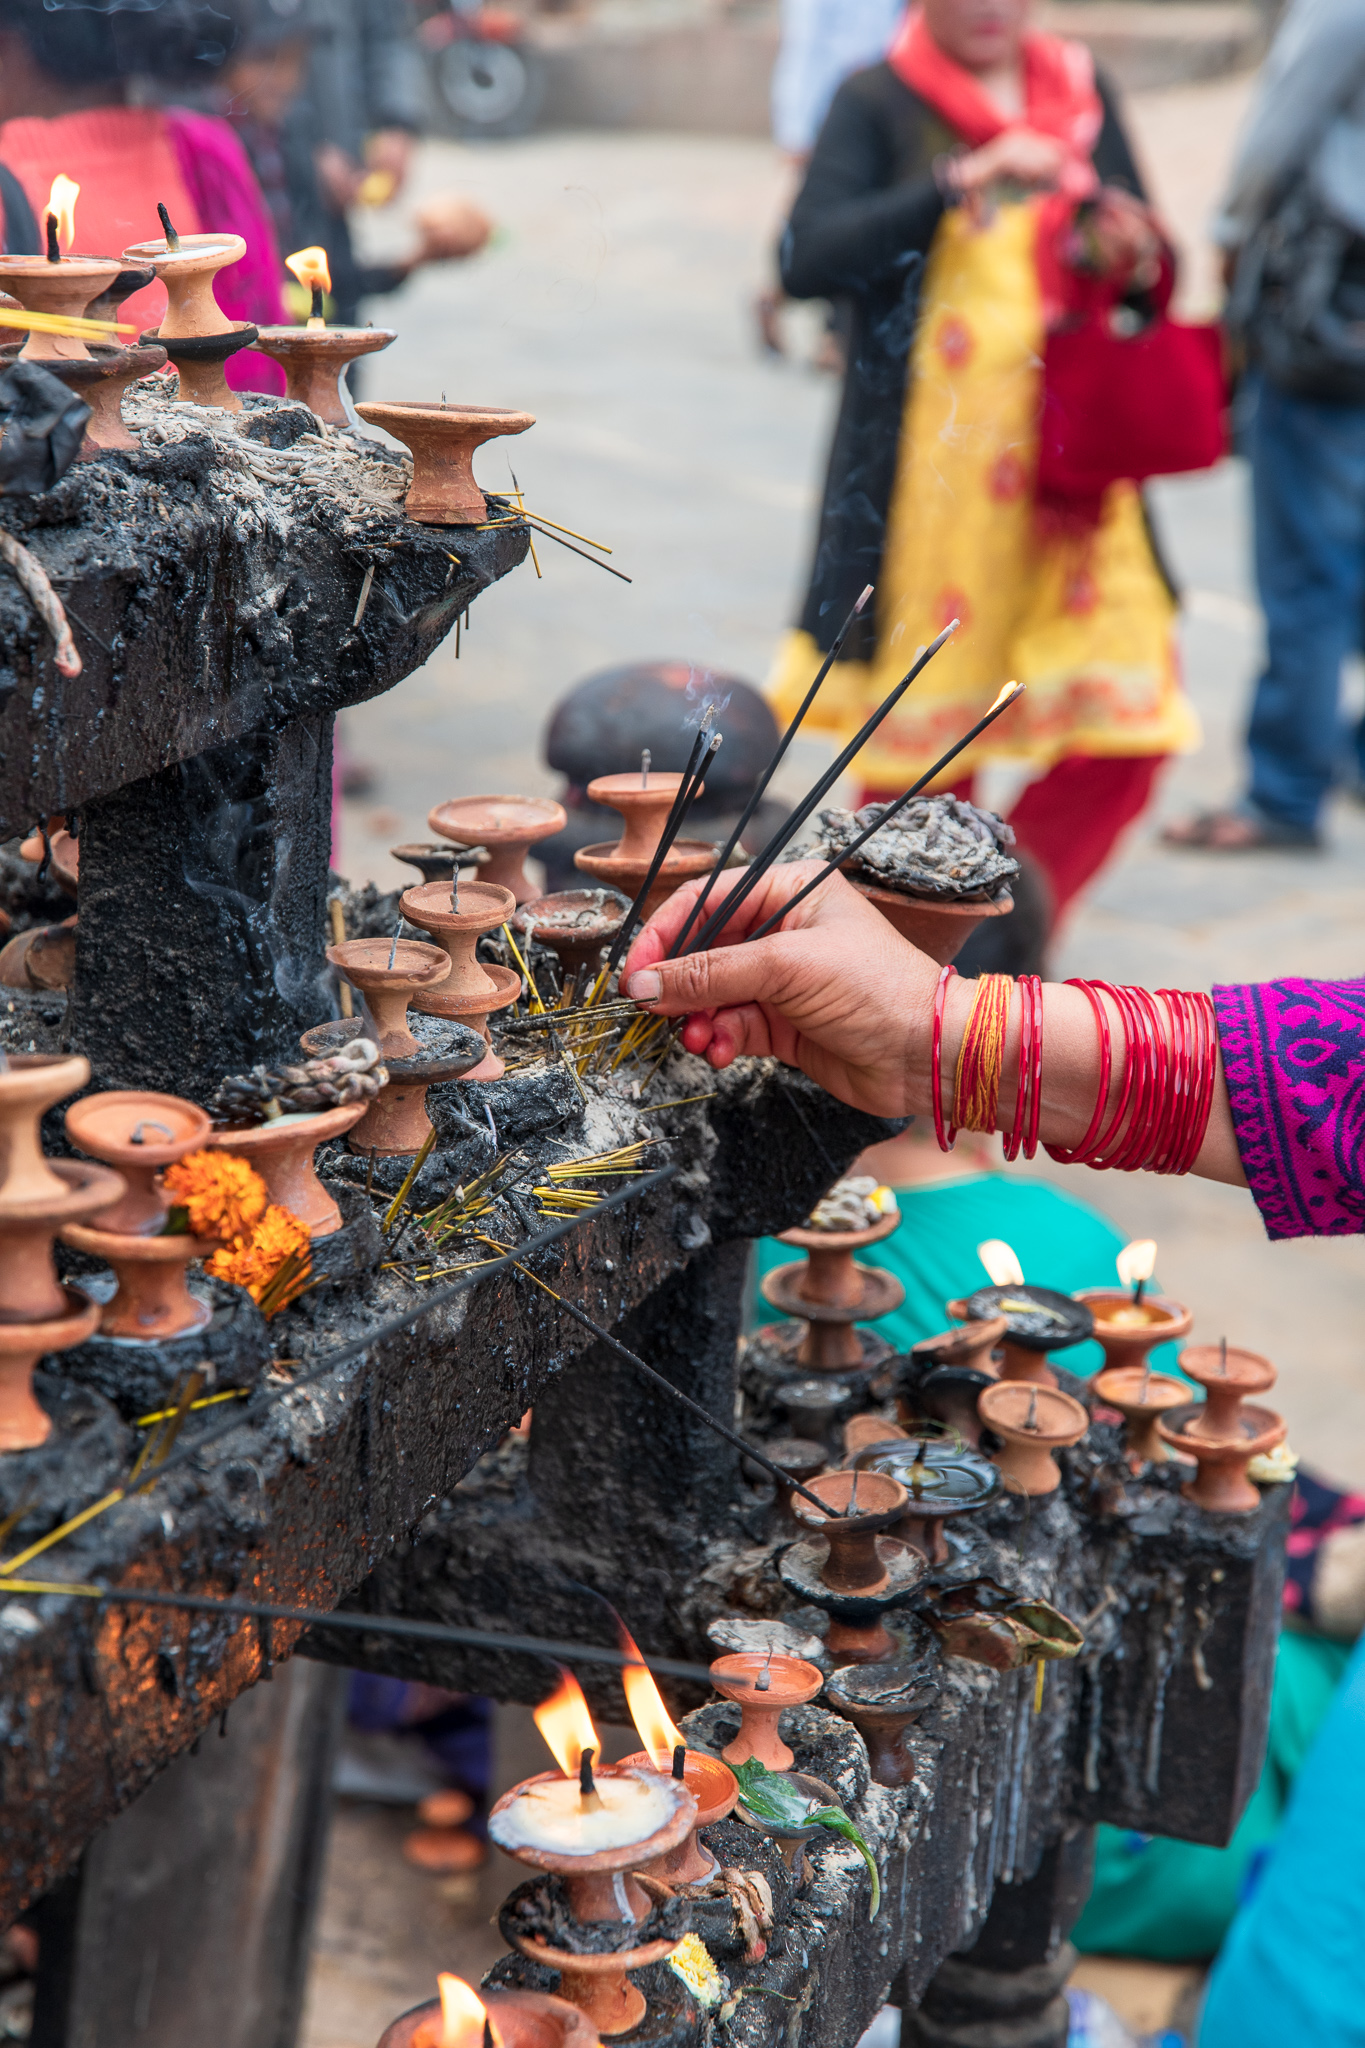
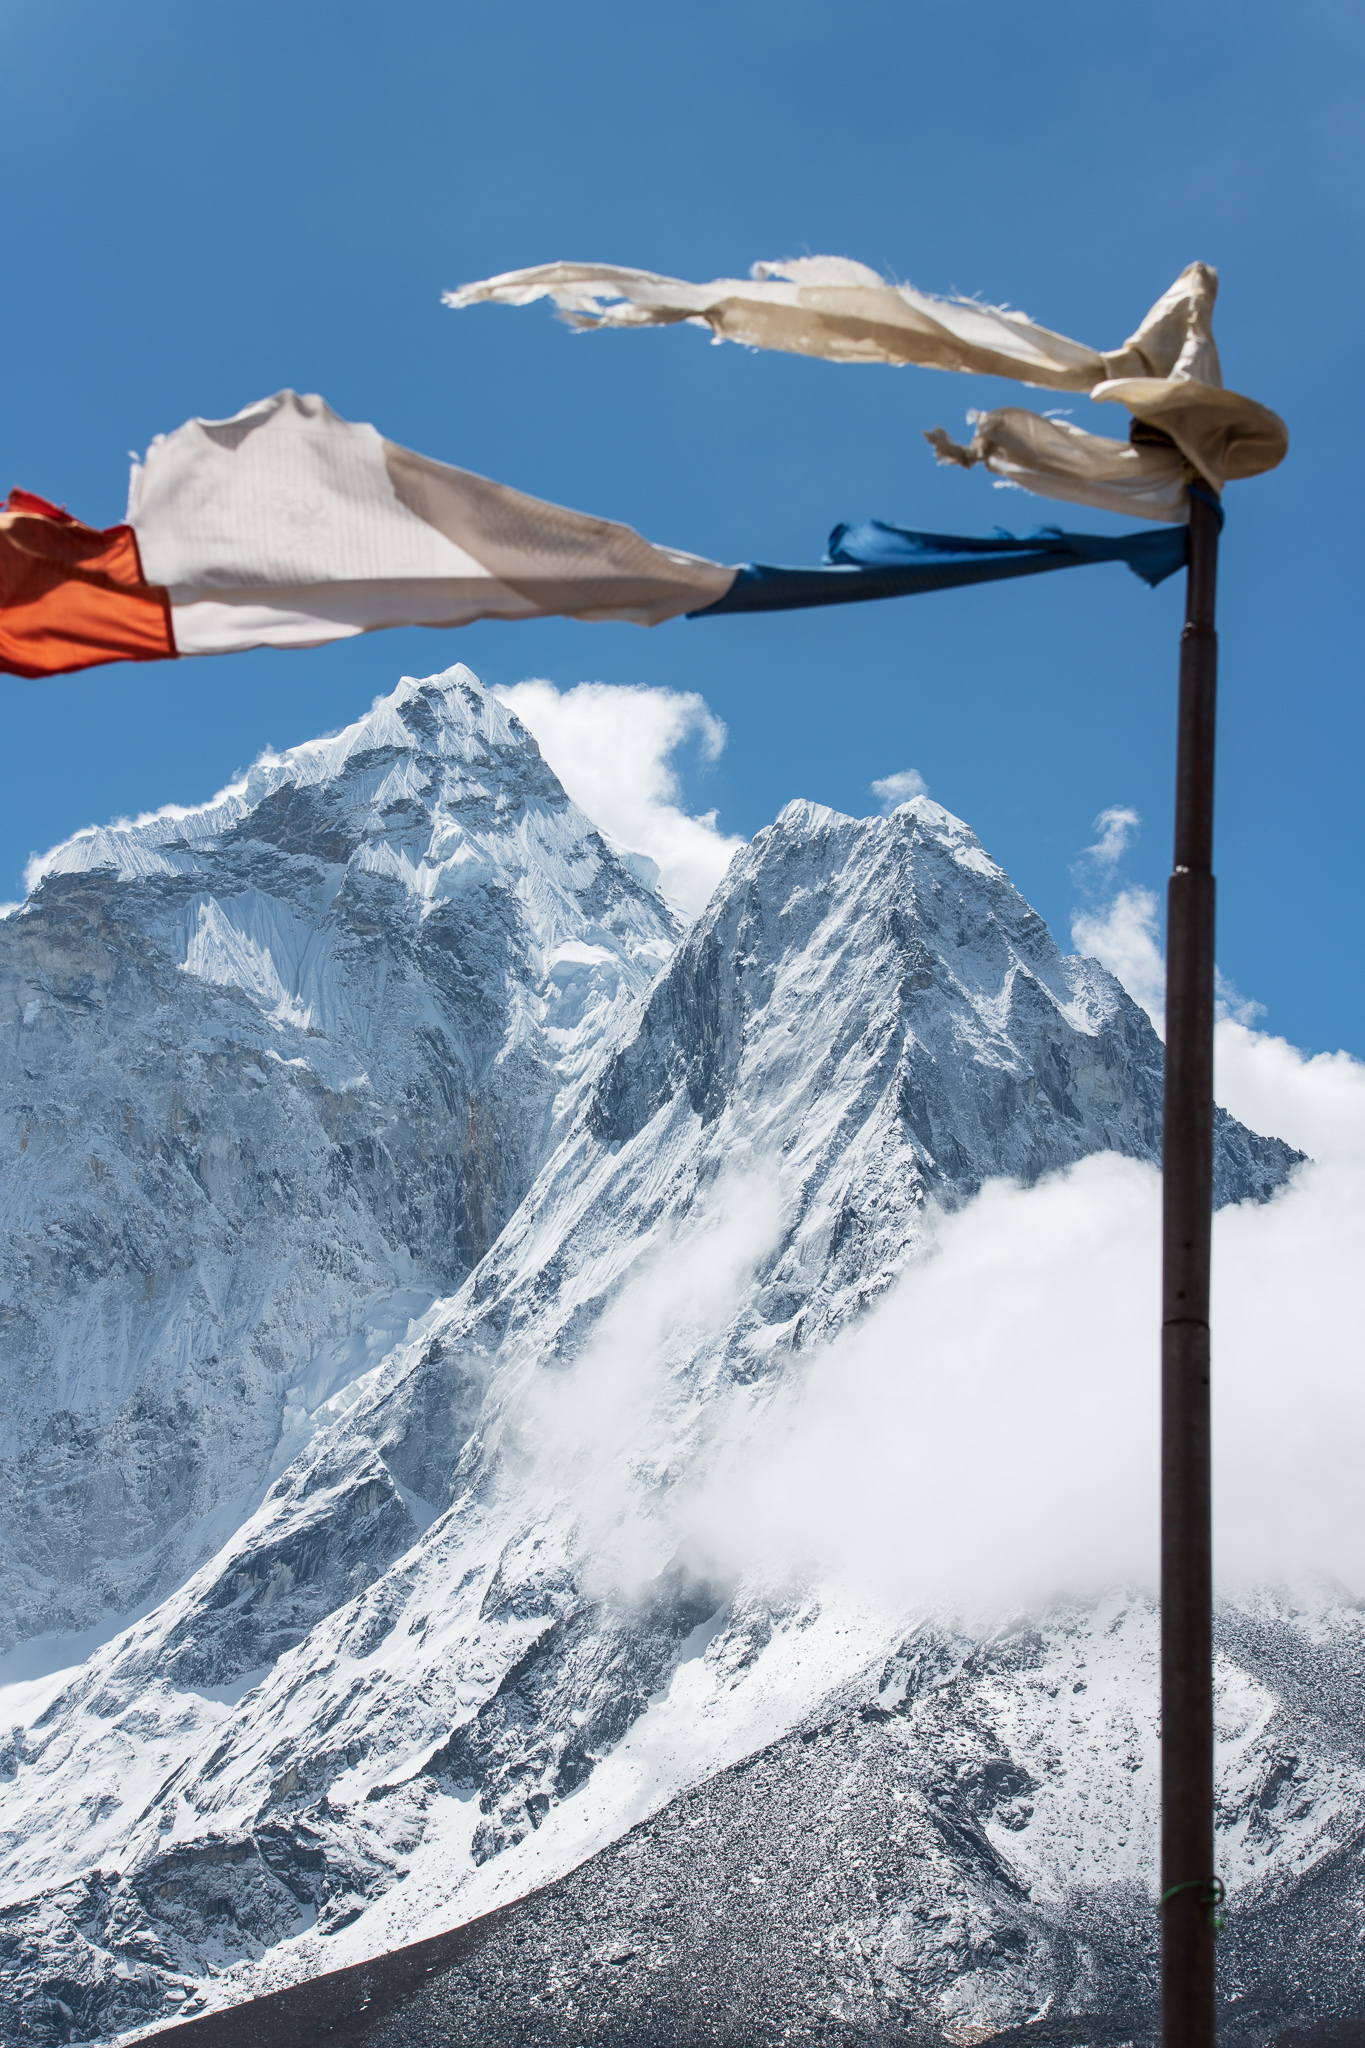
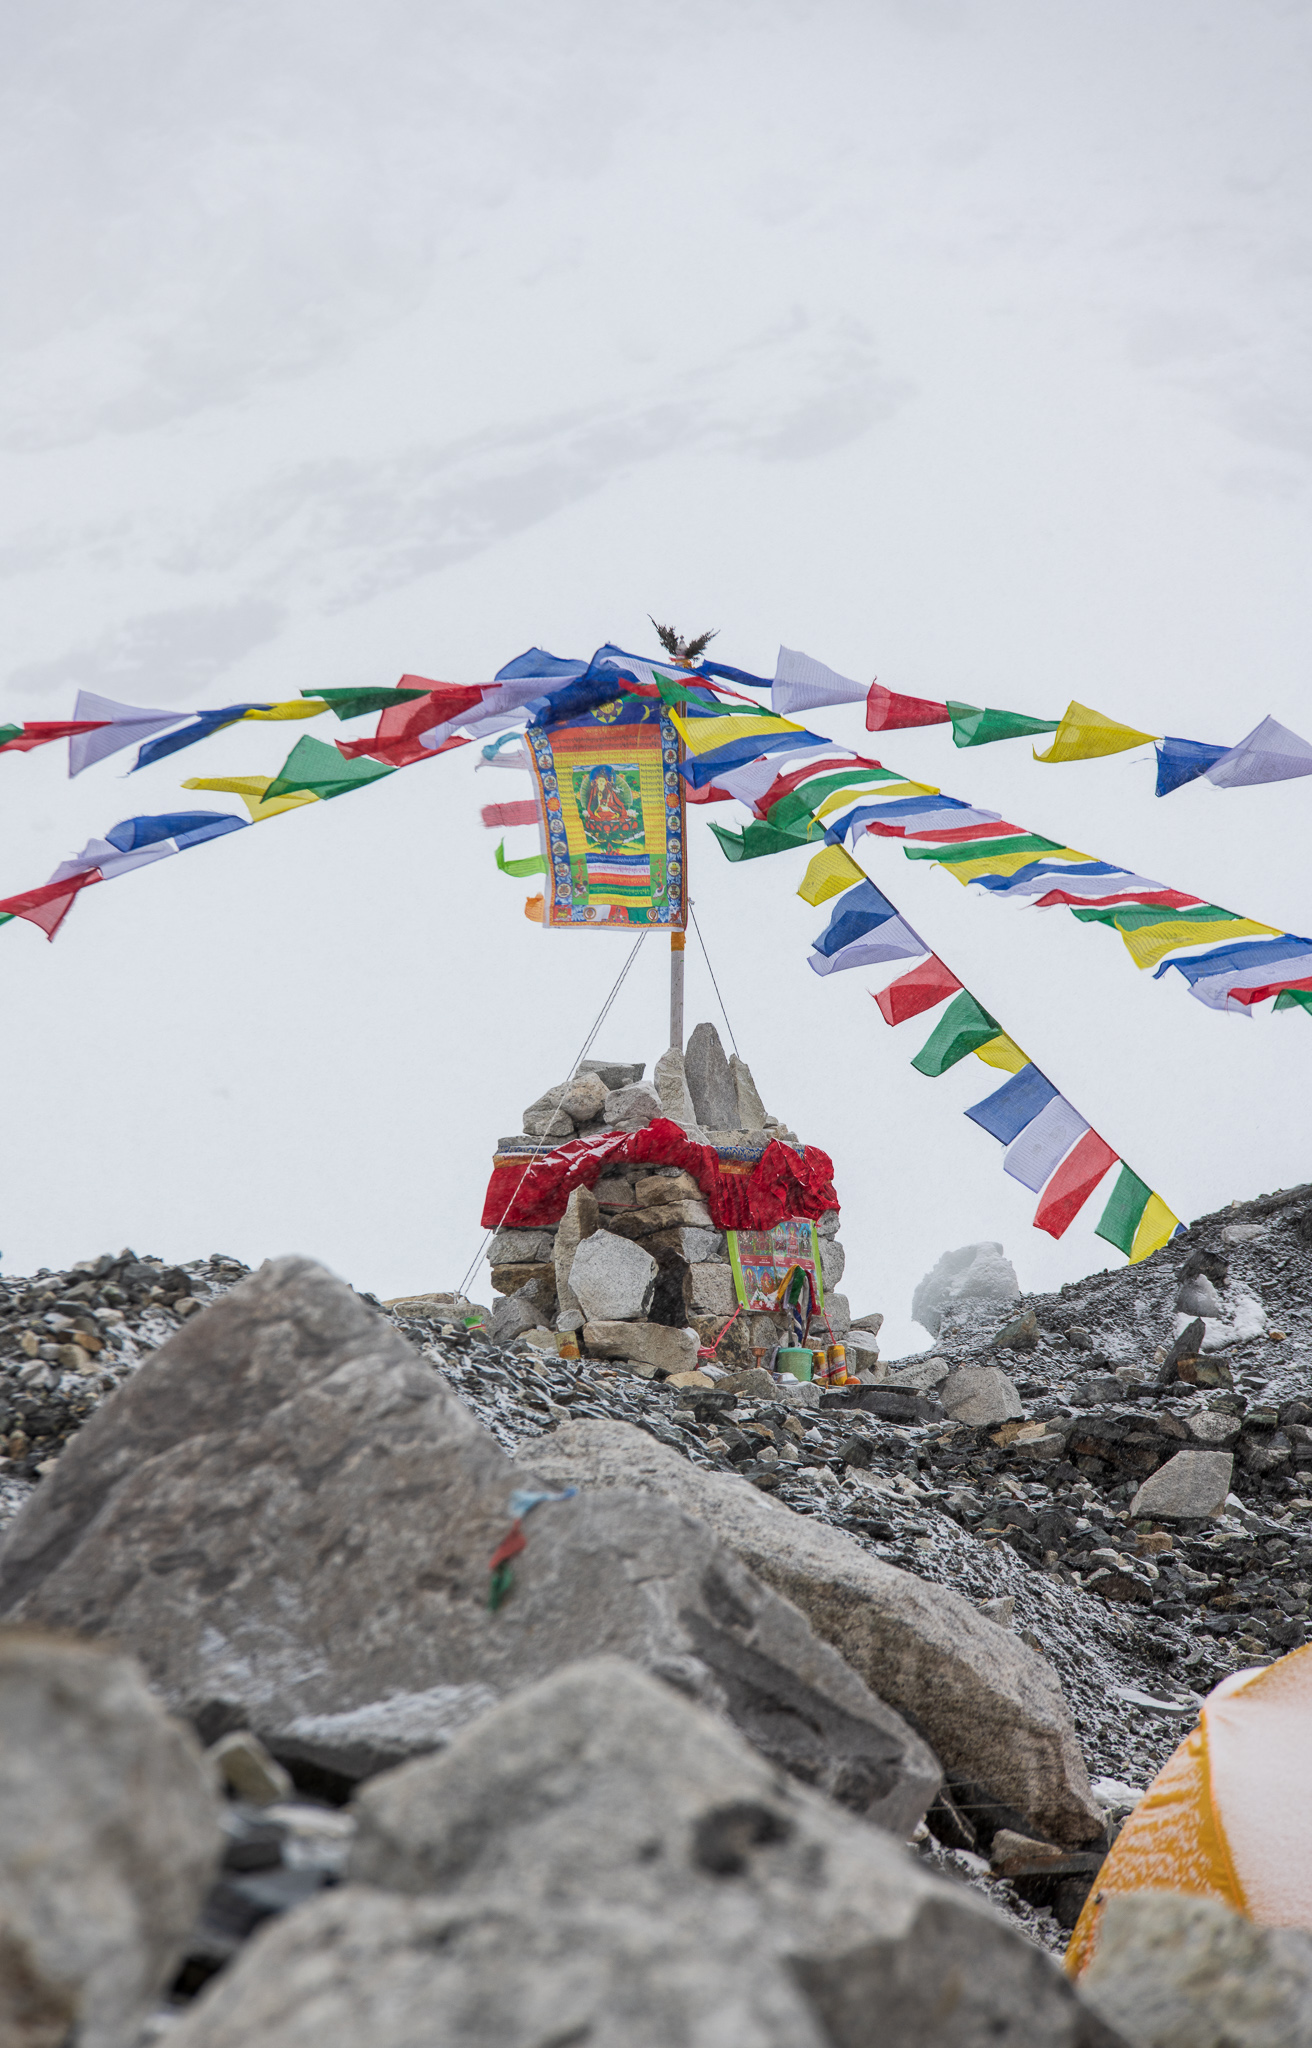
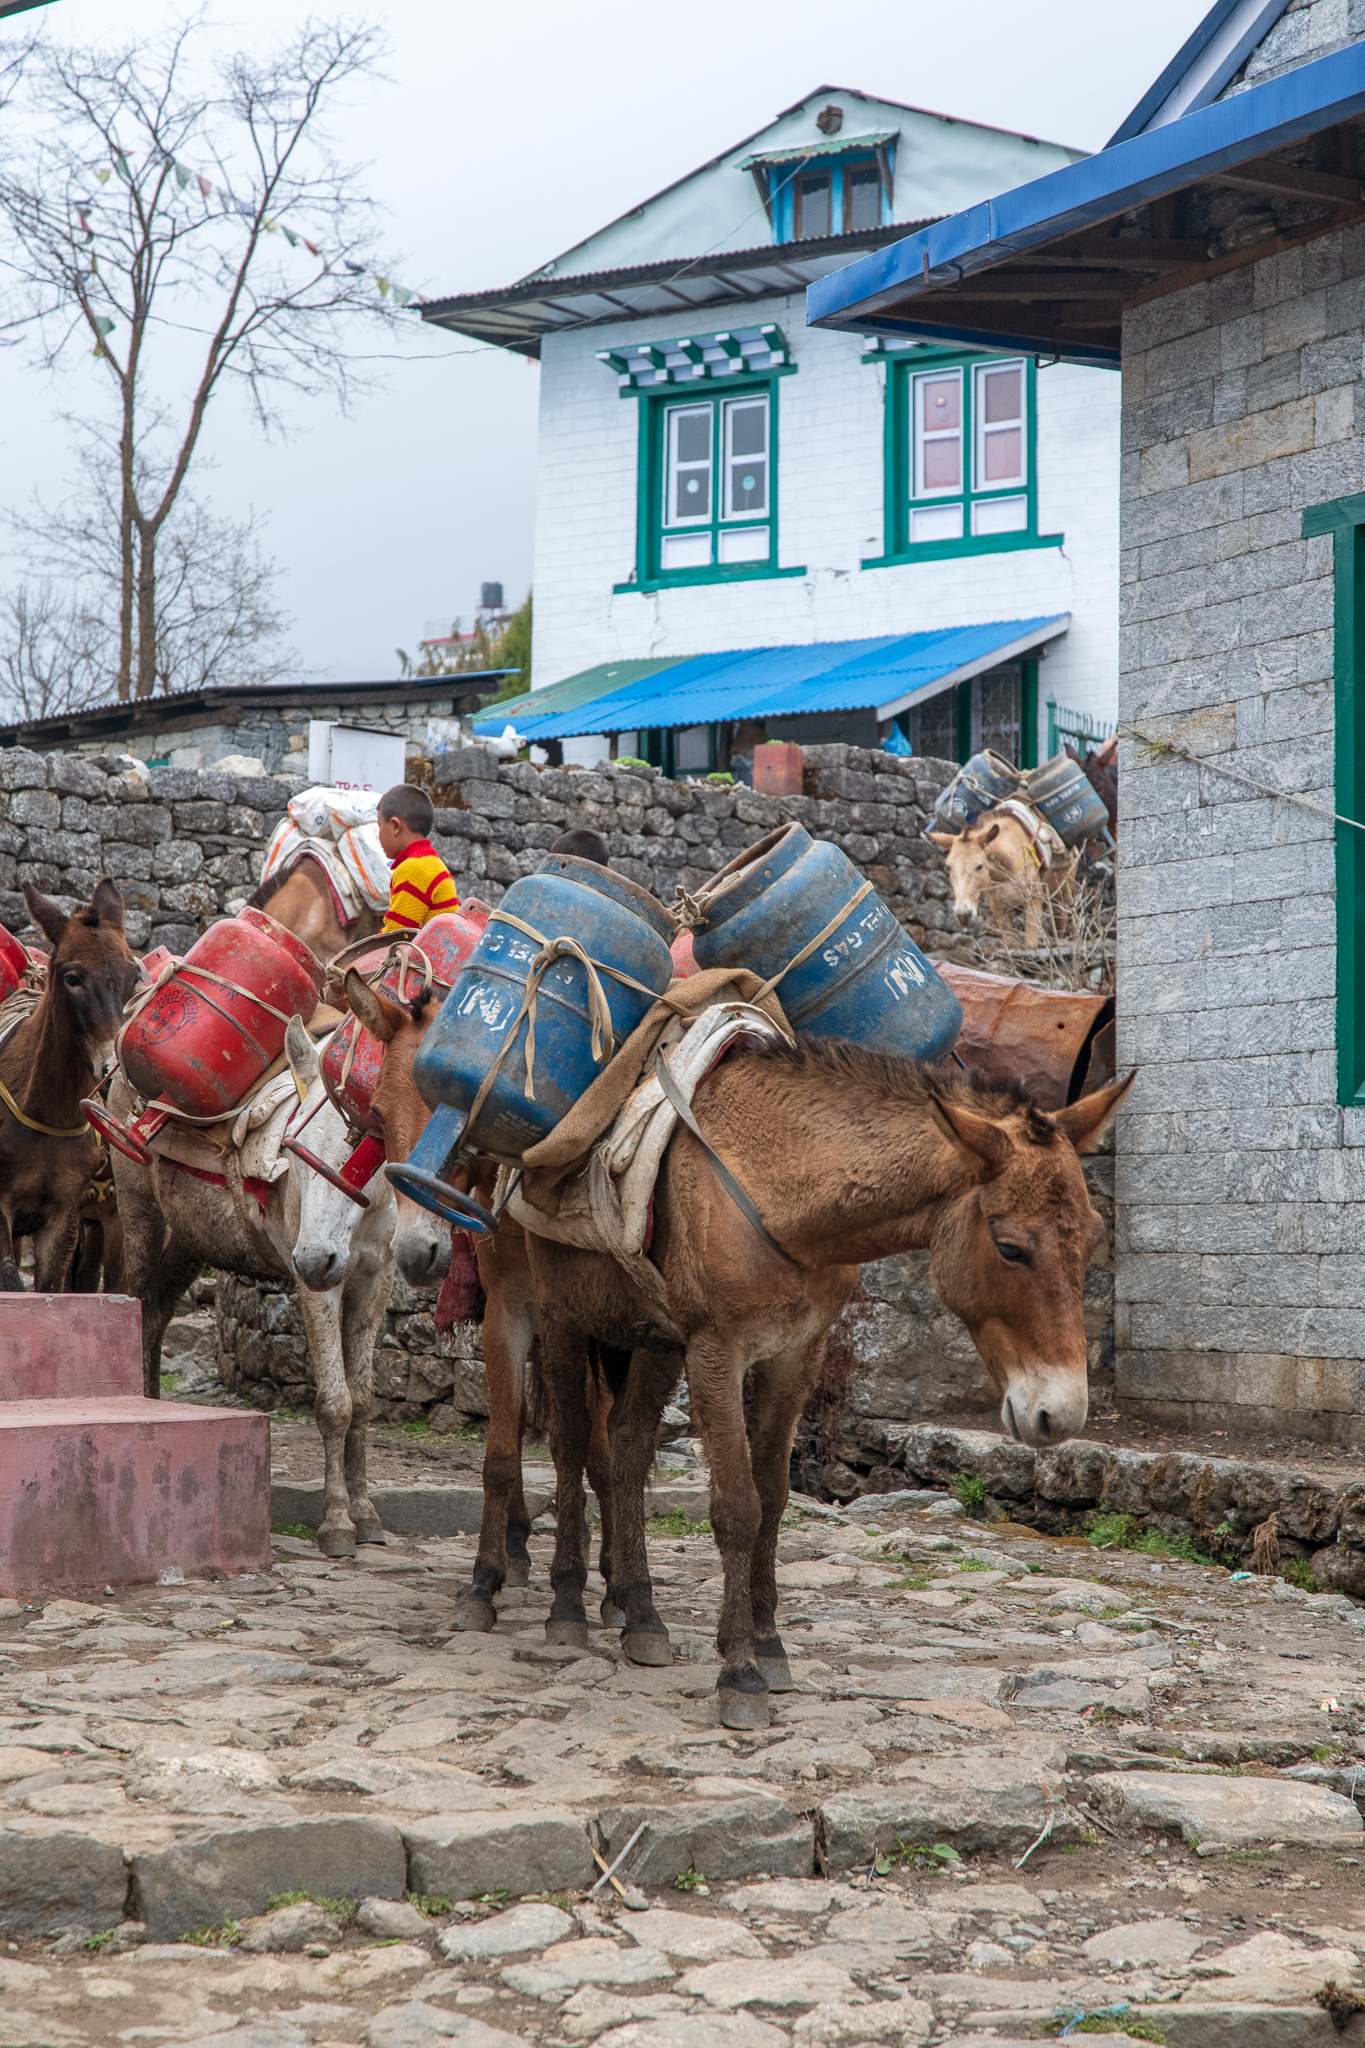
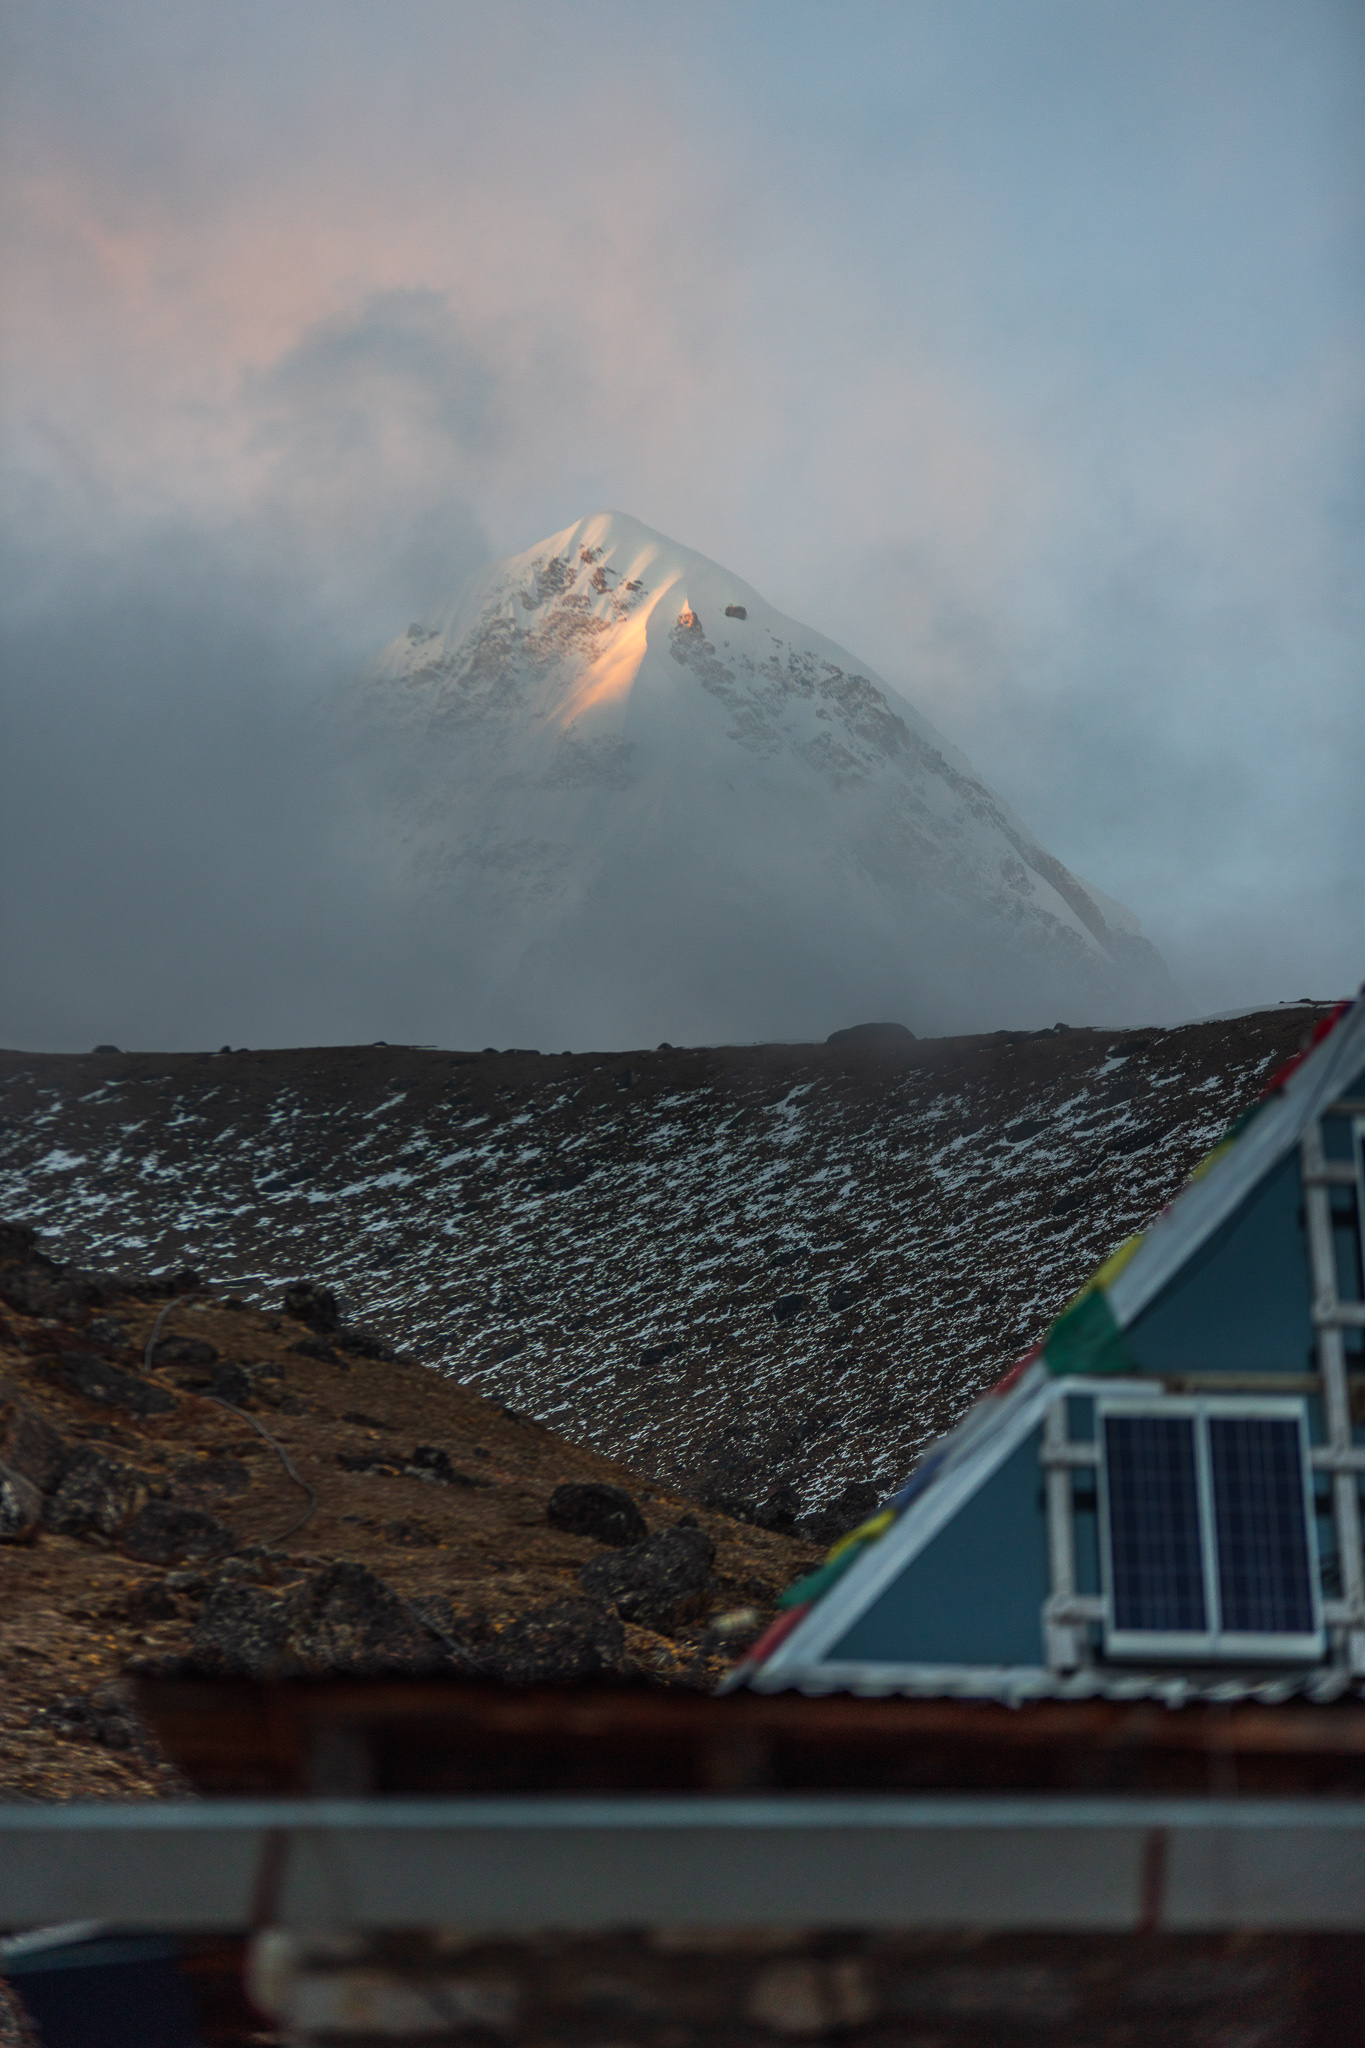
Nepal is a country as beautiful as it is famous. Each year, trekkers and alpinists alike flock to Kathmandu to begin their respective journeys into the Himalaya. Home to many of the tallest mountains in the world, it makes sense that so many people are drawn there every year. 

_DSC4079.jpg

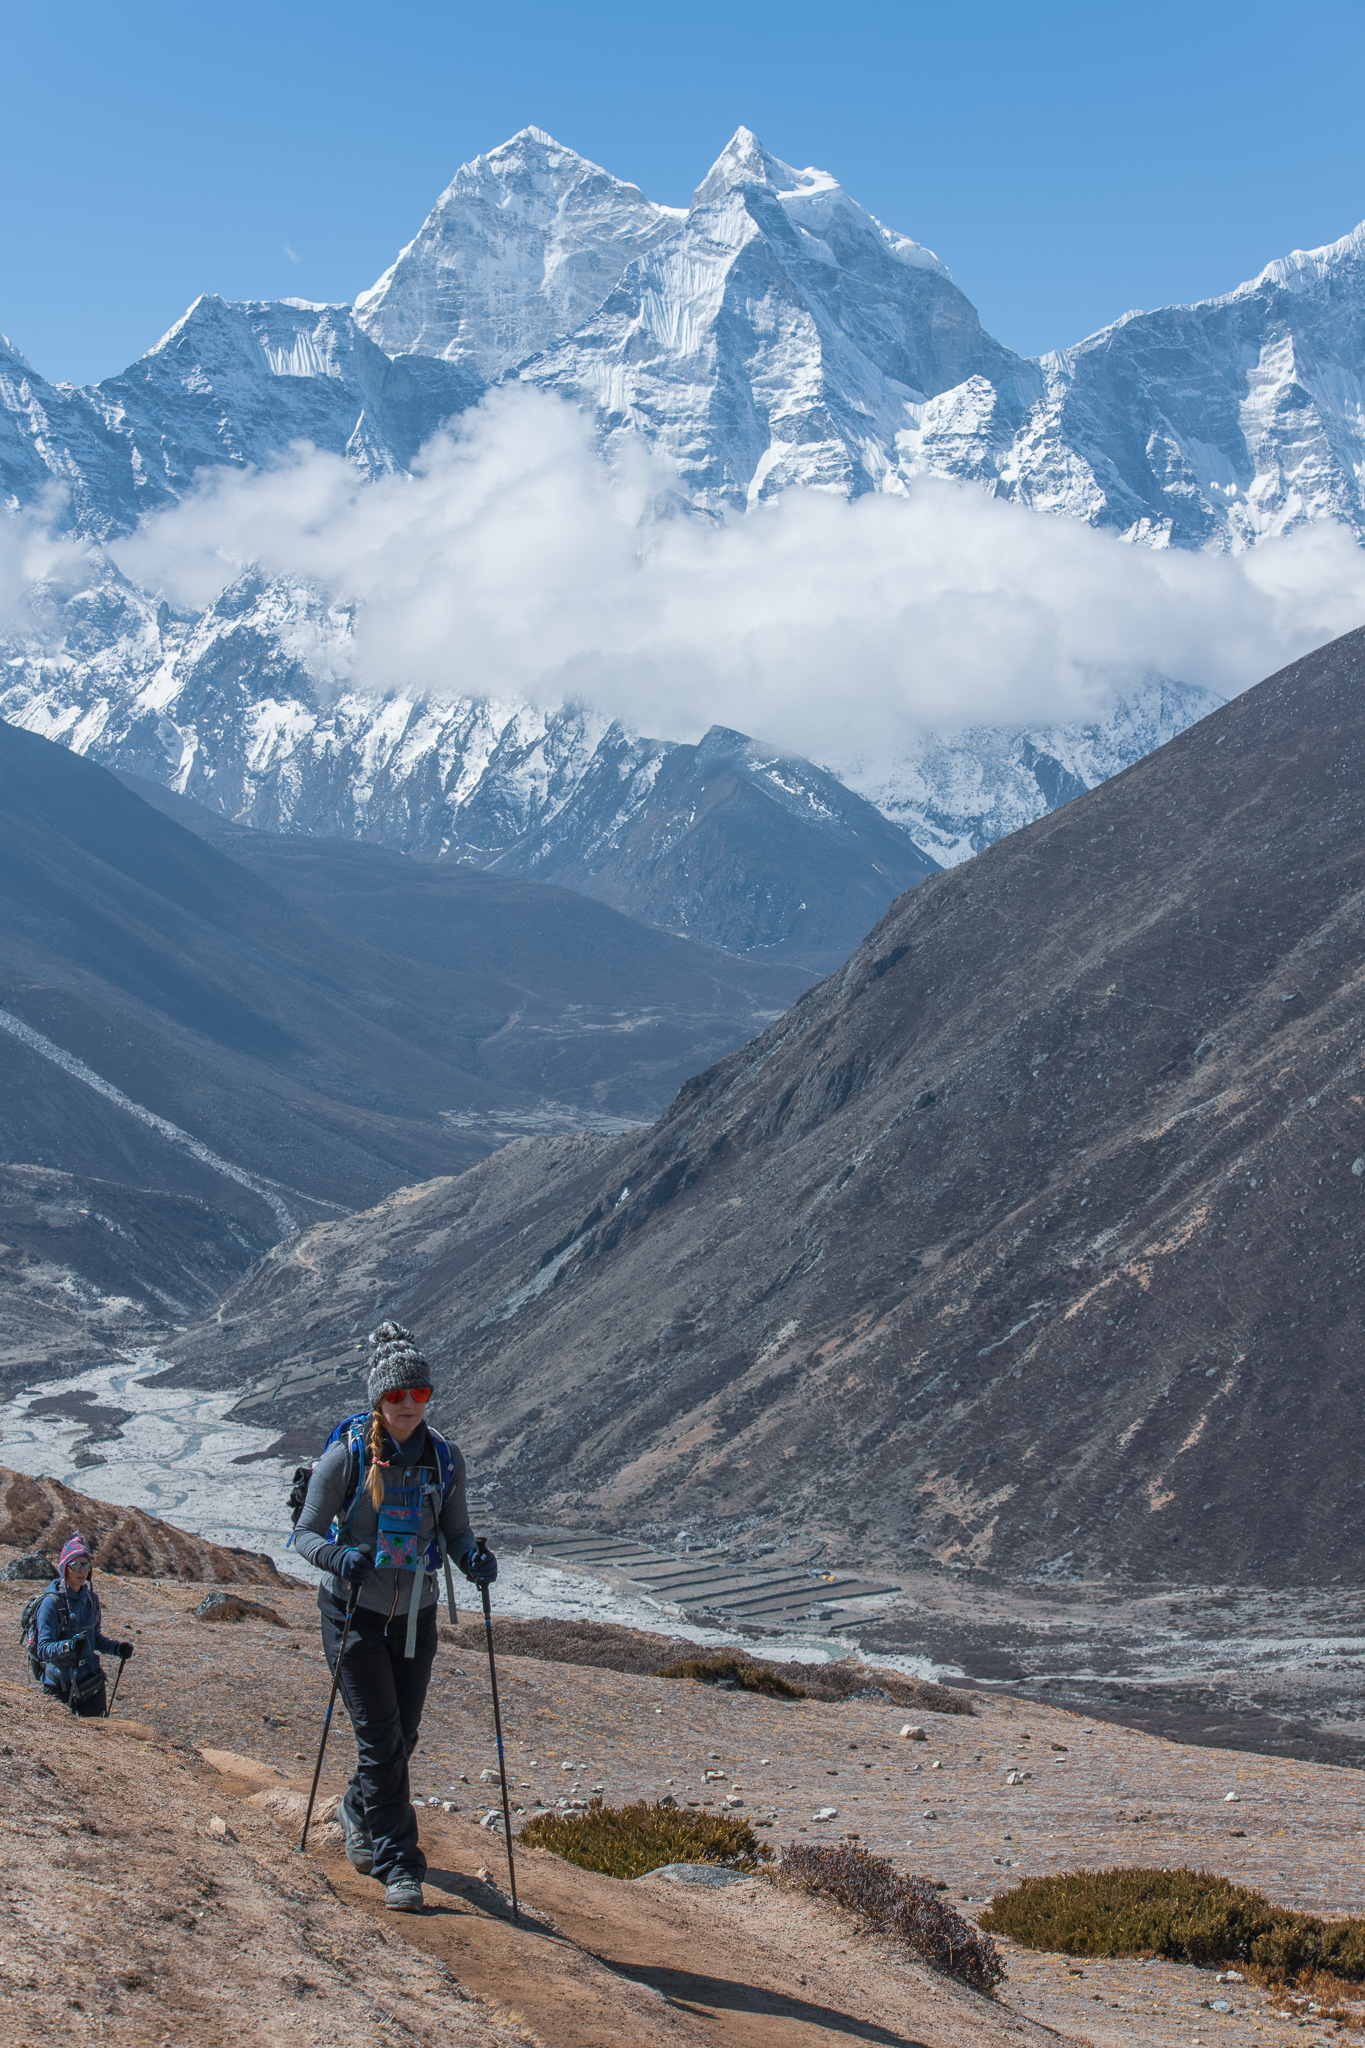
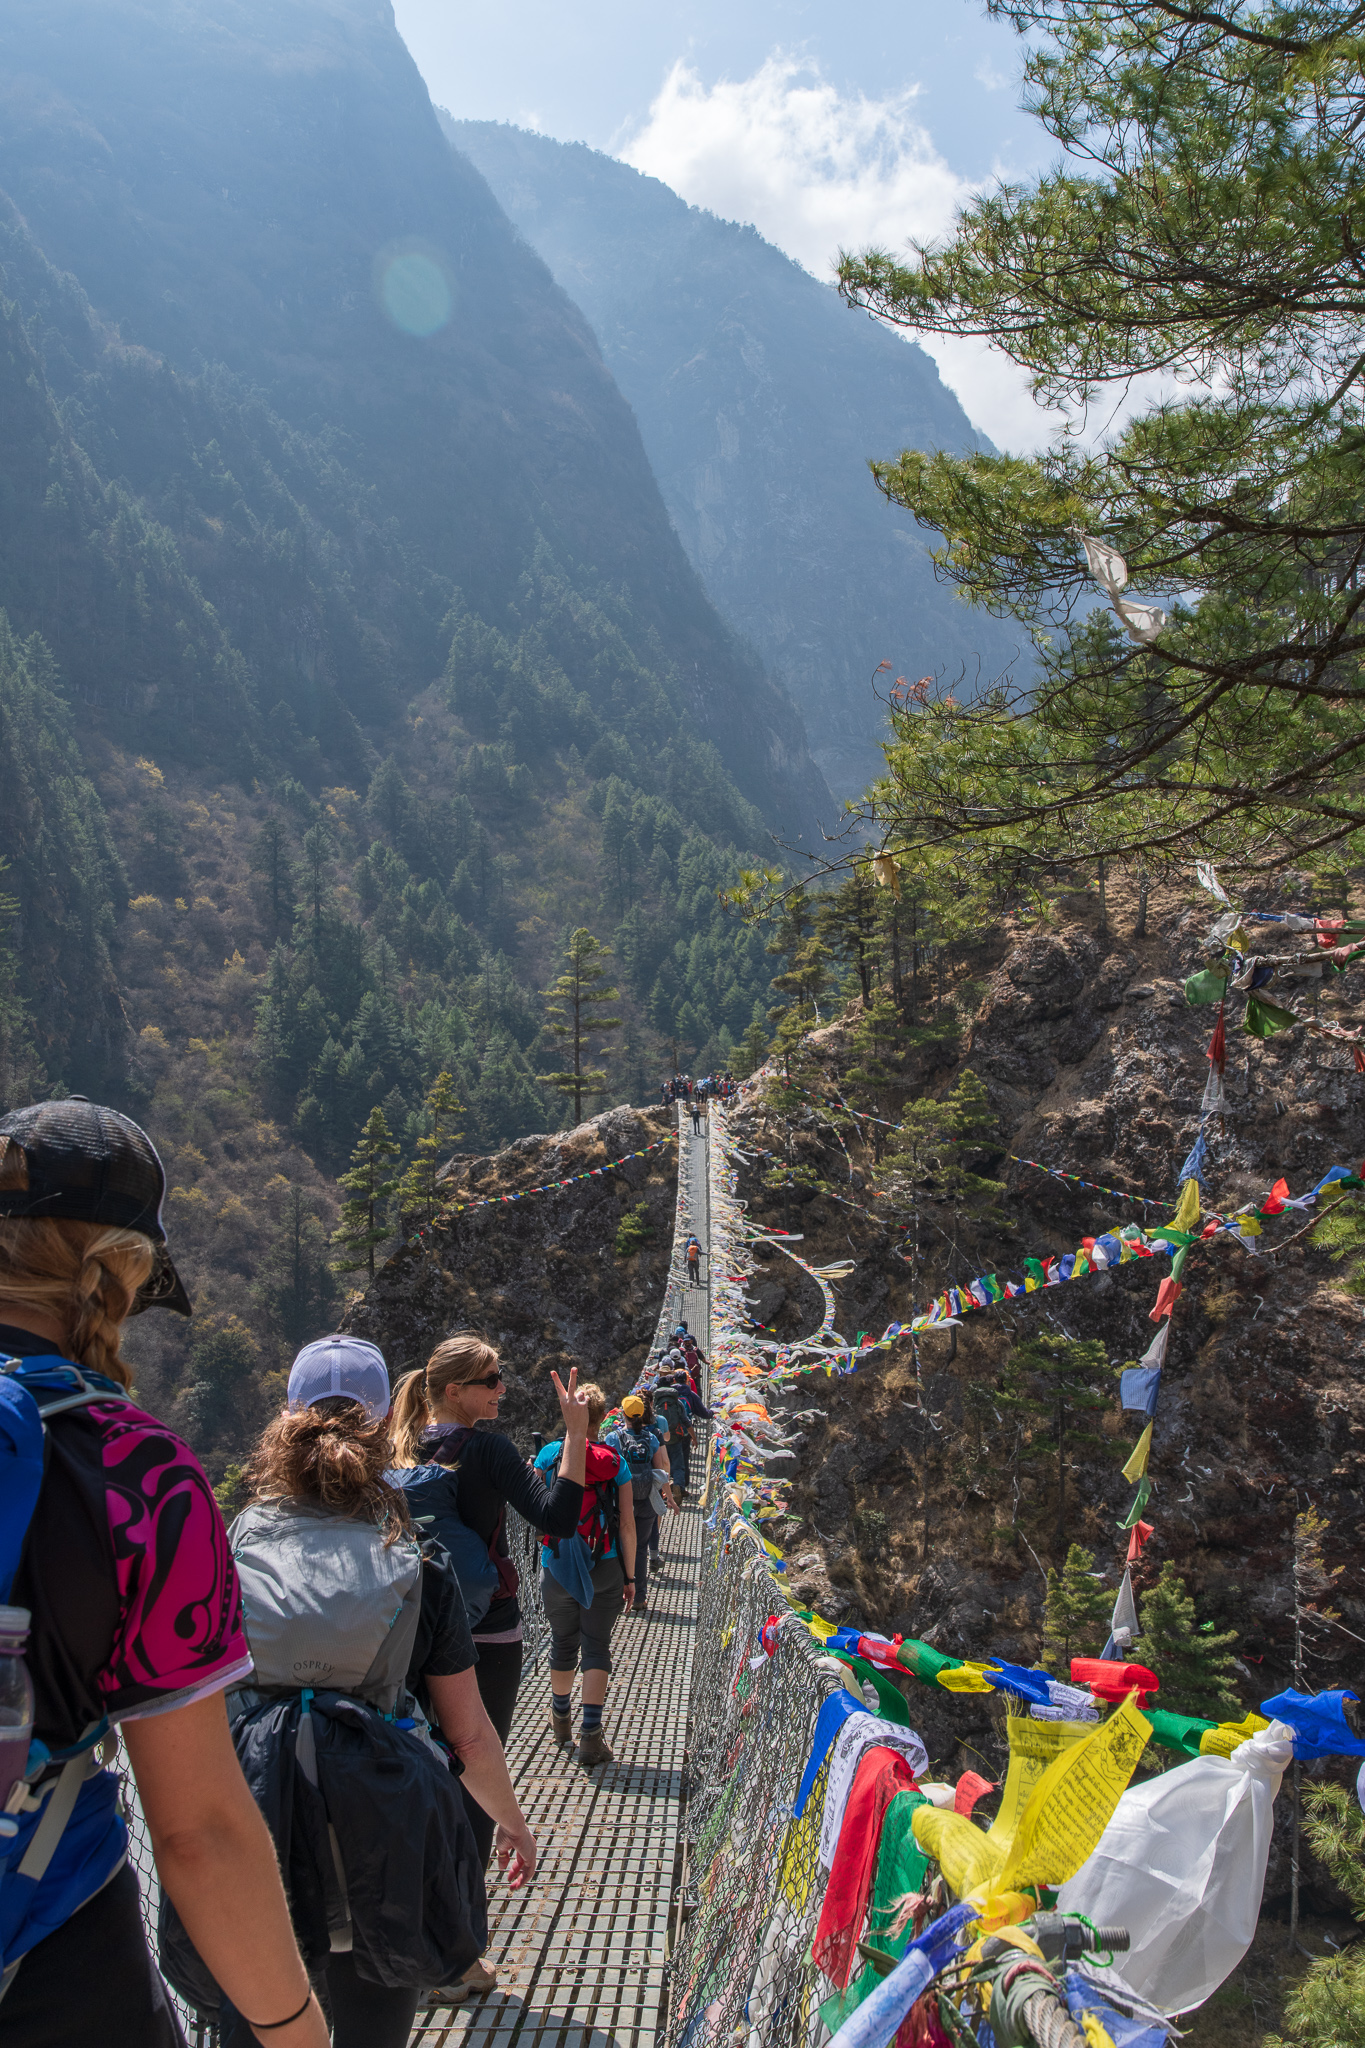
This year I had the opportunity to join the masses for two special treks: first to Everest Base Camp with Travel Her Way, and second to Annapurna Base Camp with my mom. 

Both trips were challenging and incredible in their own ways. Spending a month in Nepal was a privilege and in some ways, I’m still unpacking and processing all that I experienced. There’s much to be said and shared. In the interest of making it more manageable, I want to start by offering a packing list.

An important note: we trekked with guides and porters so this list is specific to that experience. That said, it’s still relevant to anyone who’s self-guiding and carrying all of your own things. This list is neither exhaustive nor precise: adjust as needed for your body temps, the time of year, and the weight limit specific to your adventure.

Things for your head:

  • A baseball cap or sun hat for daytime trekking that will keep the sun off of your face.

  • A warm knit hat for nighttime/higher elevations.

  • A buff.

  • A headlamp.

  • Sunglasses with a UV rating.

Things for your torso:

  • A wool or synthetic t-shirt for warm days. 

  • A long sleeve wool or synthetic t-shirt for cooler days.

  • A warm baselayer (synthetic or wool).

  • A mid-layer fleece or down jacket

  • A heavyweight layer, such as a down or synthetic puffy coat.

  • A thin, packable wind layer.

  • A rain jacket, preferably with pit zips.

Things for your legs:

  • Lightweight hiking pants or leggings for very warm days.

  • Heavier weight pants you can layer over your lighter pants.

  • Waterproof pants.

  • Down pants if you have them for higher elevations/nights spent in the teahouse.

  • Undies.

Things for your feet:

  • Wool socks. You can reuse them and they will stay warmer when wet.

  • Hiking shoes that are already broken in. I wore trail runners for my entire time in Nepal but depending on weather and your comfort, you will likely want waterproof hiking boots that are lightweight and cozy.

  • Lightweight sandals or slippers (plastic birkenstocks, flip flops, etc.) to wear in tea houses to give your feet a rest.

  • Down booties. I brought my feathered friends variety with removable exterior liner and they were great for wearing in the teahouse on very cold nights.

Things for your back:

  • A comfortable trekking bag with hipbelt. Some folks opted for options with no hip belt and as the miles wore on, their necks and shoulders were in a world of hurt. Unless you’re trekking self-supported, you won’t need anything bigger than 35L (and even then, that might be too large) as you’ll want to limit the weight you’re carrying at altitude.

  • A hydration system. If you’re not used to using a hydration system with a drinking hose, this is a great time to start. The days are long and your body needs more water than usual when trekking at altitude. You won’t want to stop every time you need a drink. An insulated drinking hose is ideal for the higher elevations. It’s still nice to have a Nalgene or comparable water bottle in the event that it’s freezing outside and you aren’t able to use the hose. You can also fill it with boiling water at night for extra warmth.

Things for your tummy:

  • Snacks on snacks on snacks. You will be able to purchase these in Kathmandu and along the way, but if you have special dietary needs be sure to arrive prepared.

  • Nuun or similar electrolyte supplement.

  • A special treat, like chocolate or candy, for long days that you can share with your guides and porters too.

  • TUMS or similar antacid: the change in diet and even elevation can throw off your tummy. You’ll want to have these handy.

  • Imodium. Same as above. The last thing you want while trekking is a nasty case of diarrhea. 

  • Miralax or similar. Same as above. You also don’t want to be constipated!

Other pharmaceuticals:

  • Ibuprofen: for aches and pains that will inevitably arise on the trail.

  • An inhaler, if applicable.

  • Headache med of choice: you will get one at some point or another, from elevation, dehydration, lack of sleep, etc.

  • Any relevant meds, including allergy medicine. 

  • Sudafed/cold meds: This may seem strange but most people acquire some form of respiratory illness while trekking. These will help see you through, with the added benefit of helping with altitude headaches. 

  • Probiotics: if you take one regularly, bring it along. 

  • Diamox: requires a prescription--check in with your medical provider on dose and usage. 

  • Throat lozenges or cough drops.

  • Feminine products as needed--they are hard to impossible to acquire on the trail

  • Water treatment tabs: your guide may provide you with these but if not, you will either need to purchase water or have your own. Note: at higher elevations, sometimes the only option is purchasing water as it’s too difficult to find free-flowing sources. 

Stuff for your wallet:

  • Cash. You’ll need to purchase extra items along the way, whether it’s new toilet paper, an extra treat, etc. You’ll also need cash to top your guides. There’s an ATM as far as Namche but don’t count on it working--frequent storms often knock service out entirely.

  • An id, and list of emergency contacts and any medical conditions that rescuers should know in the event of a mishap

Stuff for your toiletry bag:

  • Sunscreen, sunscreen, sunscreen. You’ll be more susceptible to burn at altitude. Don’t forget your ears, lips, and back of the hands. 

  • Chapstick with SPF.

  • Toothbrush and toothpaste.

  • Toilet paper. Most bathrooms do not have toilet paper and you’re expected to bring your own. 

  • Wet wipes

  • A pack towel if you plan on showering on route.

  • Shampoo and/or bodywash if you plan on showering on route (I brought a small bottle of Dr. Bronners and used that for everything rather than individual products).

  • Eye care products (contact case, solution, drops, etc.).

  • Ear plugs, teahouses are loud at night.

  • Eye mask

Stuff for Sleeping:

  • A warm sleeping bag. I brought a 0 degree bag and did not regret it as it can get below freezing in some of the teahouses. If you don’t have a super warm bag, consider renting or borrowoing one, or purchasing a sleeping bag liner for supplemental warmth.

  • Inflatable pillow: some tea houses have pillows. Others don’t. I always sleep best with one, so I brought it along.

  • Clean, dry pajamas. Change into them before bed, change out of them before you do something active.

  • Devoted sleeping socks that are warm, clean, and dry.

Other miscellaneous items:

  • A waterproof duffle bag for your porter. Many guides lend these out but it’s nice to have, just in case. Worst case: leave it in your suitcase at the hotel with any extra items you don’t need on the trek.

  • A small, light game such as cards or a travel cribbage board for nights and rest days.

  • A journal and pen. You’ll have a lot to process.

  • A camera. Your cell phone will work, although I did carry my d850 and two lenses everywhere, everyday. 

  • Charging cables and voltage converter.

  • Battery bank.

  • Trekking poles

  • Gloves,with  a thin liner and waterproof outer cover if possible.

  • Waterproof stuff sacks for important items that you don’t want to get wet.

If you’re thinking “WOW, that’s A LOT OF STUFF” don’t worry! There are a lot of ways to pare down, such as selecting versatile items of clothing, removing packaging to reduce size and bulk, and toughing it out with dirty clothes on the trail. I wore the same 2 shirts and pairs of pants the entire time on the trail and I did not die. 

Consider this a starting point, then adjust from there! If you’re worried about your system, do a test run. Pack your duffle bag as you would for the trek to give to your porter, then chuck it in the car. Pack  your day bag as if you were trekking for the day, and go on a hike. Return to the car and prepare for the night as you would on the trail and see how it goes. Adjust from there, then get after it.

Questions? Let me know!


How Not to Ski to Ostrander: A Classic Story of Misadventure

A few weeks ago, Matt and I set off on a trip to Yosemite to ski to the legendary Ostrander Hut with Elliot, patriarch and OG badass of the Fineman family. The plan was simple: fly into Oakland, drive to Yosemite and stay overnight at the Yosemite Lodge, then skin the 12ish miles up to the hut for 2 nights of alpine bliss, complete with bunkbeds, the snores of strangers, and a flask of whisky.

In a stroke of genius, Matt and I decided to book parking at one of the airport lots to save us the hassle of Ubering with our skis (shoutout to Krystin Norman and Evo for lending us a wheely bag, total lifesaver). We found a screaming deal online, paid, and left with ample time to park, shuttle to the airport, check our bags, and be on with it.

Or so we thought.

It turns out the address they sent us in a confirmation email lead to a random empty lot behind a fast food joint. With no cars or people to guide us, we googled a second address after failing to get a person on the phone. Twenty minutes later, we arrived at said address only to find that it too was not a parking lot. Frantic at this point, we decided to throw caution (read: money) to the wind and park at the airport because we were dangerously close to missing our flight. We plugged the airport into the GPS and BAM, the gas light came on.

Allow me to briefly interject with a story about a common issue with mid-90s to early 2000s Subarus: they are finicky AF about receiving gas. So, approximately 15 minutes later we acquired two gallons of gas, sufficient to make the drive to the airport and back to a gas station upon our return, and we were on our way!

We crushed the twenty minute drive to the airport in approximately 25 minutes (because traffic) and found a parking spot on level 8. Feeling triumphant, we grabbed our bags and rushed to the Alaska desk to check our skis. There, a very kind man informed us that while we could still make the flight, we wouldn’t be able to check our bags. Apparently TSA doesn’t take kindly to folks trying to carry on skis, much less full touring setups with beacons, probes, and shovels so we were SOL. Deflated, we headed to the customer service desk where an exceptionally kind woman took pity on us and promptly rebooked us on the next flight WITH NO FEES, WHEEEEE! We grabbed our things and headed back to my sisters house for a couple of hours of sleep before doing the whole thing over again, this time opting to just catch an Uber to the airport. Pro-tip: make sure you request an XL if you’re traveling with a ski bag and several large packs. I’ll spare you the details of wrestling our shit into the tiny boot of the cute BMW that arrived to pick us up at 3:45am.

We arrived in Oakland and promptly grabbed our checked backpacks, then waited for our skis to arrive at the oversize luggage department.

And waited.

And waited.

And waited.

_DSC0852.JPG

We finally gave up, and checked in at the baggage desk where they informed us that they had no idea where our ski bag was but they would find it. In the meantime, we were advised to try and find rentals. Feeling defeated, we headed to the Fineman house to regroup and research. I finally found a shop in Berkeley that rented touring setups (shout out to California Ski Co) so we packed up the car and hit the road. On the upside, the shop had a pair of Black Diamond Helios 95 for Matt, skis he had been eyeing for some time. On the downside, the skins for the setup I was renting were missing and the odds of getting a replacement set looked grim. At that point, Alaska called to say they had found our bag and it was en route to the Oakland airport. So, we drove back to Oakland, grabbed the skis, and FINALLY hit the road.

The drive to Yosemite is beautiful in places and between dozing off in the back and grocery stops, I was full of excitement. We pulled into the Yosemite Valley Lodge and checked in, then went on a short hike to Yosemite Falls, roaring into the (very grey) sunset. We grabbed dinner and drinks, then packed our bags for the morning and hit the hay. Once our party-hearty neighbors calmed down at 3 am, we got a few hours of shut eye and woke up far from refreshed but super stoked.

We made the drive up to the Yosemite ski area to check in with the rangers and park the car, then we were off! The skin up begins with a short section of climbing, then mellows out into a gently rolling groomed trail. Elliot took a little tumble early on, and a few miles in decided to call it. He felt great physically, but a little imbalanced and was understandably worried about taking a fall on the notoriously steep hills closer to the hut on the way down. Feeling sad, we made a new plan which involved Matt and I carrying on to stay at the hut for one night. We stopped to exchange certain items of gear, and I also removed the footbed liners of my boots, which were riding up the back of my foot and causing a lot of discomfort. We said our goodbyes, and carried on up the trail. A half mile later, I felt the tell-tale signs of a blister. I popped off my boots, applied moleskin, and kept going. A mile after that, it was worse. We finally reached the cut off for the final charge up the hill to Ostrander and at this point I was in a lot of foot pain. I popped off both boots to make a final assessment of my feet before carrying on to discover blood blisters the size of half dollars on both feet, plus varies other small blisters. I was perplexed, having never had problems with these boots before, and frustrated. I was also in a lot of pain. And, having cramps. THANKS BODY.

At this point, I realized that if we carried on I would be pretty miserable the rest of the day, not to mention the following day as we skied out. With trips to New Mexico and Nepal looming, I also wanted to make a smart choice for my feet. So, with one bout of tears I made the call to turn around. It sucked, big time.

_DSC0853.JPG

Before beginning our descent, I patched up my feet as best as I could and we fired off messages to Elliot to let him know what was happening. Then we began the painful ski back, each subtle motion of my feet sending fire up my legs. As we skied, we kept checking for a response from Elliot, but none came. We finally made it back to the trailhead to find the resort and ranger station closed, with barely a car in the lot. We limped to the lodge to use the bathroom and regroup, and started to face the reality that we might be bivvying in the parking lot, having no way to get down the mountain.

At this point, a staff member came outside and saw us. Curious, he asked what we were up to so we explained. He took pity on us, and offered to help. As he made his offer, an employee bus came around the corner. “Let me see if you can catch a ride.” he said. A few minutes later, we were loaded up on the bus, snacking on Joe Chocolates and peanut butter while the driver regaled us with stories from his time spent in the Denali backcountry. It felt like sweet, sweet success.

We finally reached the Yosemite Lodge, where we faced our next conundrum: with no responses from Elliot and no wallets, what should we do? We briefly entertained the idea of sleeping at Camp 4 but without a tent or sleeping pads and with my feet in need of some TLC, it was a grim prospect. So, I decided to approach the hotel staff and explain our situation. To my surprise and joy, it was the same woman who checked us in initially and she remembered us! She quickly got us sorted with a room using some sort of magic, and 10 minutes later I was showered, bandaged, and laying in bed.

We finally met up with Elliot, just in time to miss last call for dinner so we toasted marshmallows and ate housemate potato chips by the fire while we caught him up on our disaster. We all laughed, then went to bed. The next day we explored the valley, checking out some classic sights before hitting the road. Even though we didn’t achieve our objective, I’ll never forget the trip or the kindness of strangers that helped us stay safe and happy.

And that, my friends, is how to not ski to the Ostrander Hut.

Winter Ice Climbing in Hyalite Canyon

In 2013 I tried my hand at ice climbing a few times and absolutely loved it.  I found the experience exhilarating and wanted to give it another shot, but life got in the way. So, imagine my stoke upon seeing it as an option on a recent trip to Visit Montana with my friend and badass photographer Nick Lake. Spoiler alert: it was HIGH and yes, that’s a climbing pun.

Photo Jan 07, 6 17 05 PM.jpg

Nick and I filled our packs with snacks and layers galore, then headed to the Spire Climbing Center in Bozeman to meet up with Sam, owner and guide extraordinaire from Montana Alpine Guides. After borrowing some necessary gear and chatting about our objectives and skill levels, we hit the road for the beautiful drive into Hyalite Canyon. Hyalite Canyon is home to the largest concentration of naturally occurring ice in the lower 48 and it’s incredibly beautiful to boot.

From the parking lot, we hiked up the hill for about 30 minutes or so to Mummy 2/Scepter area. Sam went over some fundamentals with us, and shortly thereafter the fun began. Nothing makes you feel quite as badass as swinging tools into a frozen waterfall and hearing that refreshing “THUNK” when it sinks in. Pair that feeling of power with the ruggedly beautiful landscape and the occasional blast of spindrift to the face and you have my idea of a perfect day!

Photo Jan 07, 6 16 53 PM (1).jpg
Photo Jan 07, 5 18 14 PM.jpg

A few things to consider:

  1. Montana Alpine Guides can provide you with all the technical gear you need, so don’t worry about flying with mountaineering boots or crampons. Save the luggage space for layers and room to bring back some souvenirs!

  2. While some familiarity with basic climbing principles (tying in, belaying, etc.) is useful, you don’t need a ton of experience to get out and have an amazing day. Simply communicate your skill level and experience to your guide and they will make sure to pick terrain that will be fun and comfortable for you!

  3. You will be responsible for bringing certain items of clothing! Your guides will send you a list, but I want to emphasize the importance of layers so you can bulk up when you’re done climbing to stay warm and dry! I also highly recommend bringing a thermos of some hot tea, soup, or broth. Trust me, you’ll be thankful for it!

  4. Winter Leave No Trace (LNT) ethics apply. That means packing out all food and human waste. If you’re not sure how to do the latter, check out my blog about how to do your business outside!

I hope you have the chance to get after some ice if you visit Montana this winter! If you do, I highly recommend a post-climb dinner at Bridger Brewing where the beers are gluten removed, the food is delicious, and the staff will take incredible care of you!

Let me know how it goes if you make it, I would love to hear more!

Note: The Montana State Tourism Board sponsored the trip, but has not asked me to create this content. I just had such an amazing time that I decided to spray about it via blog post because the experience was phenomenal and I can’t recommend Sam from Montana Alpine Guides strongly enough.


Winter Camping 101: The Basics

I love camping in the snow. There’s something about the snowy landscape that creates a quiet hush, as if the entire world is breathing deep. Plus, it opens up terrain that you can’t usually camp on by creating a thick, protective layer over otherwise delicate vegetation.

DSC_1777.jpg

That said, I recognize that it can be a bit intimidating to jump in. Do I need a 4-season tent? What do I wear? How do I pick a site? Will the abominable snowman eat me?

In the interest of answering some of these questions and getting more folks outside, I thought I would pull together some information for you to take a peek at. It’s not an exhaustive guide, but it’s enough to get you started!

Gear

This is probably the part that seems the most intimidating. Contrary to popular belief, you don’t need to go out and buy all new stuff to go snow camping, but you may need to get a little innovative in your approach. You can use your 3-season tent if winds are less than 20 mph and there's not a forecast for heavy snow, and you can supplement the gear you have for a fun, comfortable night out. Consider borrowing, layering, and renting if you do need to supplement but you're not ready to invest in new gear and take it from there! You can view a complete gear list HERE (shout out to Teresa Hagerty for her incredible work on this list)! 

Destination, Destination, Destination

If it’s your first time snow camping, I recommend waiting for a fair-weather day and selecting a location that involves a short hike in to camp. That way, you can test your skills and gear with the firm knowledge that if something goes awry, the car is just a short jaunt away. Wait for a weekend with temps hovering in the 20s to low 30s and a wind forecast that’s less than 20 mph. Make sure to check the avalanche forecast, and please only venture out if you find the risk acceptable and you’re comfortable assessing terrain for safety.

If you’re in the PNW, Mount Rainier is a great spot for your first attempt. You can snag a permit on the same day you arrive (unless you have a large group) and head out to pick a spot. Be sure to check the regulations and rules for your intended destination and be cognizant of important details like seasonal road closures.

Site selection

Site selection is critical for a successful snow camping adventure! When you arrive at your destination and begin your hike/snowshoe/tour up, you’ll want to keep your eyes open for the following things before setting up camp:

  • not under or above avalanche terrain
  • far enough away from any trees to avoid tree wells and tree “bombs” (hunks of snow that fall from the branches and run the risk of breaking your tent)
  • not above creeks, lakes, or water (with few exceptions)
  • avoiding terrain depressions which can trap cool air in your tent
  • at least 200 feet from any trails and water sources

If you’re below treeline, look for a nice flat spot with a lot of snow and vegetation that provides a windbreak. If you’re above the treeline, you have less vegetation to work with but look for natural windbreaks if possible and a nice, flat spot (though you can dig one out if necessary).

Okay, great! You did your research, packed your bag, and found the dreamiest site possible. Now what?

Digging time, baby!

First things first, walk an outline that’s the general shape and size of your tent with the fly on. Next, walk through the middle and try to tamp the snow down to make it easier to manage. In some situations, like when I know I have to dig a deep wind wall or the snow is very heavy and wet and compression will make my life harder, I skip this step. Then, use you shovel to cut out a nice, crisp “edge” or wall and start digging out the center. How deep you want to make it is entirely up to you but consider this: a deeper wall means more wind protection if it starts howling. Make sure to deposit the snow you’re removing outside of your wall to add extra height and to make it easier to deal with when you leave. Make sure you cut an exit path for yourself!

Once you have a nice, deep wall, even out the middle where your tent will go. Pro-tip: before you set your tent up, put your fly or footprint down and lay on it to test for slope or any random bumps. Once it’s comfortable, you’re ready to set up your tent!

Tent setup

DSC_3644.jpg

This part is pretty self explanatory but there are a few things to note:

  1. If there’s wind, set your tent at such an angle that the narrow side is facing into the wind, with your door facing the opposite directly.

  2. Don’t forget your footprint or tarp; this will protect you and your stuff from moisture as snow melts below you.

  3. Stake. It. Out. If the wind comes a-calling or snow comes a-falling, you’ll want a well-staked tent. This can present something of an issue in the snow. Utilize guy lines, snow stakes, your trekking poles, your ice axe(s), or whatever else you have handy to make “deadman” anchors and pull that baby taut. It’s more effort up front but you’ll be glad you did it.

  4. Once your tent is set up, dig out a foot trough inside of your vestibule but beyond the edge of your tent so that when you’re exiting, you can swing your feet out and down to put your boots on comfortably.

  5. Make sure to open your vents to help with ventilation and condensation control.

I like to spice my campsite up with some solar powered twinkle lights but those are totally optional!

Now your site is set up and its time to bask! If you want to get extra fancy, you can carve out a snofa (snow + sofa, get it) or spend some time traipsing around, taking in the views. Whatever you do, please be sure to observe LNT principles.

Things to consider:

  1. It’s very important to stay warm throughout the day so you’re not chilly when you get in your sleeping bag. I highly recommend a post-dinner walkabout to get your blood flowing. You can also enjoy a pre-bed snack which will warm you up.

  2. Ye ol’ Nalgene trick: if you boil hot water and put it in your Nalgene, you can slip that into your sleeping bag to act as a heater. Make sure it’s closed tight before you do so with no leaks.

  3. Hand warmers and other cool gadgets: you can adhere some hand or foot warmers to the top of your socks or other chilly spots to boost heat. You can also buy therapeutic heat pads that last for 8+ hours at the pharmacy and use one of those for a larger swath of warmth. I like the neck and back ones; they are large, have a gentle adhesive, and are safe to wear on your bare skin.

  4. Bring your boot liners, electronics, and water into the tent overnight to keep them from freezing!

  5. When you're ready to leave, fill in any wells or depressions you have created. Your site should be as natural and pristine as possible when you leave!

That's it! Grab some of your favorite humans, pack your bags, and get out there!