Winter Camping 101: The Basics

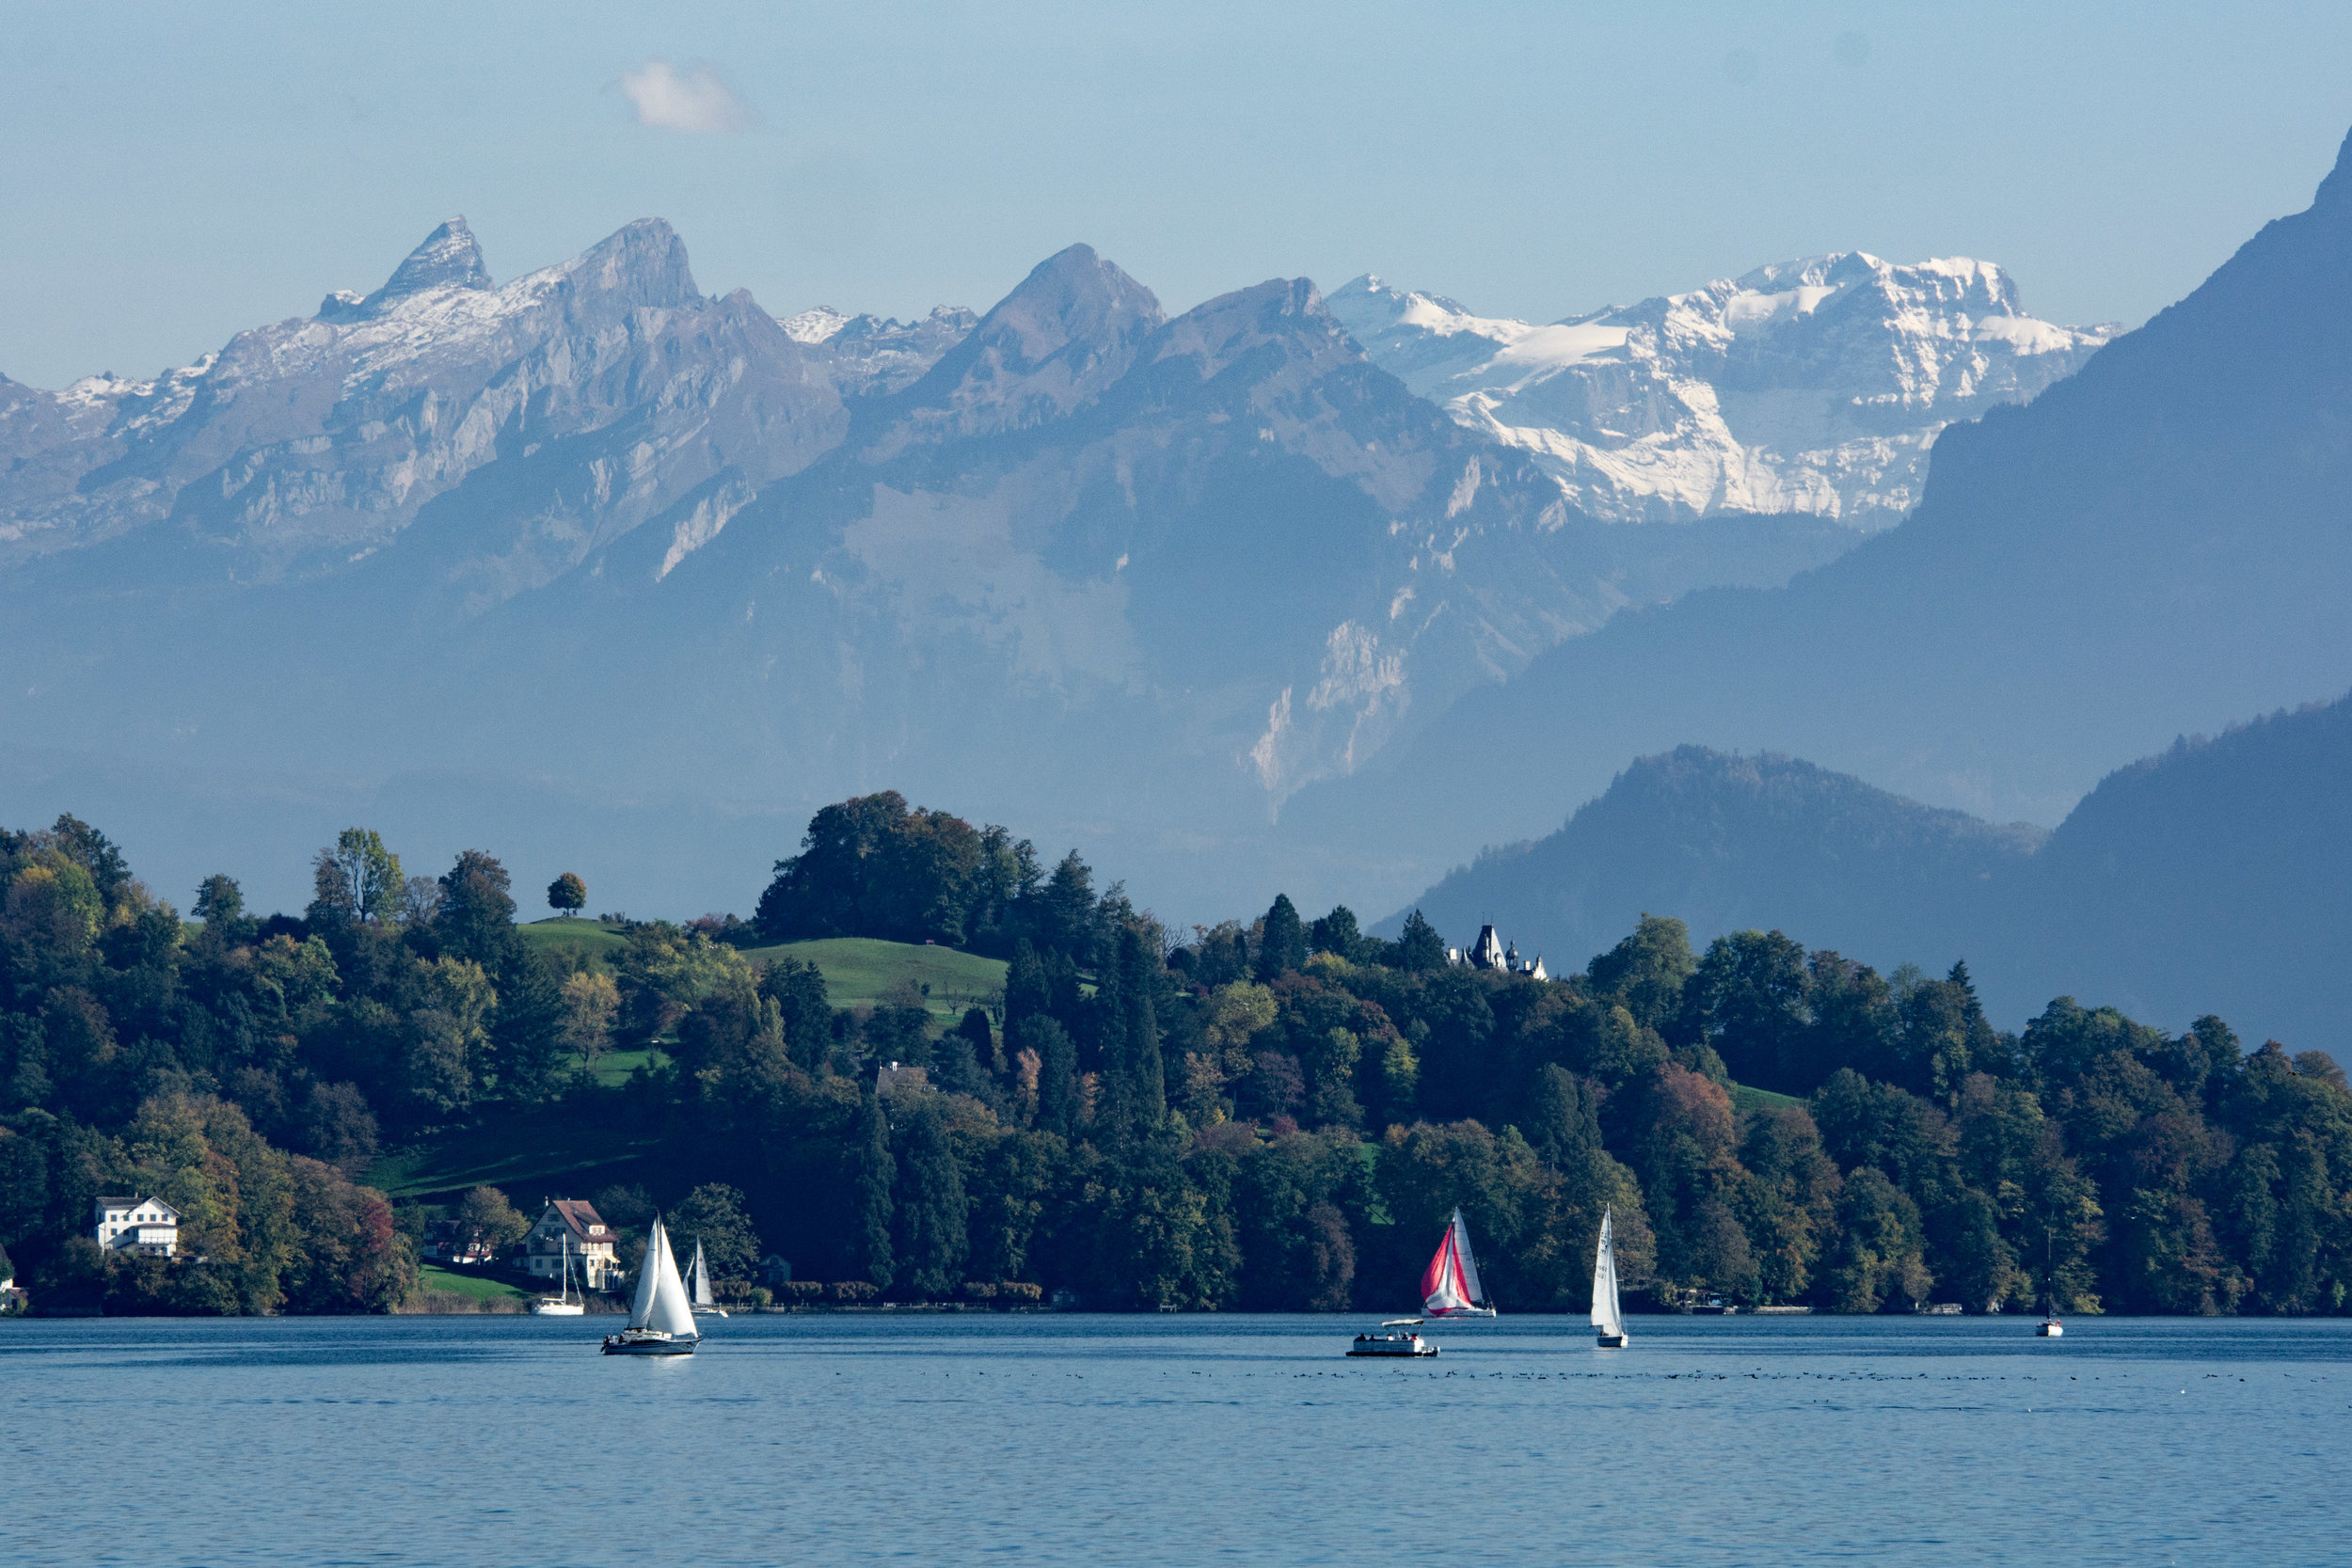
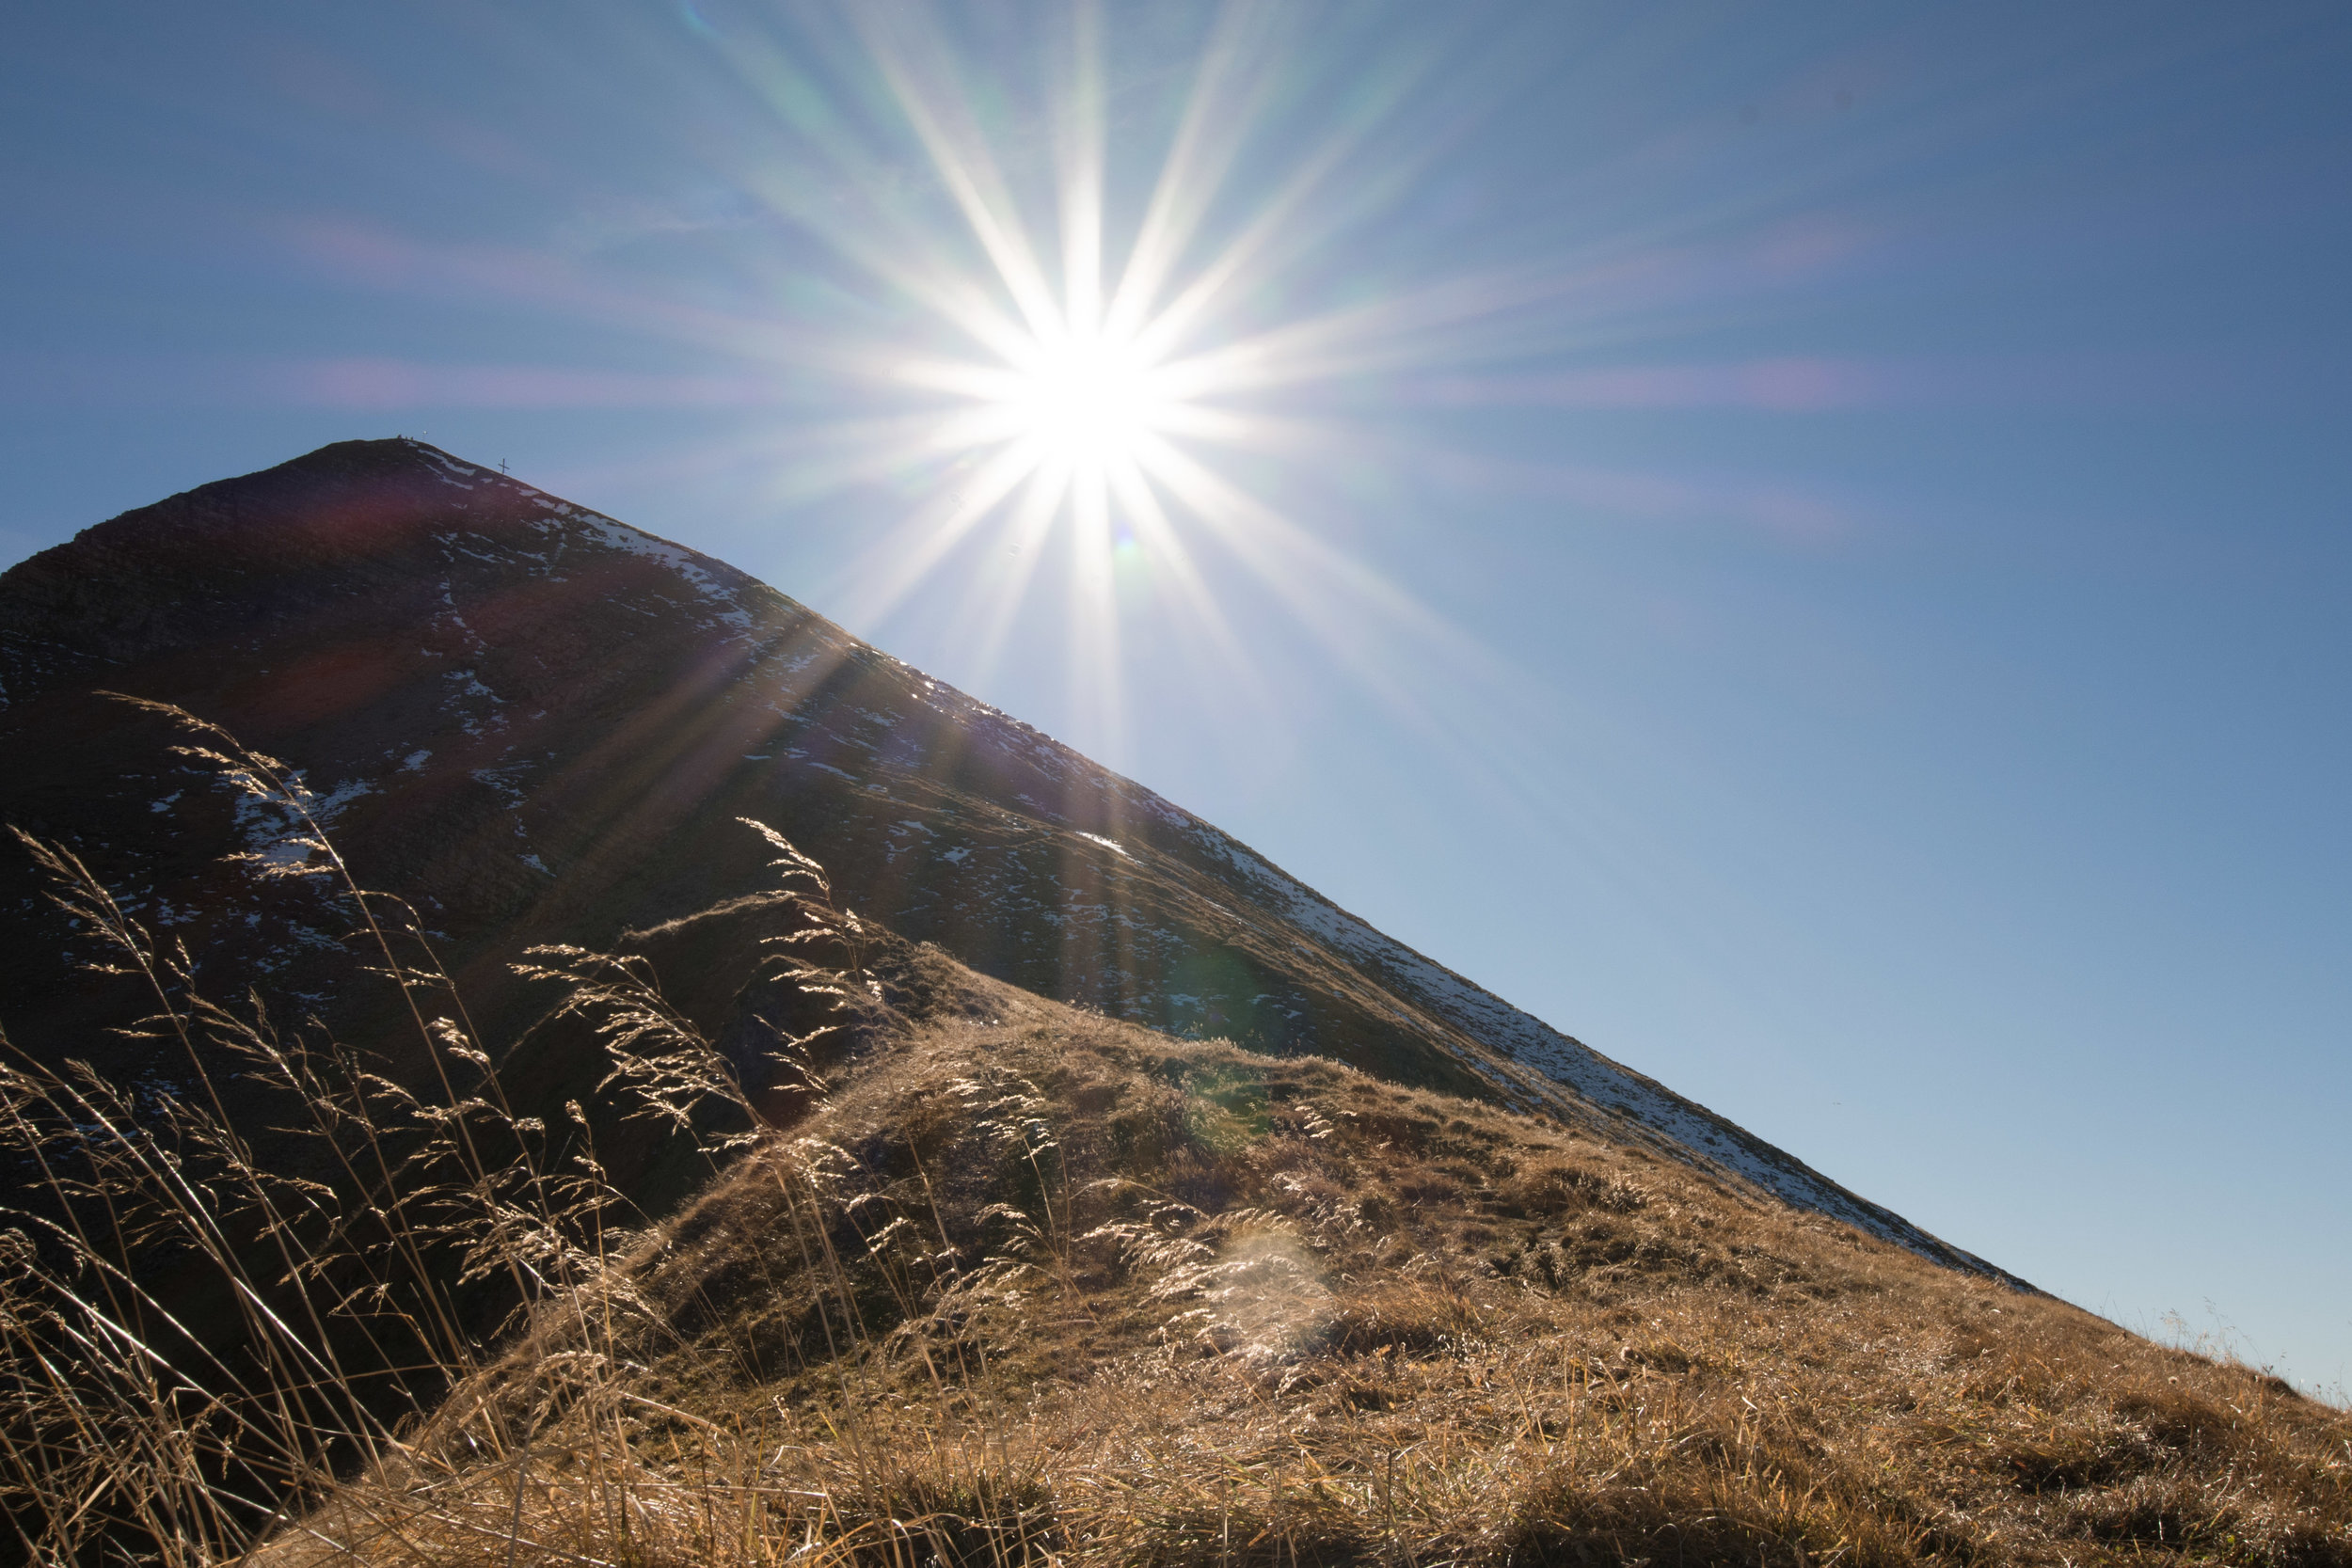
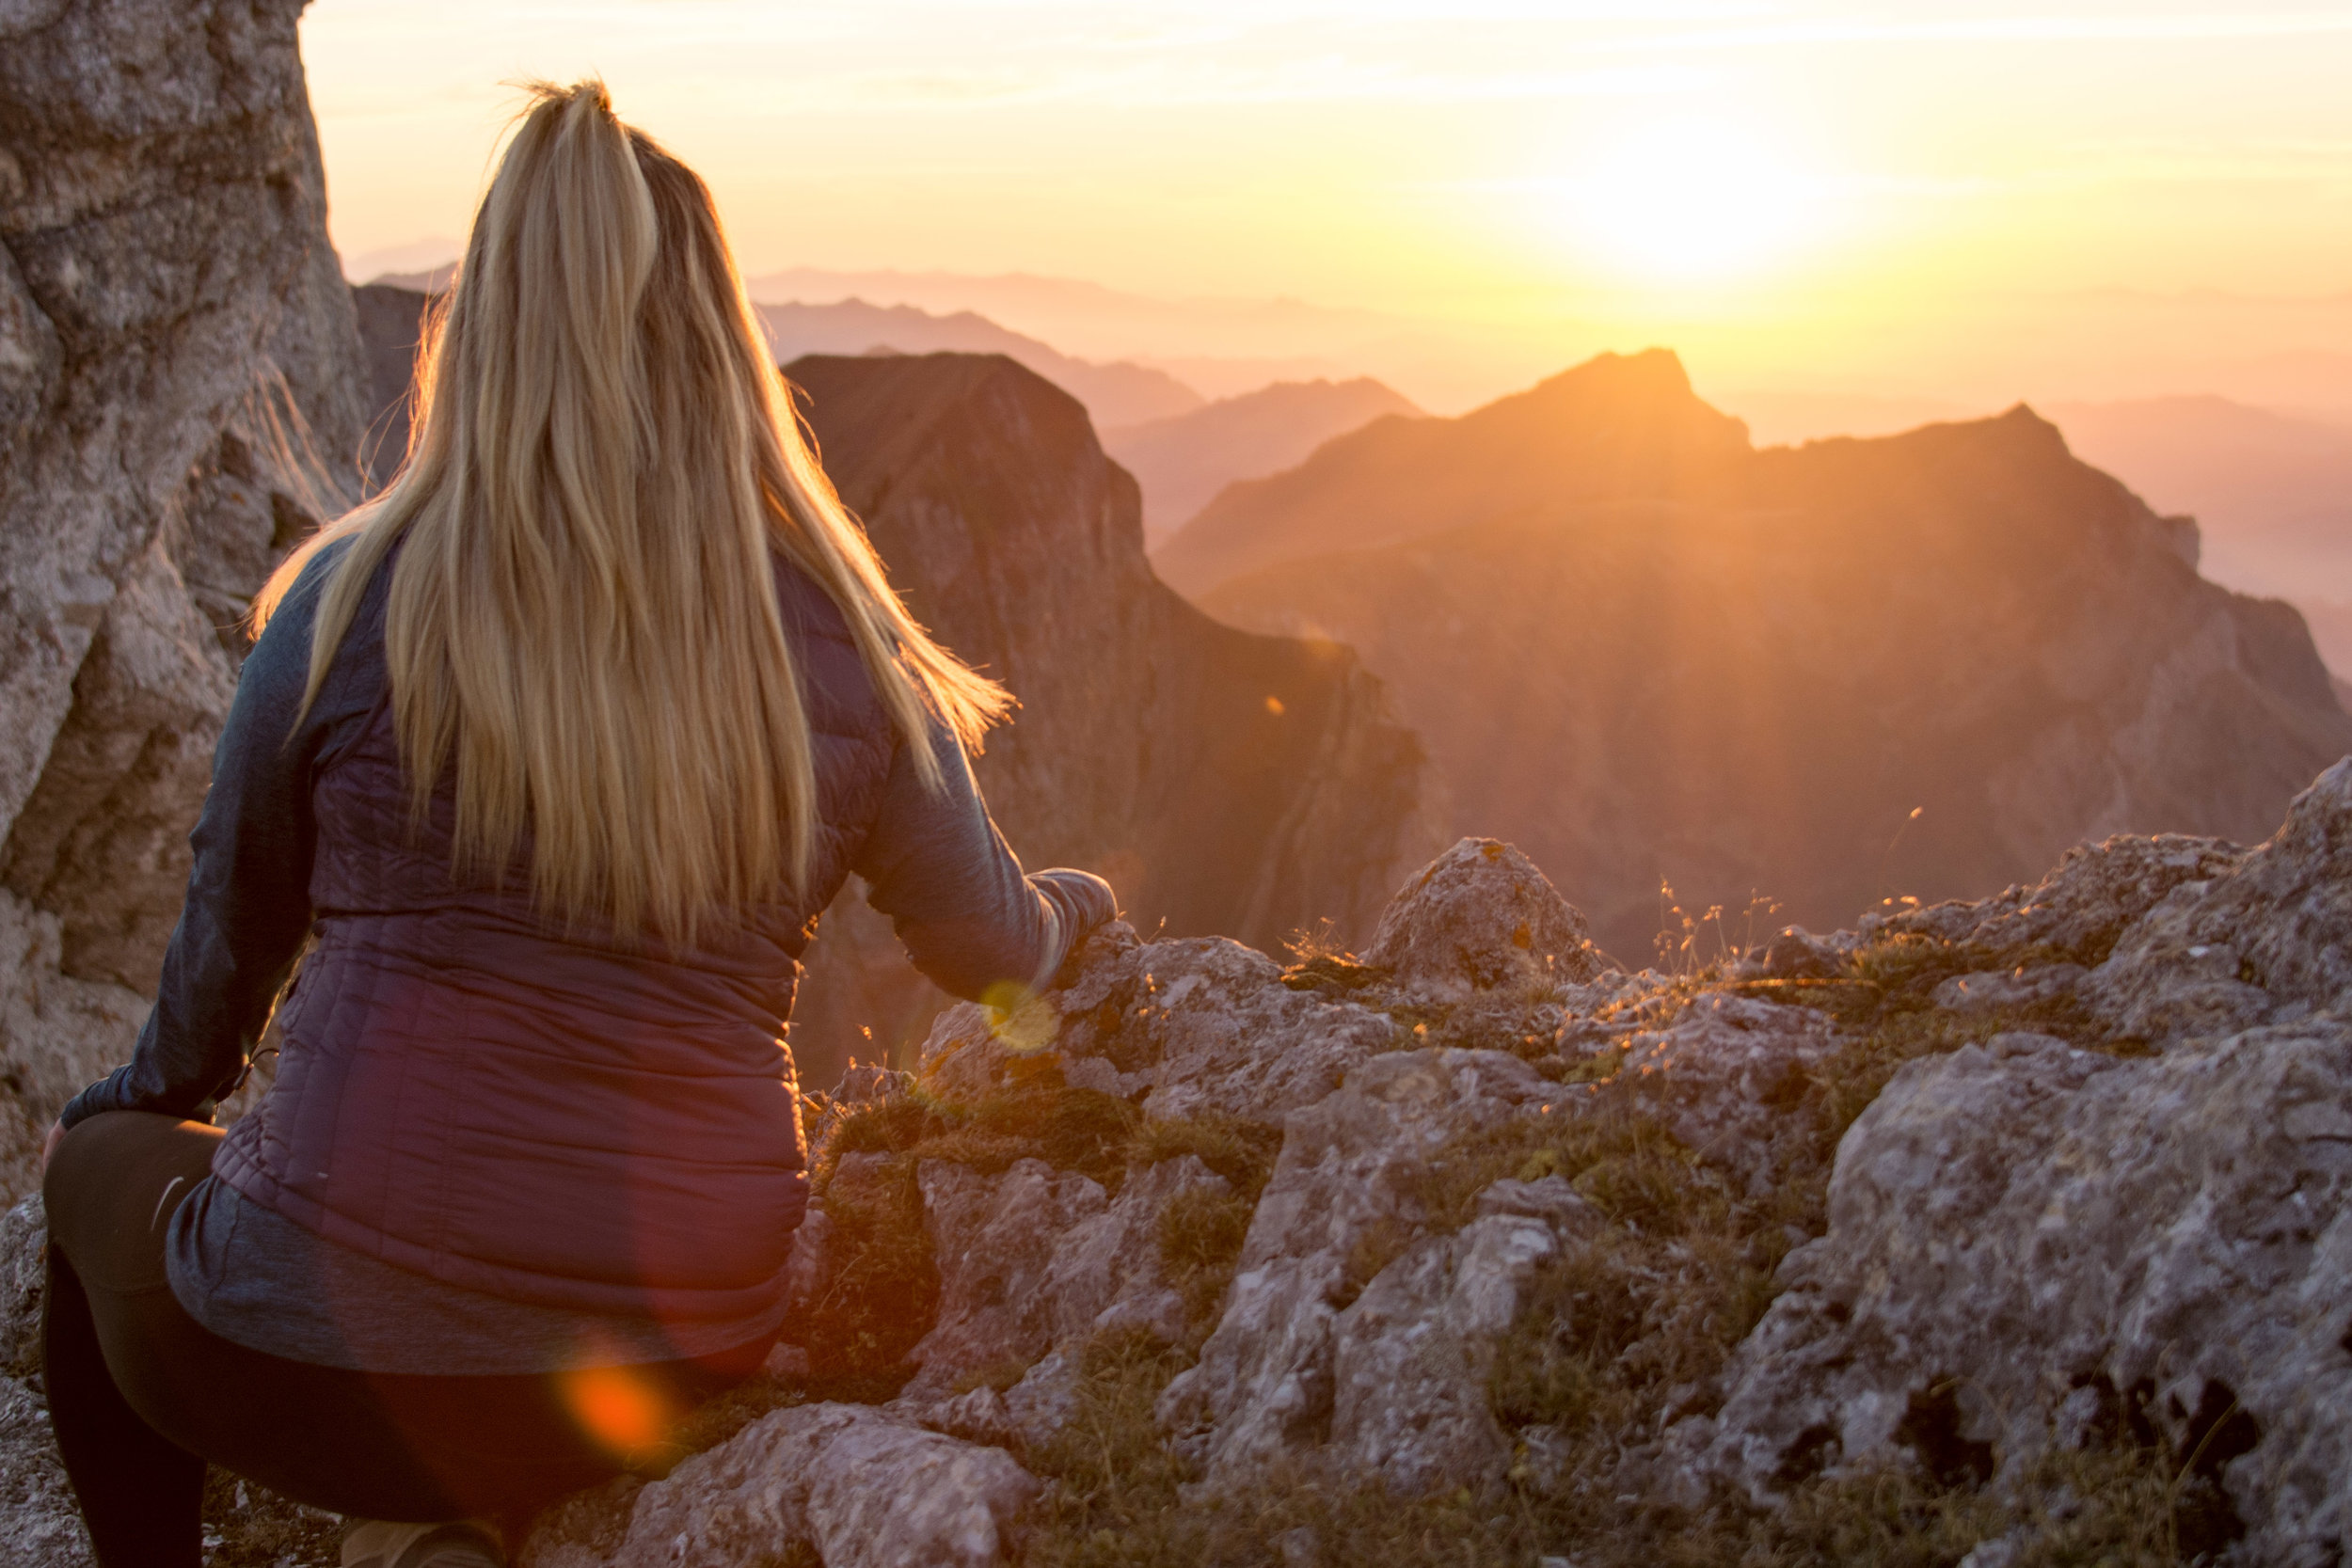
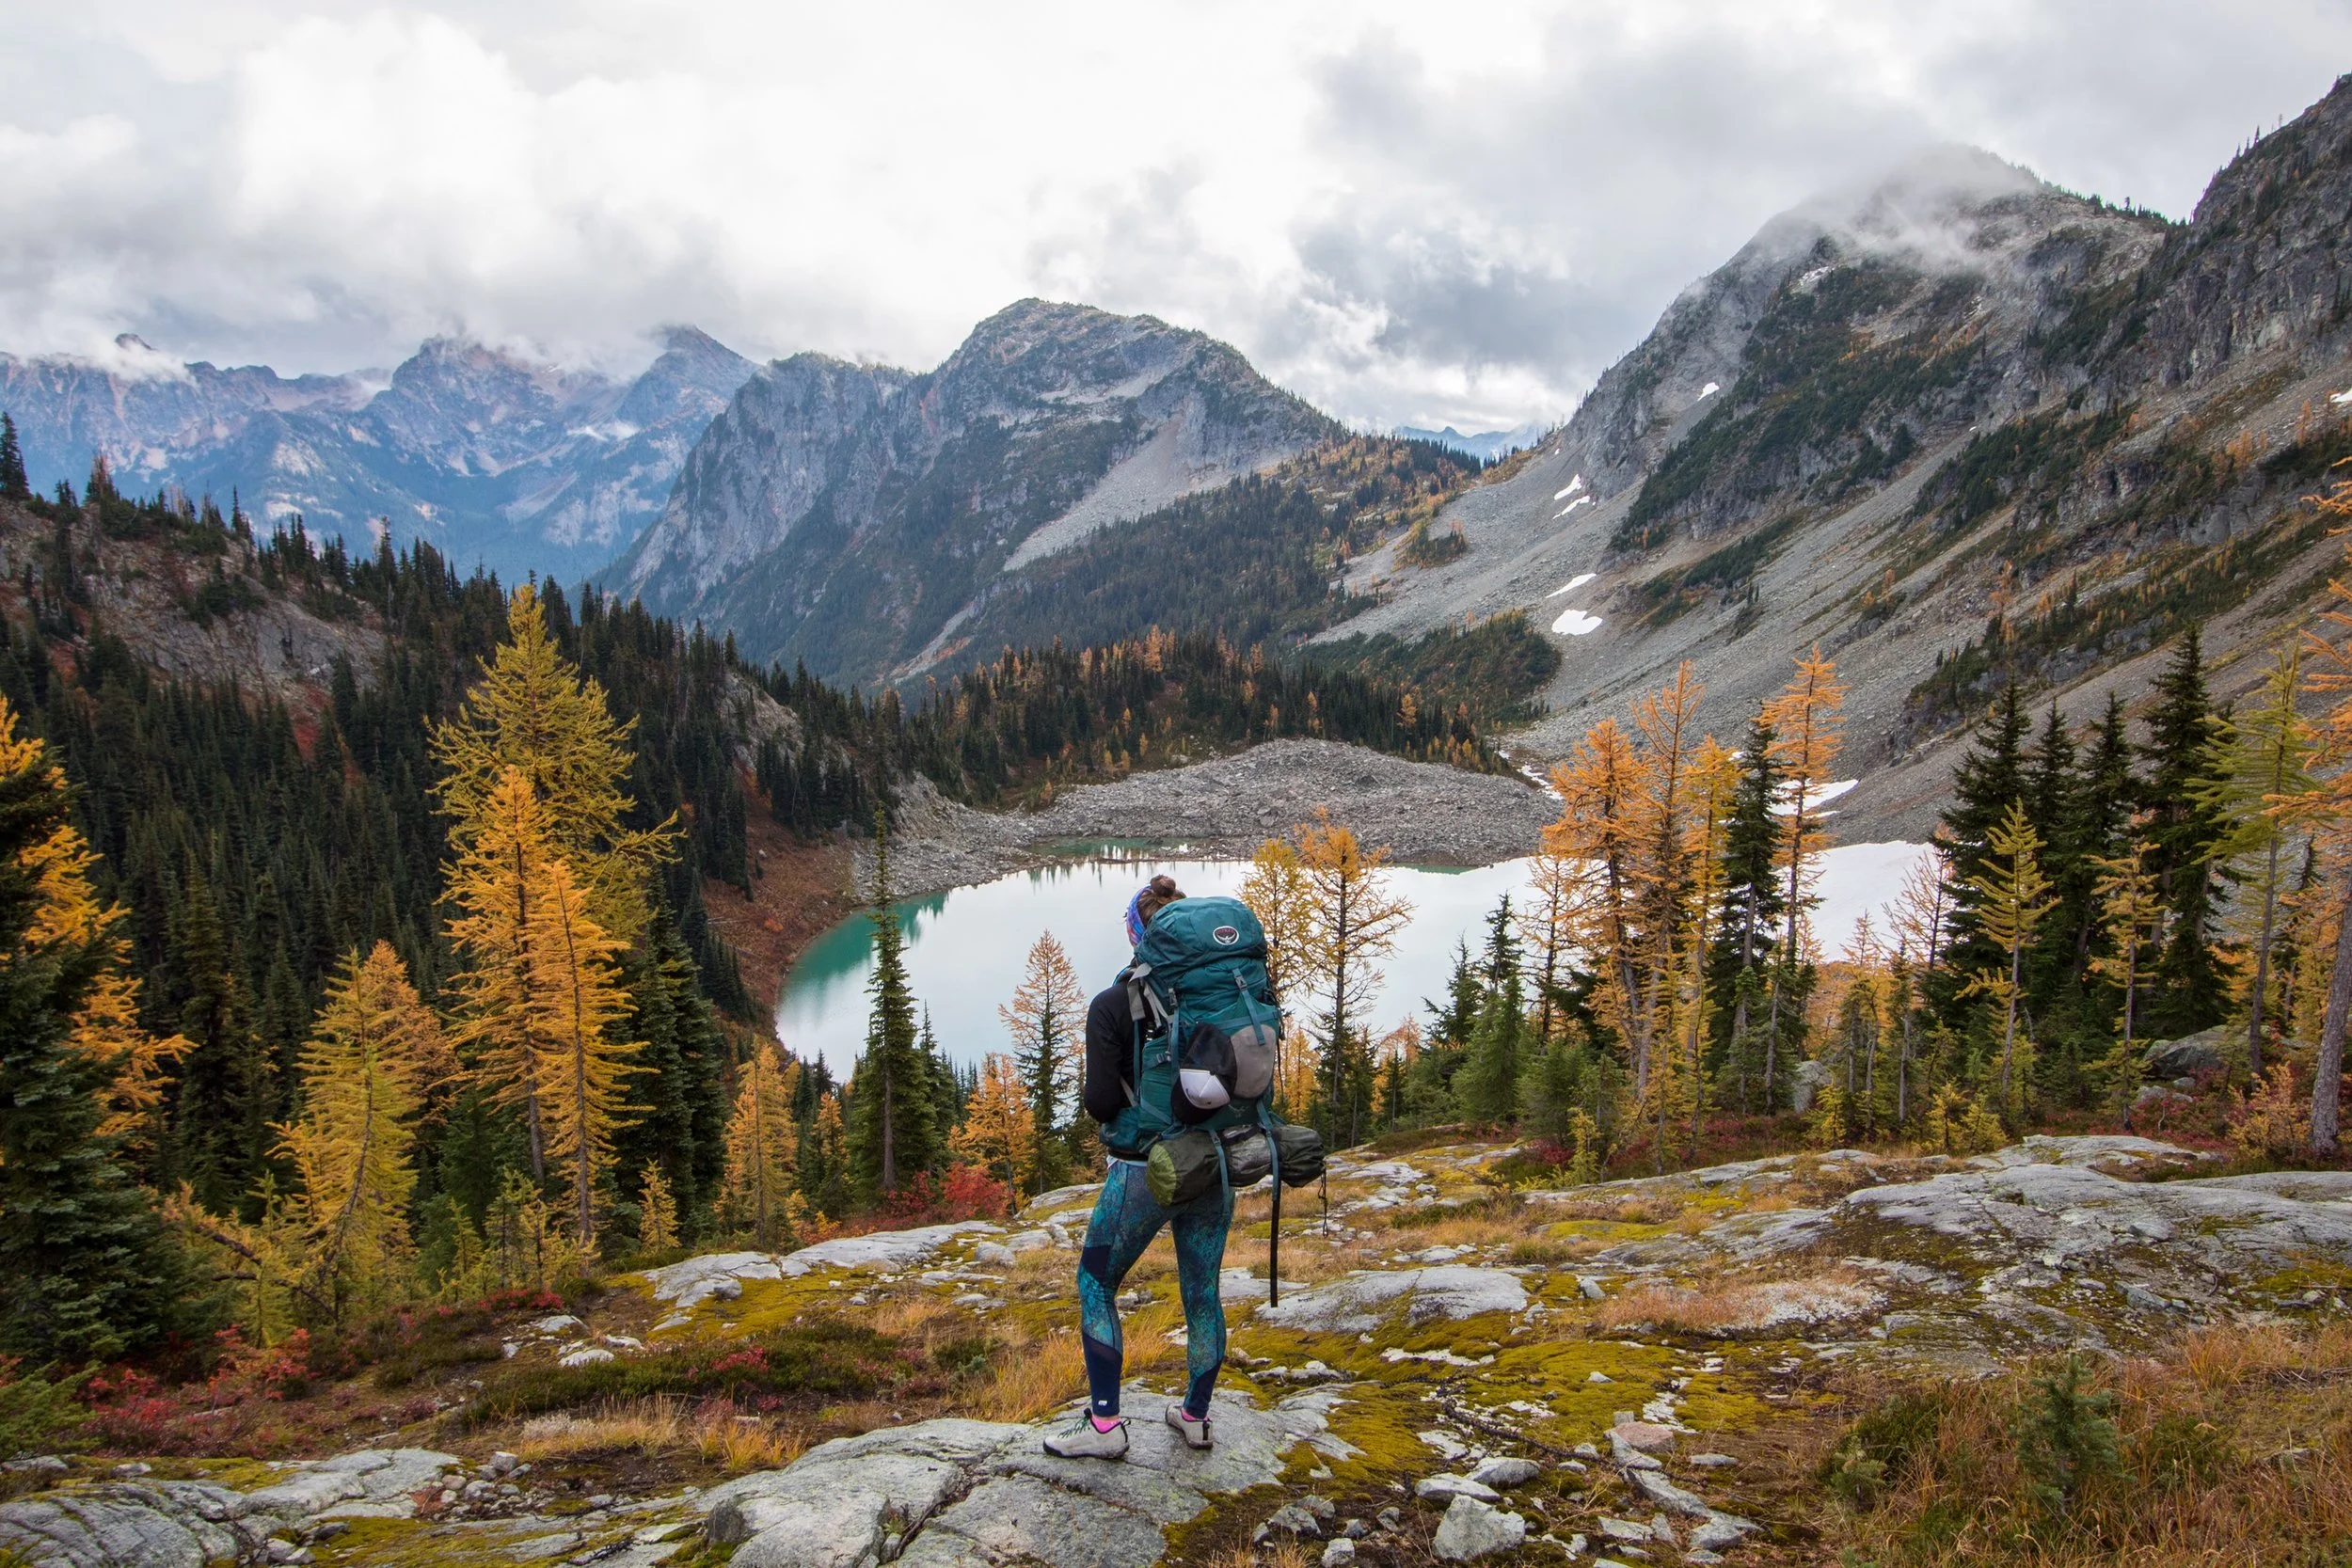
I love camping in the snow. There’s something about the snowy landscape that creates a quiet hush, as if the entire world is breathing deep. Plus, it opens up terrain that you can’t usually camp on by creating a thick, protective layer over otherwise delicate vegetation.

DSC_1777.jpg

That said, I recognize that it can be a bit intimidating to jump in. Do I need a 4-season tent? What do I wear? How do I pick a site? Will the abominable snowman eat me?

In the interest of answering some of these questions and getting more folks outside, I thought I would pull together some information for you to take a peek at. It’s not an exhaustive guide, but it’s enough to get you started!

Gear

This is probably the part that seems the most intimidating. Contrary to popular belief, you don’t need to go out and buy all new stuff to go snow camping, but you may need to get a little innovative in your approach. You can use your 3-season tent if winds are less than 20 mph and there's not a forecast for heavy snow, and you can supplement the gear you have for a fun, comfortable night out. Consider borrowing, layering, and renting if you do need to supplement but you're not ready to invest in new gear and take it from there! You can view a complete gear list HERE (shout out to Teresa Hagerty for her incredible work on this list)! 

Destination, Destination, Destination

If it’s your first time snow camping, I recommend waiting for a fair-weather day and selecting a location that involves a short hike in to camp. That way, you can test your skills and gear with the firm knowledge that if something goes awry, the car is just a short jaunt away. Wait for a weekend with temps hovering in the 20s to low 30s and a wind forecast that’s less than 20 mph. Make sure to check the avalanche forecast, and please only venture out if you find the risk acceptable and you’re comfortable assessing terrain for safety.

If you’re in the PNW, Mount Rainier is a great spot for your first attempt. You can snag a permit on the same day you arrive (unless you have a large group) and head out to pick a spot. Be sure to check the regulations and rules for your intended destination and be cognizant of important details like seasonal road closures.

Site selection

Site selection is critical for a successful snow camping adventure! When you arrive at your destination and begin your hike/snowshoe/tour up, you’ll want to keep your eyes open for the following things before setting up camp:

  • not under or above avalanche terrain
  • far enough away from any trees to avoid tree wells and tree “bombs” (hunks of snow that fall from the branches and run the risk of breaking your tent)
  • not above creeks, lakes, or water (with few exceptions)
  • avoiding terrain depressions which can trap cool air in your tent
  • at least 200 feet from any trails and water sources

If you’re below treeline, look for a nice flat spot with a lot of snow and vegetation that provides a windbreak. If you’re above the treeline, you have less vegetation to work with but look for natural windbreaks if possible and a nice, flat spot (though you can dig one out if necessary).

Okay, great! You did your research, packed your bag, and found the dreamiest site possible. Now what?

Digging time, baby!

First things first, walk an outline that’s the general shape and size of your tent with the fly on. Next, walk through the middle and try to tamp the snow down to make it easier to manage. In some situations, like when I know I have to dig a deep wind wall or the snow is very heavy and wet and compression will make my life harder, I skip this step. Then, use you shovel to cut out a nice, crisp “edge” or wall and start digging out the center. How deep you want to make it is entirely up to you but consider this: a deeper wall means more wind protection if it starts howling. Make sure to deposit the snow you’re removing outside of your wall to add extra height and to make it easier to deal with when you leave. Make sure you cut an exit path for yourself!

Once you have a nice, deep wall, even out the middle where your tent will go. Pro-tip: before you set your tent up, put your fly or footprint down and lay on it to test for slope or any random bumps. Once it’s comfortable, you’re ready to set up your tent!

Tent setup

DSC_3644.jpg

This part is pretty self explanatory but there are a few things to note:

  1. If there’s wind, set your tent at such an angle that the narrow side is facing into the wind, with your door facing the opposite directly.

  2. Don’t forget your footprint or tarp; this will protect you and your stuff from moisture as snow melts below you.

  3. Stake. It. Out. If the wind comes a-calling or snow comes a-falling, you’ll want a well-staked tent. This can present something of an issue in the snow. Utilize guy lines, snow stakes, your trekking poles, your ice axe(s), or whatever else you have handy to make “deadman” anchors and pull that baby taut. It’s more effort up front but you’ll be glad you did it.

  4. Once your tent is set up, dig out a foot trough inside of your vestibule but beyond the edge of your tent so that when you’re exiting, you can swing your feet out and down to put your boots on comfortably.

  5. Make sure to open your vents to help with ventilation and condensation control.

I like to spice my campsite up with some solar powered twinkle lights but those are totally optional!

Now your site is set up and its time to bask! If you want to get extra fancy, you can carve out a snofa (snow + sofa, get it) or spend some time traipsing around, taking in the views. Whatever you do, please be sure to observe LNT principles.

Things to consider:

  1. It’s very important to stay warm throughout the day so you’re not chilly when you get in your sleeping bag. I highly recommend a post-dinner walkabout to get your blood flowing. You can also enjoy a pre-bed snack which will warm you up.

  2. Ye ol’ Nalgene trick: if you boil hot water and put it in your Nalgene, you can slip that into your sleeping bag to act as a heater. Make sure it’s closed tight before you do so with no leaks.

  3. Hand warmers and other cool gadgets: you can adhere some hand or foot warmers to the top of your socks or other chilly spots to boost heat. You can also buy therapeutic heat pads that last for 8+ hours at the pharmacy and use one of those for a larger swath of warmth. I like the neck and back ones; they are large, have a gentle adhesive, and are safe to wear on your bare skin.

  4. Bring your boot liners, electronics, and water into the tent overnight to keep them from freezing!

  5. When you're ready to leave, fill in any wells or depressions you have created. Your site should be as natural and pristine as possible when you leave!

That's it! Grab some of your favorite humans, pack your bags, and get out there!

Gear Review: Arc'teryx Cerium SV Hoody

Imagine for a second that you're standing on the summit of Prusik Peak, the wind blowing through your sweaty hair as you take in the views. You pull on your Arc'teryx Cerium SV Hoody and next thing you know, you're cocooned in soft, downy warmth as you watch the sun slowly sink over the distant hills with you friends. It's the stuff of dreams and I'm not talking about the sunset!

I have had my Cerium for a year and it has taken me from freezing temps in the Cascades to blustery days in the Swiss alps. It's my go to down piece and I don't go on any big adventures without it. It's lightweight, highly compressible, and works as a standalone piece or a mid layer, depending on temps and conditions.  The hood fits over my helmet and the slightly longer cut hits my hips, with extra length in the back for added warmth. As an added bonus, it's my favorite shade of blue and reminds me of an alpine lake in summer! If you're looking for a new down piece, I highly recommend this one. Pop into Arc'teryx Seattle if you're local or check out their website for all the options, then get after it!

Out of Office: Gone to Switzerland!

I was walking into work one day when I got a text from my friend Emily. "Do you want to go to Switzerland?" she asked. I stared at my phone for 2 seconds before responding "YES!" The icing on the cake? We would fly there in SWISS Business with our friend Alex for a week of lady-powered adventures in the Lucerne region. I was stoked!

If I had to sum up our trip in just three words, they would be “nonstop, epic adventure” with a side of “more röschti, please!” If countries could be soulmates, Switzerland would be mine. The mountains are stunning and easily accessible, the people are warm and friendly, and the food is delicious. What more could one ask for? Rather than waxing poetic about every detail for pages and pages, I thought I would put together a list of my favorite activities and tips from our time there. Without further ado, here they are!

Light rays streaming through the Alps in Engelberg.

Light rays streaming through the Alps in Engelberg.

Take the train to Lucerne and immerse yourself in the city. 

Lucerne is a picturesque city perched on the side of a massive lake that offers incredible access to the neighboring mountains. The best part? You can travel to them by boat and sip a glass of wine along the way! You’ll enjoy amazing views of the surrounding areas and if you’re lucky, some sunshine and fresh air on your skin! Take in towering views of nearby Mount Pilatus, then stroll along the river and grab a drink or dinner when you return. Wake up early one morning and catch sunrise over the Kapellbrücke, then eat your way through the surrounding markets, full of freshly baked goods and locally made cheese. Visit a local castle, eat soft ice every day, and soak it all in. You won’t regret it; it’s picture perfect!

Hop on a boat and explore the areas surrounding lucerne.

Remember what I said about boats? Well, one of them will take you to Klewenalp-Stockhütte where you can wind your way up into the mountains for views that will take your breath away. As an added bonus, you can hear the musical tones of the bell-bedecked cows and sheep as you walk. Bring a picnic and enjoy it with your friends, then bask in the sunshine on one of the many ridges! Just be mindful of the time or like us, you’ll have to sprint down the slopes to catch the last gondola ride home! Yet another boat will take you to Bürgenstock, home to the highest exterior elevator in Europe and a lovely mountaintop resort. Hike along the cliffside path for gorgeous foliage and views back down to the city, then grab dinner at Sharq. You won't be disappointed as you look out through the large glass windows to the sparkling cities below.

Swim in the icy, refreshing waters of Lake Trübsee.

Trübsee is an iconic, aquamarine lake nestled high in the Alps over the town of Engelberg. Surrounded by glaciated peaks, it’s a dreamboat of a lake, complete with communal rowboats and picnic spots! I highly recommend loading up on some local sausages and white wine, then grilling up a storm! When you’re feeling full and a little bit sassy, take a dive into the lake. The cold will take your breath away but you’ll emerge feeling 100% alive and ready for whatever else your day will bring!

Greg, showing off his sweet diving skills!

Greg, showing off his sweet diving skills!

Watch the sunset from atop Mount Titlis.

Take the gondola to the top of Mount Titlis, an amazing treat in and of itself. You’ll float over crevasses and be treated to panoramic views of the surrounding peaks. Stop and grab a glass of wine or some delicious ice cream in the lodge, then throw on your layers and head outside for the cliff walk. It offers 360 degree views of the Alps and there are more mountainy layers there than I can describe. Bonus points if you stay for a sunset that will leave your soul feeling shiny and new.

586AF6FC-1ED6-47B2-BAC8-24EE98991DC1.jpg

Paraglide in the Swiss Alps.

The instant you arrive in Engelberg you’ll see paragliders shooting over the mountains, bright spots of color above the dark stone. If you’re like me, the sight will instantly fill you with a sense of exhilaration and longing. Some people might think it’s crazy to run off of a perfectly good mountain, but I can guarantee you it’s 100% worth it and your pilot will make you feel safe and confident the entire time! The sensation is unlike anything else and you’ll experience a completely different view of Engelberg from the Brunni side. Bonus points if you biff the landing and give everyone a good chuckle when you burst into laughter!

That's me, coming in for a landing! Photo credit: Alex Borsuk

That's me, coming in for a landing! Photo credit: Alex Borsuk

Do a Via Ferrata, or four.

Via Fer-What-A? Roughly translated as the “iron road” a via ferrata is a great way to experience climbing some steeper or harder peaks with minimal equipment and decreased risk! Brunni offers 6 different courses that will test your skills! Slip on your harness, do a quick intro course to familiarize yourself with the equipment and technique, and away you go! With routes that appeal to any number of ages and skill sets, we saw kids as small as 5 and adults well into their 80s hitting the trail. It's a great way to take in the views and a whole lot of fun!

Take the Cogwheel train to Mount Pilatus and stay a while.

Mount Pilatus is home to a beautiful mountaintop resort that looks out over Lake Lucerne. You can reach the top by boarding the steepest cogwheel train in the world which takes you through a beautiful series of forest and open meadows before depositing you at the top of the mountain. Take in the views, then choose an adventure! With rope courses, hikes, climbing, toboggan races, paragliding, and more, Pilatus has an activity for everyone. Whatever you do, make sure you gather on a terrace for sunset. As the sun begins to set over Lake Lucerne, something magical happens. Alphorn players gather and begin to play, sending beautiful tones ringing out over the hills as the sun slowly sinks, setting the sky ablaze. It’s the kind of thing that makes you shiver in delight and want to pinch yourself. It’s an experience I won’t forget anytime soon.

Go with people you adore.

As amazing as all of these experiences are, they are best when shared. Plus, you’ll need someone to back you up when you come home with photos so beautiful people will think you doctored them up! Grab some of your favorite adventure buddies, and start planning the trip of a lifetime. I know my trip wouldn’t have been the same without Alex, Jill, Greg and Emily and I will always treasure all the belly laughs and ridiculous memories we made on this trip! I can’t wait to head back to Switzerland to share it with even more of my loved ones!

HUGE shoutout to SWISS for making this happen, and to all the amazing humans and tourism agencies that took care of us while we were there. You all make dreams come true!

The Call of Wild Spaces

There are moments in the wild that fill me with joy. Pure and crystalline, it bubbles up with so much force that I can't help but laugh, shout, and stamp my feet. It's the type of joy that's infectious, reducing the most erudite of us to blathering idiots as we share a perfect moment. The type of joy that's ineffable--refusing to be captured by something as mundane as language. 

I wish I could share that feeling with the world but alas, I can't. What I can do is attempt to capture the beauty of the moment and share it here, with you. Thanks to everyone who has followed along so far. This is, in so many ways, my heart on a page. 

Gear Review: Arc'teryx Accrux SL

I have had my Arc'teryx Accrux SL shoes for over 2 years now and in that time, I have logged over 400 miles in them. To say they are one of my favorite pairs of shoes is an understatement: I'm just a little bit obsessed.

Wearing my Accrux SL approach shoes in the North Cascades.

Wearing my Accrux SL approach shoes in the North Cascades.

In cool grey with minty green accents, the shoe is as sexy as an approach shoe comes. The rubber is super sticky and the shoes have proved to be both incredibly comfortable and durable—something that I require and admire in my gear. From the brutally long approach to Mount Olympus in the Olympic National Park to scrambling my way through the Glacier Peak Wilderness to walking up sticky granite in Joshua Tree, these are my go-to shoes and if you haven't tried a pair yet, I highly recommend checking them out whether you're hitting the crag or scrambling your heart out! 

Heading down from Black Peak. Photo credit: Erin Cunningham

Heading down from Black Peak. Photo credit: Erin Cunningham

A note on sizing: I have a wide foot and found my shoes to be very comfortable but I did size down. I'm usually a U.S. 9.5 or 40.5 but in these shoes, I went down to a size 9 and they fit perfectly with thin socks or bare feet. 

Women and Wild Places: Get Your Hands off my Aesthetic

A few weeks back, I was chatting with one of my colleagues about what we like to do in our free time. When it was my turn to share, I revealed that I spend virtually all of my free time outside in the quest for perfect(ly free) rocks. With a puzzled look on her face, she said “but you’re too pretty” for all of that and my heart slowly sank.

That's me. Dirty hair, smoky clothes, lipstick and all. 

That's me. Dirty hair, smoky clothes, lipstick and all. 

Let me be absolutely clear about one thing: I recognize that in her mind she was giving me a compliment and I am by no means offended by her intentions or perception of my physical appearance. I’m not here to talk about the dynamics of beauty although that’s a very worthy conversation and one that cuts both ways. I simply want to take some time to reflect on an idea that we all seem to have absorbed in a million subtle ways: women are limited by their aesthetics.

We have all seen the blog posts on this topic. The author, often a woman, levels a critical eye on images of other women in the outdoors, deeming them "inauthentic" for one reason or another, often contrasting those photos with one or more of their own. But what does it mean to be authentic? We aren't handbags, after all, crafted from vegan leather. Too often, when the phrase "authentic" gets bandied about, what the author really means is "you don't conform to my idea or experience of the outdoors and therefore your depiction must be false." I have always been puzzled by these posts, finding them to be incredibly dismissive, inappropriate, and cruel.

I'm the first one to admit that I care about aesthetics and am no stranger to vanity. I like to dress up and feel fancy from time to time and have an abiding obsession with red lipstick, even in the backcountry. I have experimented with makeup, hairstyles and outfits and figured out what works for me, whether I'm inside or out. When I take photos, I do so carefully in an attempt to capture a moment that conveys both the physical and emotional beauty of what I'm experiencing. Does this mean capturing every drop of sweat on the trail? No. Does the lack of sweat-laden photos mean that part of my experience was erased? No. All of these things are facets of who I am, and that's okay.

That said, none of these things have any real bearing on my ability and fitness to participate in outdoor (or any other) activities and they similarly have none on yours. Nonetheless, it's a message that women in particular receive in any number of insidious ways: from "compliments" like the one above to blog posts questioning the "authenticity" of female athletes and adventurers based on their looks and attire to advertisements that are carefully curated to present someone else's idea of perfection.

Women come in all shapes, sizes, colors, and forms of beauty. Our individual aesthetics do not dictate our abilities or potential; our choices, background*, training, and substance as human beings do. Let's learn to recognize and appreciate the diverse beauty of the women around us as an interesting facet of who they are instead of a limiting factor. Let's dig a little deeper and grow to understand each other a little bit more. It's not always easy. We have to overcome our own insecurities and tendencies toward snap judgments. We have to fight against this insane scarcity model that has us believing one woman’s success is to the detriment of our own when in fact, we all shine brighter together. There are enough barriers to entry to the outdoors without women standing in the way of other women. We need to lift each other up instead of breaking each other down. The collective might and beauty of the women in this world takes my breath away and I don't want to be part of a culture that reduces us to anything less than the holistically beautiful people we are.

With that in mind, here are a few things we should say to women who are interested in the outdoors:

1.    Be safe. Whether that means taking clinics to acquire the requisite skills to achieve your objective, learning from friends, packing the 10 essentials, or filing a trip plan, do it. The mountains are inherently dangerous. Do what you can to minimize the risk, be aware of and accept the rest, and get after it. The sun won’t always be shining and the views won’t always take your breath away. You’ll have good days and bad days but I fully believe that the former will outweigh the latter and you’ll have the memories to prove it.

2.    Learn about sound outdoor ethics and use them. Leave No Trace is more than just a handy saying; it’s a philosophy and a lifestyle. In order to keep our wild places pristine for future generations, we have to employ certain safeguards. Learn about them, use them, and teach them to others. Become a good steward of the land, even if it’s inconvenient at times. Portray that behavior in your daily life and across your social media channels. Tell people what you did, and why you did it in a kind, empathetic way.

3.    Know that you are capable. Let’s say that again: YOU ARE CAPABLE. It’s easy to look at other people's adventures and become overwhelmed by them, saying “that looks badass but I could never do that”. Let go of that notion. We are all crushing at our own levels and it’s important to be inspired by others without using their accomplishments to demean our own. Some adventures take more skill and training than others and it’s important to recognize that and be prepared (see point #1). That said, you can do it. It may take time to develop the skills and conditioning for something that pushes your boundaries but that’s okay. Start small. Hell, start big as long as you meet conditions 1 and 2 above. The world is full of amazing places and I hope you can experience as many of them as possible before your time here is done.

That’s it. Be safe, be ethical, and know that you are capable. Now, get out there and share the love with others. There's an entire world of experience waiting to be found.

*This post doesn't even begin to touch the surface of systemic issues that prevent women, particularly women of color, from getting outside, from economics, to racial injustice, to lack of exposure and beyond. More to come on this topic. 


The Three P's: How to Pee, Poop, and Period in the Backcountry

If you’re planning a backcountry adventure, the chances are pretty good that you will eventually have to do your business outside, something that can present some interesting (and sometimes embarrassing) questions. Where should I pee? What do I do with this poop? Bury it? Cover it in rocks? Put it in a bag? What if I’m menstruating? AHHHHH!

Snow camping in the backcountry and wondering how to poo? I got you!

With even more people flocking to the outdoors thanks to the reach of social media, and the damaging impact of human waste and fecal matter on health and the environment, it’s an important question to consider.

#1: Pee

Luckily, peeing in the backcountry is relatively simple. Pee at least 200 feet away from trails, water sources, and campsites. Further, if you’re in an area heavily populated by mountain goats or other animals attracted to the salt in urine (a common feature of hiking in the PNW), try to urinate on rocks to preserve the often-fragile plants and soils in higher alpine environments. If you’ll be staying in one area for an extended time, consider cutting the stench by splashing some water on your makeshift toilet. Whatever you do, try not to splatter on your pants and feet (although there's nothing to be ashamed of if you do, a little splashback never killed anyone)!

#2: Poo

When it’s time to do a poo and there’s nary a toilet in sight, you have two main options: bury it or pack it out. Check with the local land manager and area-specific regulations before deciding which option is acceptable and never assume that it’s okay to just bury your poop in the backcountry.

Bury it:

As with urine, any holes you dig for your feces must be at least 200 feet away from water sources, campsites, and the trail. It’s best to select a spot with a lot of underbrush or decaying vegetation to make the digging easier.

Using your trusty trowel or other digging instrument (I don't recommend your hands, just in case you stumble on an old poop cache), dig a hole 6-8 inches deep and 4 inches wide. Deposit your poo, fill the hole in, and cover it up with dirt and ground matter.

There’s a split in treatment of TP: some people bury theirs and if this is the option you take, make sure it’s white, unscented, chemical free TP. Other people find this practice unacceptable and bring a Ziploc or other sealable bag to pack out their soiled TP. I personally am in the pack it out camp, an easy feat if you have a ziploc bag in your pack that's designated for TP and any other wipes. Pro tip: flip your Ziploc inside out, cover it with duct tape, flip it around again and voila, the perfect place for hiding soiled TP and other unsavory items. Whatever you do, DO NOT BURY TP IN THE DESERT or other arid places AND DO NOT BURN IT.

Bag it and pack it out:

Bagging and packing your poo is as simple as it sounds. Do your poo, using bag #1 to collect the waste. Put bag #1 into bag #2. Make sure bag #2 is in a safe place where it won’t explode, apply hand sanitizer, and BOOM, you're done! You can buy some pretty fancy bags at most online retailers or outdoor stores, or you can make them yourself with some sturdy bags and a little kitty litter. Whatever floats your boat, as long as no poo is left behind! 

A note on snow: if you are in a snowy area, you'll want to avoid pooing directly onto the snow for a variety of reasons: it's hard to scoop all of your poo up off of the snow and when you do, you'll also capture some snow that will eventually become water--leaving you with some nasty sludge. Instead, put your inner bag on the ground (or use it to cover your hand) and do your poo directly on it, then simply pop that into the other bag. Trust me, you don't want poo water in your pack!

One thing to remember if you’re in the backcountry with kids in diapers, you should ALWAYS pack those out. Even biodegradable diapers in large cat holes will take ages to decompose. Just say no!

#3: Period

Menstruation happens and if you’re in the backcountry, you should know how to handle it without being discouraged. Sidenote: no, you won't be eaten by a bear simply for menstruating. If you use sanitary pads or tampons, the bag and pack method applies and none of those items should be left behind in cat holes (or in pit toilets you encounter along the way).

If you’re using a collection cup instead of tampons or sanitary pads, dig a cat hole and empty any waste and water used to clean your cup into the hole, cover it, and carry on with your adventure!

Baby wipes come in extra handy when menses call, just make sure you pack out your wipes in a Ziploc or other sealable bag and you’ll be good to go!

As always, have fun and stay safe out there! Remember, poo happens!

5 Lessons I Took Home from REI Outessa Kirkwood

I recently attended the REI Outessa Summit in Kirkwood, California. REI Outessa is a three-day immersive event designed to bring women together to seek inspiration and gain new skills in the outdoors. Over the course of the event, REI instructors and brand ambassadors alike teach classes in a wide variety of disciplines: from mountain biking to wilderness first aid to how to pack your backpack for maximum comfort on the trail. Each day ends with fireside conversation, beer, wine, and s’mores as guest speakers and participants reflect on what they learned. I am an avid outdoorswoman, and I lead clinics with a local women’s group that I co-founded, PNW Outdoor Women. I went to Kirkwood hoping to have fun and make new friends while brushing up on some existing skills. And that I did. I also walked away with these fresh perspectives to incorporate in my daily life here in Washington.

Read the rest of my blog post here!

Alex and Erin, fearlessly plunging in at Outessa. 

Alex and Erin, fearlessly plunging in at Outessa. 

Beat the Heat: Summer Adventure Tips

Summer is in full swing and things are heating up everywhere. The Pacific Northwest is no exception, with three-digit days in the future. It's important to be mindful of this as you plan your adventures so here are a few things to consider:

1. The early bird gets the worm. I know, I know, that's a terrible cliche but it's true. Hit the trail early when cooler morning temps will keep you comfortable. Watch the sunrise on your way up, make some mountain coffee and set up shop early if you're on a multi-day trip or head back down for milkshakes and a post-hike dip in a local lake or stream!

2. Watch for signs of dehydration, heat exhaustion, or heat stroke. Nothing will ruin your day like a trip to the ER so make sure you're drinking plenty of fluids (I also make good use of electrolyte supplements when the temps ramp up) and checking your core temp. Make good use of patches of snow or bodies of water--a dip will feel refreshing and help keep your core temps low! Symptoms to watch for include:

  • throbbing headache
  • dizziness and light-headedness
  • lack of sweating, despite heat and water consumption
  • red, hot and dry skin
  • muscle weakness or cramps
  • nausea or vomiting
  • rapid heartbeat
  • rapid, shallow breathing
  • behavioral changes such as confusion, disorientation, or staggering
  • seizures
  • unconsciousness

Seek medical attention if you or your partner experience the symptoms above. 

3. Remember that your fluffy friends are prone to heat stroke too! Keep them hydrated and cool and watch out for their paws on hot rocks, asphalt, and sand. Check out this great piece from REI for other tips on backpacking with your pup(s)!

4. Have a water treatment plan! I carry a Katadyn pump on longer trips because it's a fast, easy way to pump water and I always have a Sawyer mini in my pack, just in case! There are tons of different ways to treat your water, each with their own pros and cons. Check out these other options and choose a method that's right for your trip and destination. 

5. Pay attention to seasonal fluctuations in trail conditions. A trail that crosses tarns and streams in the spring may be dry by the end of summer. Check trip reports and see what the situation is, then bring extra water if necessary!

6. Repeat after me: sunscreen, sunscreen, sunscreen. Slather it on and reapply often. Don't forget your ears, hands and underneath your nose to avoid that lizard look My current favorite brand is Bare Republic, SPF 50!

7. Last but not least, consider a super fun floatie! Nothing says summer like a quality float session in an alpine lake with friends!

Have fun and stay safe out there, friends!

Photo Aug 10, 7 44 15 PM.jpg

Filson Women's Weekend

A few weeks ago, I took a trip to the San Juan Islands with Filson and a group of powerful women. Looking back on it, I remember the little details. A wisp of smoke on the breeze, carrying the rich scent of roasted lamb. The soft sounds of rain, tapping on the roof. The delicate pink of a glass of rosé, sipped underneath the setting sun. The rich green of the PNW forests and the sound of laughter as we wandered around, cameras clicking as we captured each moment.

Flashback to sometime in April when I received a message from Emily at Filson, asking me if I wanted to spend the weekend in the San Juan Islands, learning more about the Filson brand with a group of like-minded women. Although I had no idea who would be there, I immediately said “YES!” After all, who says no to an offer as dreamy as that? Shortly thereafter, I found myself at the Filson HQ where the inimitable Aude Tabet was showcasing the Fall 2017 Women’s line. In true Filson fashion, it features classic lines, high quality materials, and drool-worthy pieces. I'm a sucker for textiles and touched every piece, savoring the rich feel of the fabric and the attention to detail and craftmanship that's evident in every piece.

Full of inspiration, we grabbed our bags and headed to Kenmore Air to catch a seaplane to the islands. There’s something magical about flying over the sound, watching the height reduce the islands to twinkling emerald gems set amidst the deep, slate blue sea. In the distance, the Olympic mountains twinkled in the sun, snowy sentinels of the Pacific Northwest. The flight was over too soon and we packed ourselves into the van, setting off after a miraculous 27 point turn thanks to our fabulous chauffeur, Caitlin! We arrived at Doe Bay Resort and promptly grabbed snacks and some drool-worthy views from our cabins before being treated to a rustic, delicious meal at Hogstone's.

The next morning dawned bright and early and found us on the ferry to Orcas Island, intent upon visiting the Westcott Bay Shellfish Company. We were greeted warmly by Andrea, Erik, and their pups for a tour of the space. They radiated kindness and the pride they put into their operation is apparent in everything they do. They patiently taught us to shuck oysters and later BBQed some up, using a delicious bourbon brown sugar butter and we had a picnic in the rain. It was an idyllic way to spend the afternoon and I highly recommend stopping by if you’re in Friday Harbor.

After our feast, we reluctantly got in the van and headed back to Doe bay after a little bit of shopping and some delicious ice cream, intent on some down time before dinner. It was great to chat with Emily and Allie about our lives and I loved having the opportunity to bond with them over shared experiences and adventures. Once we recovered, we headed to the Doe Bay garden to harvest some greens for our upcoming dinner. Jess Townsend, resident gardener and beam of sunshine, happily showed us around the beautiful gardens and even let us feed and hold the chickens. Once our harvest was complete, we headed to the fire where Executive chef Jon Chapelle created a beautiful, perfectly seasoned, farm-to-table meal for us complete with great wine and company. As we basked by the fire after our feast, I felt content and drifted off to sleep with sounds of wind and water in my ears.

Sunday came way too quickly and before I knew it, we were on our way to our last stop before heading home. Cascade Falls is a short but worthy hike on the way to the airport and I had a blast walking beside the river, stretching my legs while taking in some classic PNW views. Soon enough we were back on the plane—winging our way through the clouds and the rain. After a smooth landing, I headed home exhausted but excited about the weekend. I have spent many a weekend in the San Juans but this one was unique and I’m forever grateful to Filson for the opportunity. 


Gear Review - Arc’teryx Theta AR

If you spend any time with me in the outdoors, you’ll quickly learn a few things:

1.       I value quality gear, knowing that it could someday mean the difference between life and death;

2.       I love gear that combines functionality with style, giving me clean lines in vibrant colors; and

2.jpg

3.       I am very hard on my gear and expect it to stand up to a lot of abuse.

In need of a new shell after tearing through 2 higher end Gore-Tex shells in less than 12 months, I picked up an Arc’teryx Theta AR in Violet Wine from Arc'teryx Seattle. Designed to be an all around jacket, I instantly fell in love with the longer fit of the Theta. At 5’10 with an athletic frame, I often struggle to find something that sits comfortably on my long torso and this jacket nails it. It’s roomy enough that I can fit a Cerium SV and base layer underneath but streamlined enough that it doesn’t add bulk when worn by itself. The color is a fun, bright pop that stands out on the ice and snow—letting my group find me easily if we get split up.

The hood can be cinched down nice and tight and easily accommodates my helmet—a key detail when cruising down the slopes or hanging on a windy crag. With a mix of Gore-Tex Pro in 40 and 80 denier respectively, it’s lightweight at 420 grams but durable enough to take a beating when tossed into my pack with my other gear. I have worn it in driving snow, rain, and sunshine and found it to be incredibly comfortable and watertight.  Extra shout-out to the pit zips which don’t chafe or cause any discomfort when open for venting, even in a tank!

Photo credit: the incredibly talented Mitch Pittman. Check out his account for more inspiring shots!

Photo credit: the incredibly talented Mitch Pittman. Check out his account for more inspiring shots!

In sum, it’s an incredible all-around jacket that’s built to last, especially for my fellow long-torsoed ladies. Check out the Arc’teryx website for more info.

enchantments 101: the basics

Located in the Central Cascades, the Enchantments are the stuff of dreams. I put together a list of helpful information for anyone getting out there for the first time. Have fun, stay safe, and be sure to share photos when you return!

1.    Trailheads: Snow Lake vs. Stuart Lake

Though often referred to as a loop, the Enchantment Lakes trail (what people most commonly associate with the phrase “the Enchantments”) is anything but. There are two trailheads: the Snow Lake trailhead and the Lake Stuart trailhead, which are roughly 12 miles and 1,500 feet of gain apart.

Source: USDA Forest Service

If you begin at the Snow Lake trailhead, you’ll slowly wind your way up a long series of switchbacks before finally crossing Snow Creek and arriving at lower Snow Lake. From there, several campsites await, stretched between lower and upper Snow Lakes. Mosquitoes can be quite bad here so be prepared. Heading up this way adds about 1,500 feet of total gain to your trip but for those with a Snow zone permit or who would rather go down Aasgard than up it, this is the way to go. If you have a permit, consider bringing a day pack so you can make the relatively short trek up to the upper basin to scramble a peak or bask in the sunshine.

If you begin at the Stuart Lake trailhead, you won’t have to do that extra 1,500 feet of gain but you will have to contend with ascending Aasgard Pass. The trail up to Colchuck is relatively straight forward and moderate. Mind the fork that goes left to Colchuck and right/straight to Lake Stuart. Once at Colchuck, take a minute to bask in the turquoise waters and refill your water before you tackle Aasgard (also properly known as Colchuck Pass). At 1900 feet of gain in just 0.9 of a mile, Aasgard will have your thighs burning. Stick to the left of the pass, go slow, and be careful while navigating the boulders and talus slope. When you finally top out after climbing the pass, the upper basin will stretch out before you and you’ll mostly descend all the way through the core.

2.    Wildlife:

Though you may encounter the occasional black bear down low on the trail, they are few and far between and likely more scared of you than you are of them. However, once you’re in the upper basin there are goats galore. They are bold and well-habituated to humans, which can translate to rather aggressive behavior; don't be surprised when they follow as you leave camp to pee. Make sure to pee on hard rock or other durable surfaces as the goats will destroy vegetation in the quest for your salty urine. Also be sure to hang food and trash up in bags—those goats (and other smaller creatures) will try to eat right through your pack. I have even seen them gnaw the sweaty straps on a backpack. As with all wildlife, maintain a safe distance. Don’t try to pet or feed them, cute as they may be!

3.    Pit toilets:

There are several well-signed pit toilets located throughout the Enchantments and some of them offer mighty fine views. That said, if you can't make it to the toilet and you're pooping rather than peeing, I strongly encourage you to pack it out. Not sure how to do that? Don't worry, I have a blog for that! This is a delicate, heavily trafficked area and the better we manage our waste, the more pristine it will stay. If you have to pee along the way, make sure to pee on the plentiful granite along the trail or other durable surfaces to prevent goats from destroying fragile vegetation in their quest for salt. This also applies to any sanitary items. In the event that you’re menstruating while on the trail, make sure to pack out your sanitary items! 

4.    Aasgard Pass:

As I mentioned above, Aasgard is the colloquial name for Colchuck pass. It gains 1,900 feet in 0.9 miles and takes you up a series of switchbacks through a boulder field/talus slope before gaining the upper Enchantments basin. It’s a strenuous section of the trail that will have you high-fiving your team after you get to the top! If Aasgard is covered in snow, be aware of the avalanche risk and forecast. Go prepared with an ice axe, crampons and/or some other form of traction (you might be fine with microspikes but Yaktrax probably won’t be your best friend) and the skills to use them should you take a tumble.  You’ll also want a probe to check for hidden meltouts underneath the snow. When ascending, stick as far to climbers left as possible (see image below). There is a stream that flows down the pass on the right side that you’ll want to avoid. In the winter, a fall there can be fatal. Whatever you do, make sure you have enough water for the trek up the pass. There is a stream flowing down climbers right that’s deliciously cold but it can be tricky to reach for a refill pending conditions on the pass! Once you gain the upper basin, treat yourself with some water, a snack, and a little rest before carrying on to your destination.

Map credit: Ken Poore

5.    Bugs:

In my experience, bugs are the heaviest at Snow and Colchuck Lakes. I recommend bringing your spray of choice to keep the pesky critters away. You can also treat your tent and sleeping bag with permethrin which is an odorless treatment that won’t harm your sleeping bags, clothes, or tents but will keep away mosquitoes, ticks, chiggers, etc. If you have cats, make sure you treat your soft goods in an area they won’t get to as permethrin is toxic to cats in high doses.

6.    Fires:

As I’m sure we can all imagine, fires are not allowed in the Enchantments (unless it’s absolutely necessary to save your life). Not only do they leave unsightly scars, it’s also a very delicate environment and the surrounding area is prone to wildfires in the summer season. So, make sure you bring your backpacking stove and plenty of fuel to enjoy hot food and drinks on your trek.

7.    Car shuttling or the Loop Connector Shuttle:

As I mentioned above, the trail is often referred to as a loop but it doesn't connect, leaving through hikers with a logistical question: what do you do about cars? There is a Loop Connector shuttle that will save you some of the hassle of shuttling cars. Check their website for details! If you prefer to shuttle and have more than one car in your group, it’s best to drop one car at the trailhead that you will be exiting from and then cram everyone into the other car and shuttle to the trailhead you will be entering from. In the event that you only have one car, I suggest leaving it at the trailhead you will be exiting from and hitching a ride to the other trailhead in the morning. There’s likely to be more traffic in the morning and then you won’t have to deal with the hassle as you return to the car from your epic adventure. Some people also stash bikes at the trailhead they will be exiting from and make the 8 mile, 1500 feet of elevation ride backup to the other car. More power to you if that’s the route you prefer!

8.    Camping before you hit the trail:

Technically, camping is prohibited in the parking lots at the trailhead though many people lay a bag out at night and hit the trail at the crack of dawn. Just note that if the rangers catch you, they may ticket you. The safer alternative is to book a site at one of Leavenworth’s many other campsites or, if you’re feeling really luxe, snag a hotel.

9.    Car permits:

You will receive a permit for your car if you snagged an overnight permit and that will allow your car to stay in either parking lot overnight. If you’re planning to thru-hike and don’t have a permit, you must have a NW Forest Service Pass to park at the trailhead. At the Snow Lake trailhead, it’s easy enough to park outside the lot on the shoulder of the road but this isn’t an option at the Lake Stuart trailhead.

10. Water filtration:

Chances are, you won’t want or won’t be able to carry enough water for your trip. With ample water sources along the trail, you really don’t need to. What you do need is a water treatment/filtration system. In the Enchantments, you’re most likely to encounter bacterial and sedimentary contamination in the water. Any bacterial filter will safely remove that for you. Far less likely yet still possible are viral contaminants, which you will need a viral filter or chemical treatment to address. I personally use a Katadyn pump or BeFree bottle to filter my water and if I’m nervous for any reason, I’ll throw in an Aquamira tablet to seal the deal. A few drops of an electrolyte supplement and bam, I’m good to go. Whether you prefer a different brand of filter, iodine to chlorine, electrolyte supplements or not, make sure you have this all planned out before you hit the trail!

11. Classics scrambles and climbs:

The Enchantments are home to several super classic scrambles and climbs. From Dragontail to McClellan to the sweet summit block of Prusik, the views don't disappoint! Depending on your objective and the season, you'll need a rack, rope, crampons, axe, or just a good pair of trail runners. It’s possible to hit one or more of these in the same day depending on your fitness level, and you can tag a whole bunch if you got a golden ticket! Make sure you snag a topo map, do your research, and know the details before you go!

12. Campsites:

Because this is such a delicate environment, you are only allowed to camp in designated campsites. They can sometimes take a bit of work to find, but please respect this rule. All members of your party must stay in the same campsite, as there aren’t enough up there for people to branch out; they essentially give out the same number of permits as campsites. The early bird gets the worm, so to speak, so if you want the prime spots, get on the trail early! The Core often remains snowy into Early July which does open up a lot of terrain you can't otherwise camp on. Depending on your experience and preferences, that can be a blessing or a curse! Be sure to check conditions before heading up, and go prepared!

13. Distance:

WTA will tell you that the trail is 18 miles. Many people report that something more along the lines of 20-21 miles. Some of the discrepancy is due to wandering about, awestruck by the beauty of the place. I think it's best to be prepared for about 20 miles of hiking just in case. That said, if you are scrambling up any peaks along the way, your distance will increase!

14. Permit Season:

The permit season runs from May 15 to October 31. If you have a permit on the earlier or later end of the season, be aware of trail conditions and trailhead access. With deeper snows, the road to the Stuart Lake trailhead can be closed,  addind an additional 4 miles of hiking onto your trek. Further, in the shoulder season there is likely to be snow on the trail and in the upper basin (or below, depending on the year). Be prepared with the right gear and snow camping knowledge. The upper basin is STUNNING in a mantle of white but it does require additional gear, preparation, and navigational skills! Be especially careful around melting pools of water when there's snow, no one wants an accidental dip in the chilly water! Also be aware of snow bridges across/near lake outlets and streams.

15. Permit zones:

Permits are designated by a zone name, like Colchuck, Snow, Stuart, Eightmile/Caroline, and Core. You can only camp overnight in the zone designated by your permit. For example, if you have a Colchuck permit, you have to camp in the Colchuck Zone near Colchuck Lake, and then day hike in and out of the Core. The one exception is the Core permit, a.k.a. the golden ticket that lets you camp in any zone. Many people with Core permits will start their journey by camping at Colchuck or Snow Lake the first night, then push up to the Core for the remaining days/nights. The Enchantments are monitored closely by Rangers, and they often sweep through the entire area during a day and check for permits. If you do not have a permit, or are camping in the wrong zone, they can fine and expel you. Similarly, poaching (camping without a permit in any of the zones) will earn you a ticket to the tune of up to $5,000 and up to 6 months in jail.

In sum, the Enchantments are AMAZING. Stick to sound LNT principles while you’re up there, stay safe, snap a million photos, and treat yourself when you’re done. You will certainly deserve it!